Using PID to drive straight is a problem that can be solved with a 2-DOF controller (two degrees of freedom). A drive train has two degrees of freedom (x and y axis) meaning you can readily control it with two PID controllers.
Think about what happens when you want the robot to turn left 90 degrees, for example. The robot has subtractive power to the left side of the chassis and additive power to the right side. As the robot approaches the target angle, less and less power is sent to either side until the final angle is achieved.
For driving to a point with PID, the robot translational speed slows down as the target is approached with less and less power being sent to the chassis.
Combining the two would look something like this: (this function sets each parameter to power either side of the chassis respectively) –– setDrive(linear speed + angular speed, linear speed - angular speed). You have one PID controller that regulates the linear speed of the robot based on the robot’s current position in relation to the target position. For this example, we’ll call the output linear speed. You have another PID controller regulating the angle of the chassis (based on how much power is sent to either side of the chassis respectively) which we’ll call angular speed. These two PID controllers respond to real-time feedback of the desired state of the robot. *Note, for a tank drive, the “front of the robot” has to be in line with the angle you want the robot to travel on Kinda hard to explain without a diagram.
This is essentially how you combine PID controllers in order to drive “straight”. The basic logic behind this is as the target angle is approached, angular speed approaches 0 and linear speed takes over the rest of the movement, otherwise angular speed adds/subtracts power from either side of the chassis until the final angle is reached. The output of either controller happens simultaneously.
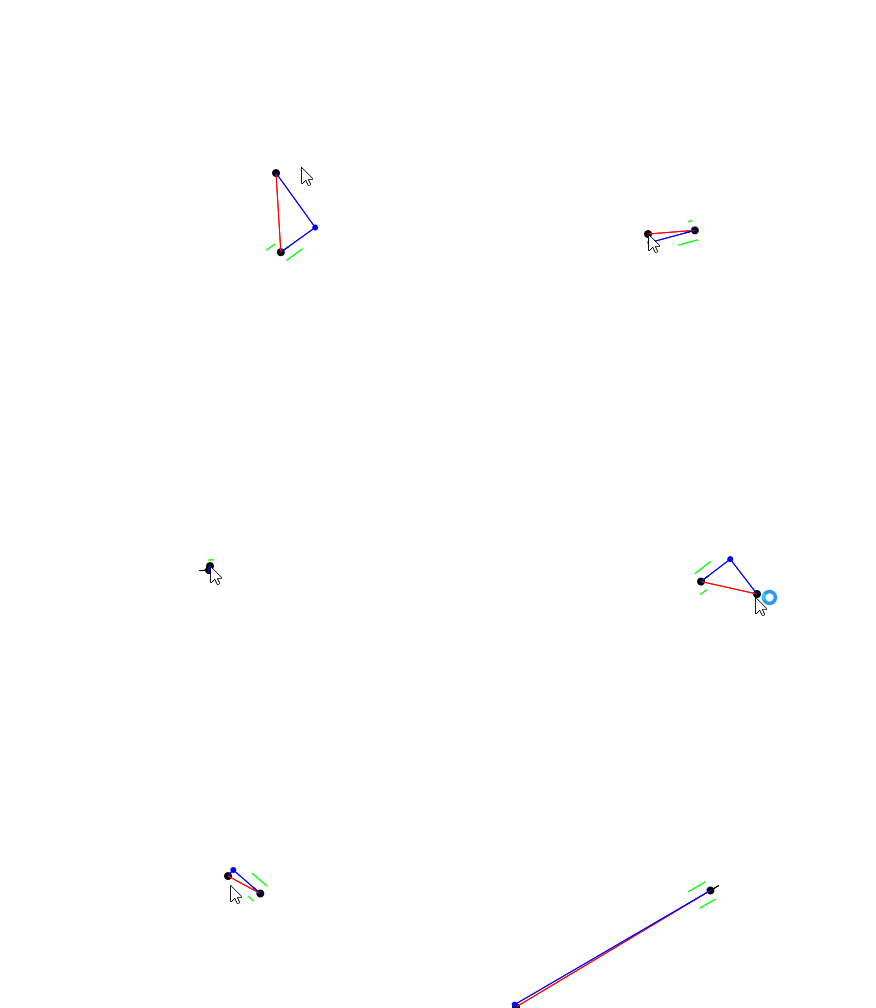
A good example of how this would behave is shown with the animation here:
https://www.vexforum.com/uploads/default/original/3X/4/7/479e47a7761f01d48f5c41f49bfbaeaf4f75f1c8.gif
(I’m not entirely sure what @theol0403 used for this, but when I was testing this concept, my robot behaved precisely as this animation describes. I did not use odometry to achieve this)
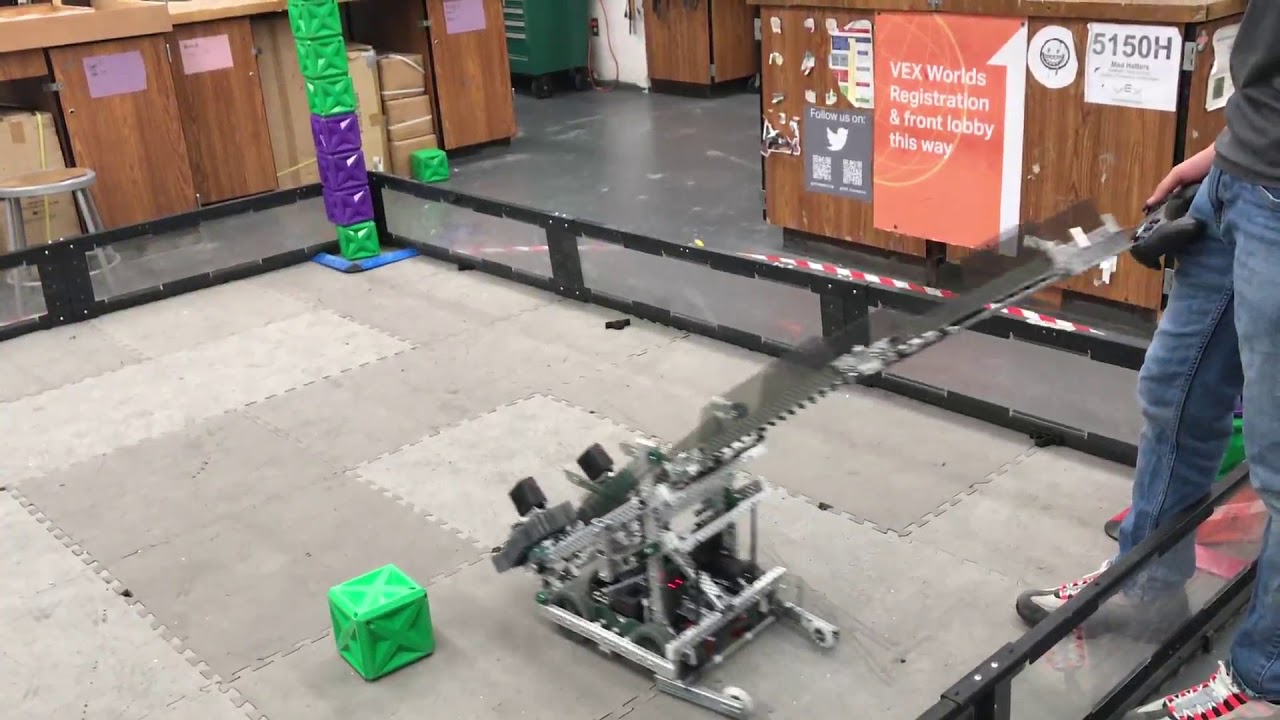
Here’s some video of my implementation