This has always been my favorite lift, and now it’s looking very good for skyrise. I have read all of the threads about them on the forums, and I was definitely impressed by 7702’s elevator, 1103’s (Obviously!), and others. But does anyone have any good pictures besides those, or CAD, of some nice elevators? I want to have some good examples before we start building ours.
Here is a cad project of 1103 by DrBayer

This is like a classic car. I want to build it and just stare at it. Learn from its design and hope it makes sense to me.
This thread has images of 1103’s CAD, the actual CAD model, and Mr. Pearman’s explanation animation.

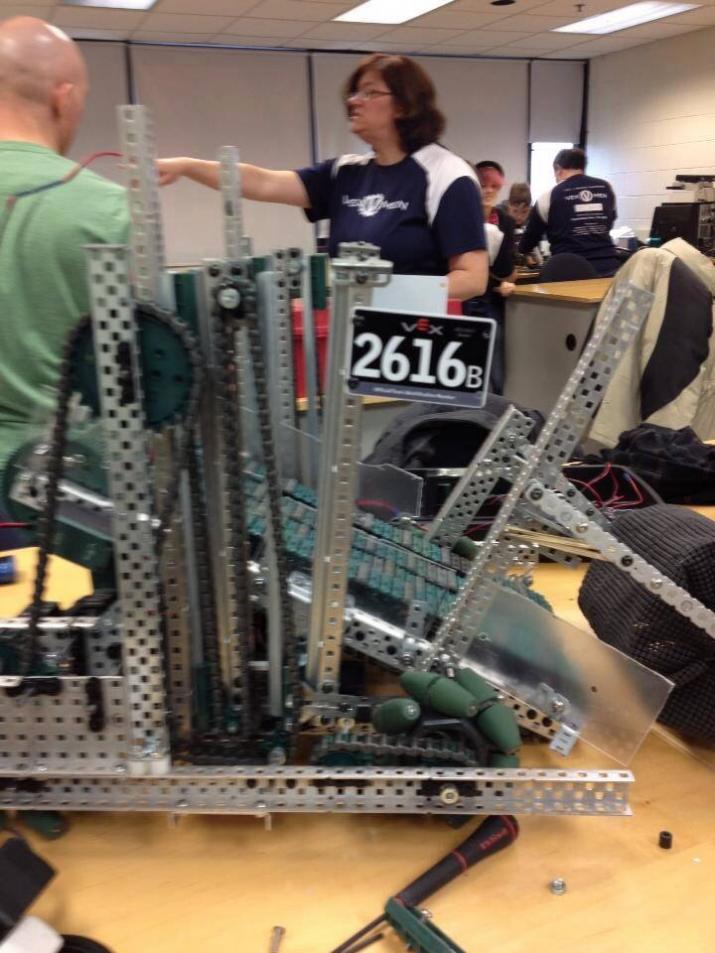
this is not mine but its a basic set up of one. The lift i am designing will look similar structure wise but motor and sprocket placement is completely different
It’s hard to tell but is that a cascade setup? It seems that way since both stages move up at the same time.
-Nick
I believe Titan’s moved that way too? I feel like they are supposed to move at the same time in a “perfect” world: either you have no weight on it such as in the video, or you are a building god like Titan and it doesn’t matter whether you have weight or not ![]()
With elevators there is a fundamental difference: Continuous vs. Cascade.
Here is a link showing the difference.
http://www.chiefdelphi.com/forums/attachment.php?attachmentid=2834
1103 in 2011 ran a Continuous elevator where he looped the chain through all the stages and when the chain was powered the last stage (the one with the claw) would lift up all the way and when that stage was expanded fully then the next stage would extend.
A cascade elevator has all stages expand at the same time at the same rate, so for example if you have a 2 stage cascade elevator, then it would lift up twice as fast as a continuous elevator. This is something you have to take into account when figuring out your motors, gear ratio, etc.
But I’m rambling…
Basically there are benefits and drawbacks to both but based on the fact that both stages are expanding at once in this video it seems like it must be a cascade elevator, but it is tough to make out the way it was rigged.
-Nick
it looks to me like the first stage was powered by rack and pinion and the second stage was cascaded up by the chain.
So there are two main lifts that are the “obvious” solutions to this new game. The scissor lift has the advantage of less friction and the elevator lift has extra stability, so what is the reason I should go with a elevator, as I am already a big fan of scissor lifts.
Scissor lifts might have less friction, but they definitely don’t have low friction.
I can think of two (well, one) advantages of elevators over scissor lifts. A scissor lift has a lot of force to overcome at the beginning, but less at the end, whereas an elevator’s force is more uniform throughout the lifting. Also, elevators look cool when they extend. ![]()
I also feel that elevators will be more stable than scissors and more accurate for building skyrise. However, elevators almost necessitate a claw this year while a scissor might work with a roller intake. I prefer the claw anyways, at least in theory.
The problem you will encounter with scissor lifts is that, when they do their little “lean” when they fully extend, they are very prone to tipping. We used a scissor lift predominantly during the season, and we also had to overcome the beginning force that Kevin describes above by making a strong gear set up, which ended up twisting our rods.
also depending on how you build one, an elevator lift is more compact and can support a decent intake.
Be very careful with how you build your robot with an elevator…attached is a picture of the first iteration of my teams robot for Sack Attack. We wanted to build it to be a hoarder so it is an extremely powerful lift. However, when we tried to lift around 14 sacks, the green delrins of the linear slides would give out, making our robot useless.
Some things are not cut on the robot because we wanted to make sure we were absolutely happy with the design before cutting metal. The picture was taking at a scrimmage we went to, and we switched to a 6-bar soon after it.
I would never build an elevator with new slides. Old slides are basically a necessity if you want it to be strong.
This is not true. You just have to methodical and careful with your design and build. The weight of using the old sliders, especially for the stages and height required for this year would most likely be counter-productive.
One of the issues I see with the picture shown is that you had an elevator on each side. This allows for the problem of offset extension, often seen with scissor lifts and why so many have issues. While you can have encoders on each side to keep them equal, etc. etc. even if they are offset a very small amount over time or with a large load it can fail as you said.
While I do think it is smart to have two sets of slides per stage for strength and rigidity, I would strongly advise bolting the two sets together so they move together.
While it is not completely similar if you look at effective elevators in FRC (254-2011, 111-2011, etc.) is that everything is bolted together, they don’t have two sides powered separately. This is huge in making the elevator work because otherwise if they’re offset the friction can quickly become way too built up.
Also having two separate sides is just a waste of weight…
-Nick
The old slides can extend just as far per rack as can the new slides if you mount them the same way Titan did. Additionally, they aren’t THAT much heavier than the new slides and take up less room due to their thickness. Four stages of old slides on a high school bot should reach the top of the skyrise. Five stages for the 15" college bot. It’s worth it for the stability and space savings, in my opinion. Especially after working with 52 of the stupid green auto threading blocks this year, I am thoroughly tired of those things striping out with very little effort.
The new and old system have exactly the same reach options. And it is that much heavier because instead of one steel rail and some light plastic like the new system you have 2 steel rails.
Also a pro tip: if the self tapping is too much of a pain for you (trust me I can relate on this) just drill out the holes to 8-32 clearance and bolt them to your framing system. This also makes it easier to tune the slides to be just perfectly aligned.
I do wish they would change the green blocks to have clearnace holes and have the square extrusion on them like the bearing flats do. This would make aligning them on the rails to be straight much easier.
-Nick
We found the old slides to be superior to the new ones. The new ones have a lot of play in them and make the whole mechanism inefficient. With the old slides, you could play with the shape of the steel to make a nearly play-less slide that’s much more efficient. That being said, if we decide to do an elevator lift, we’ll probably be trying out the new slides.