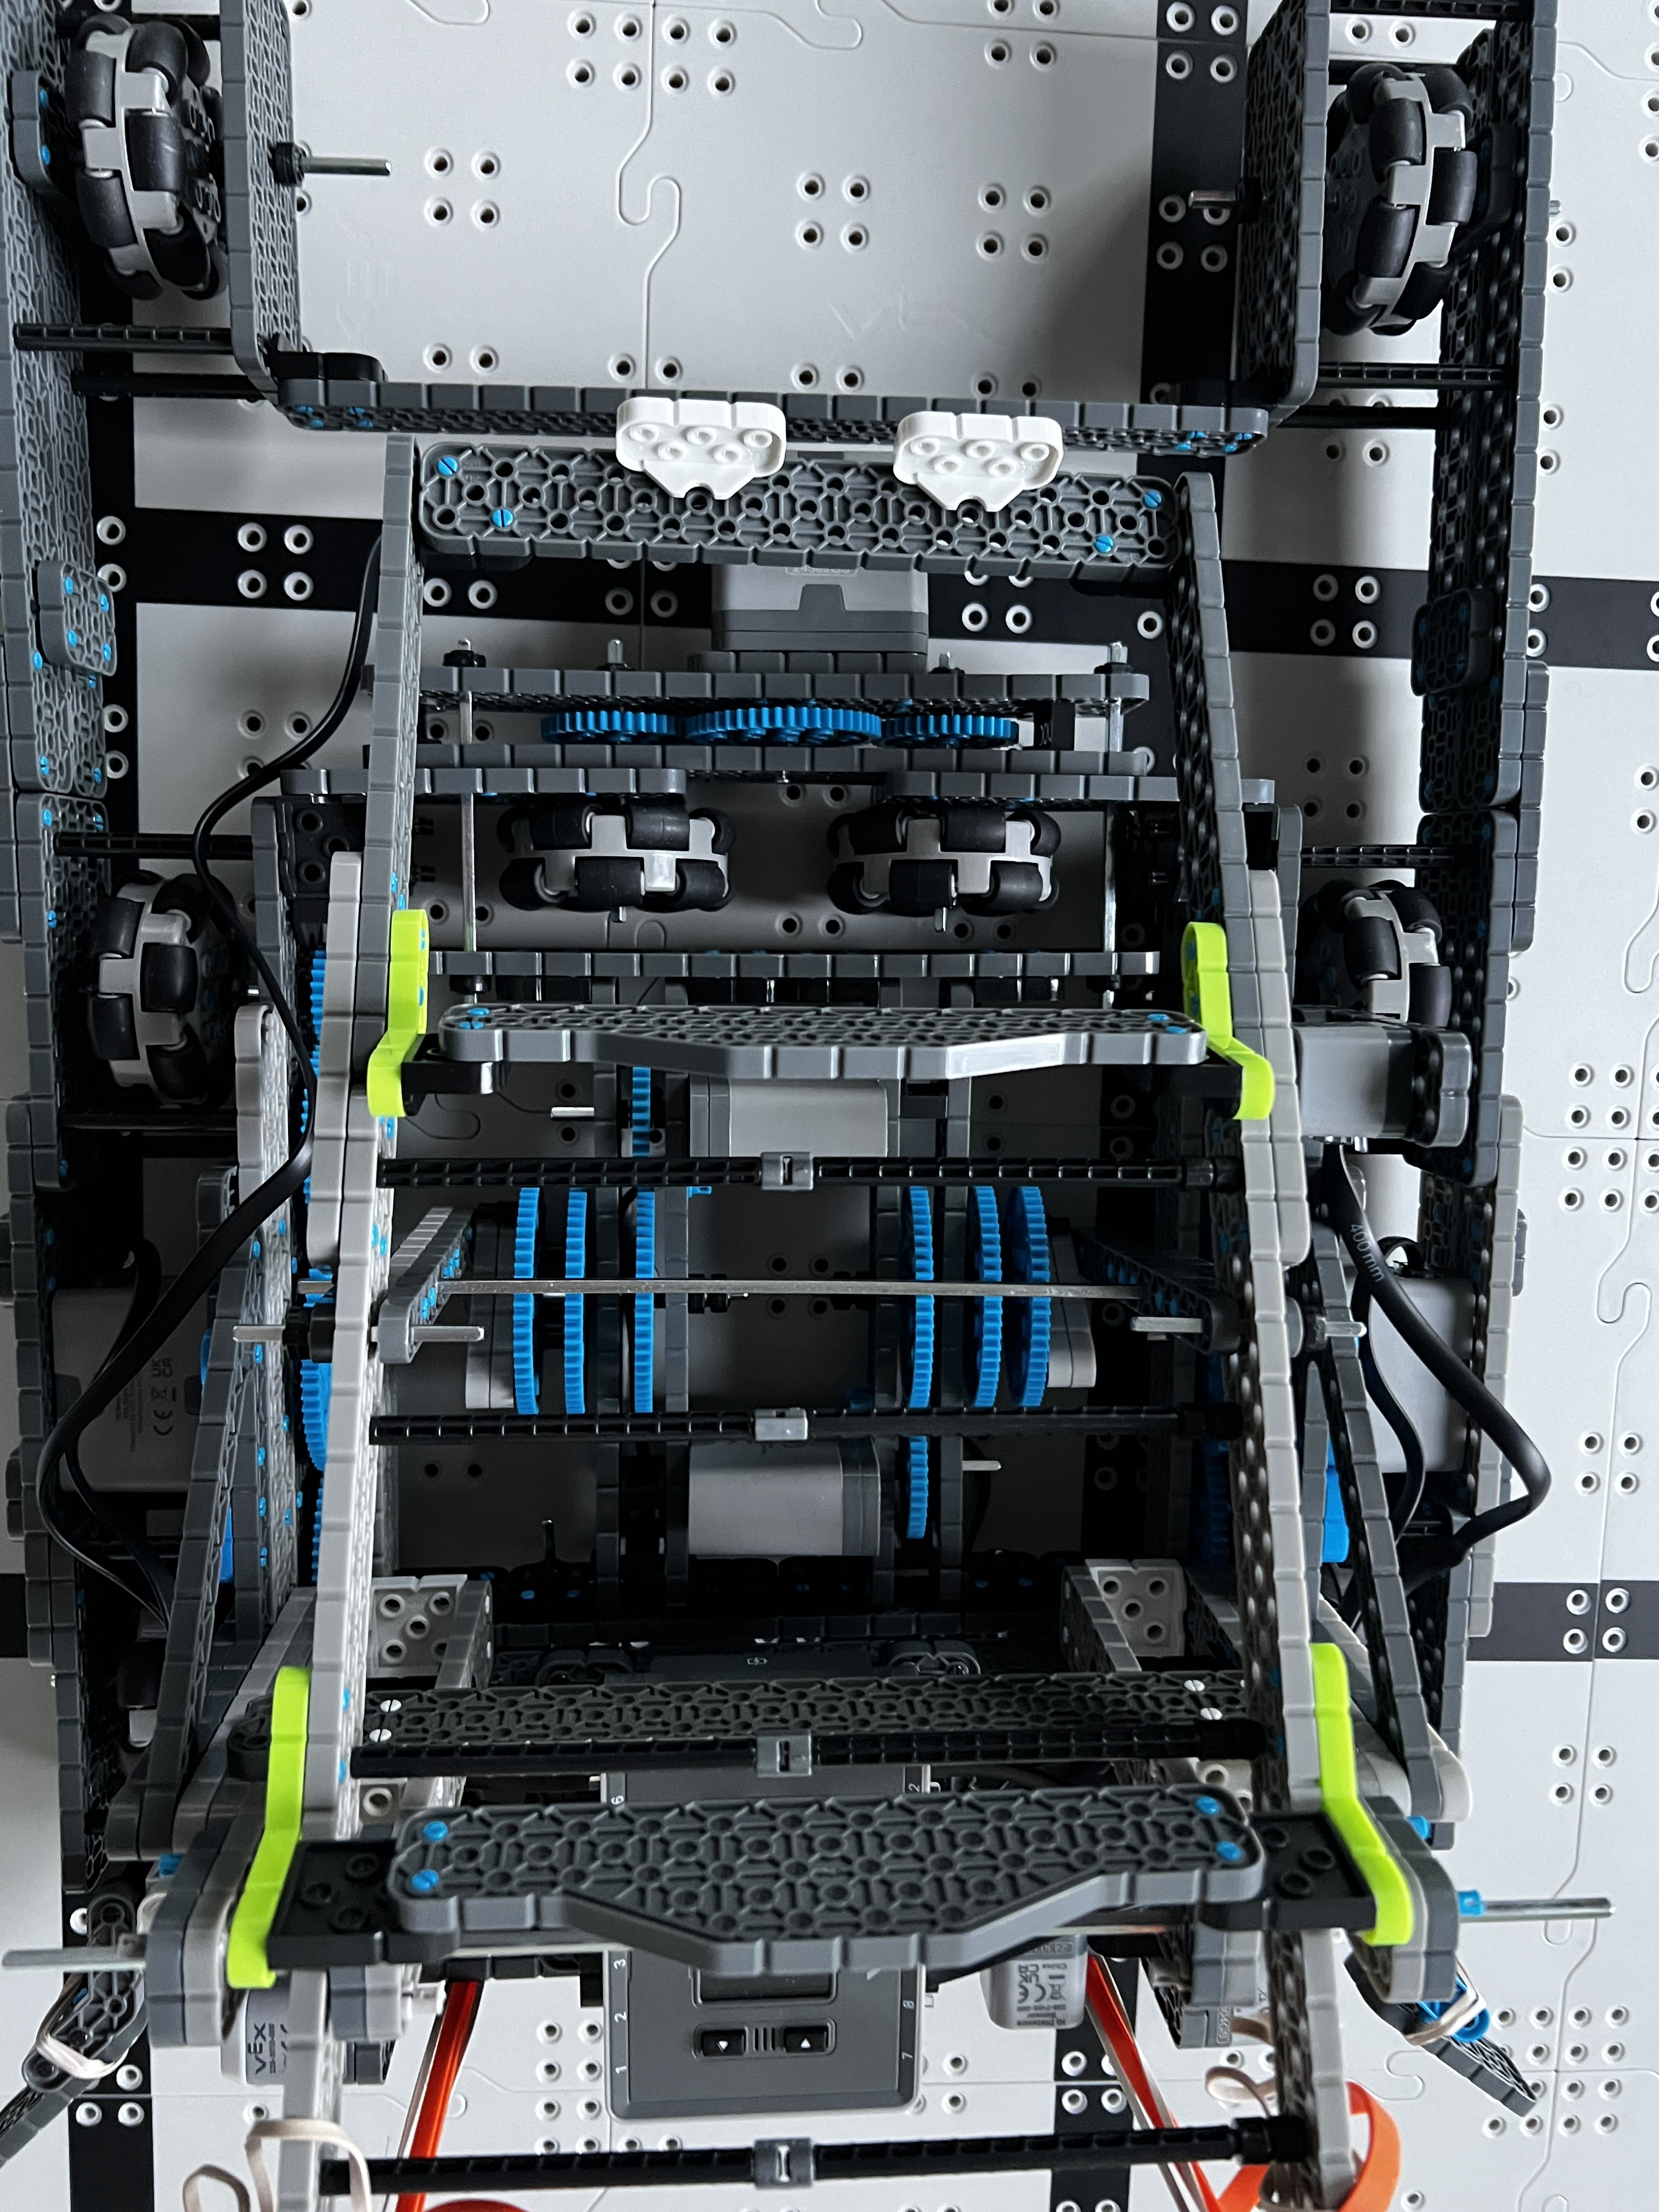
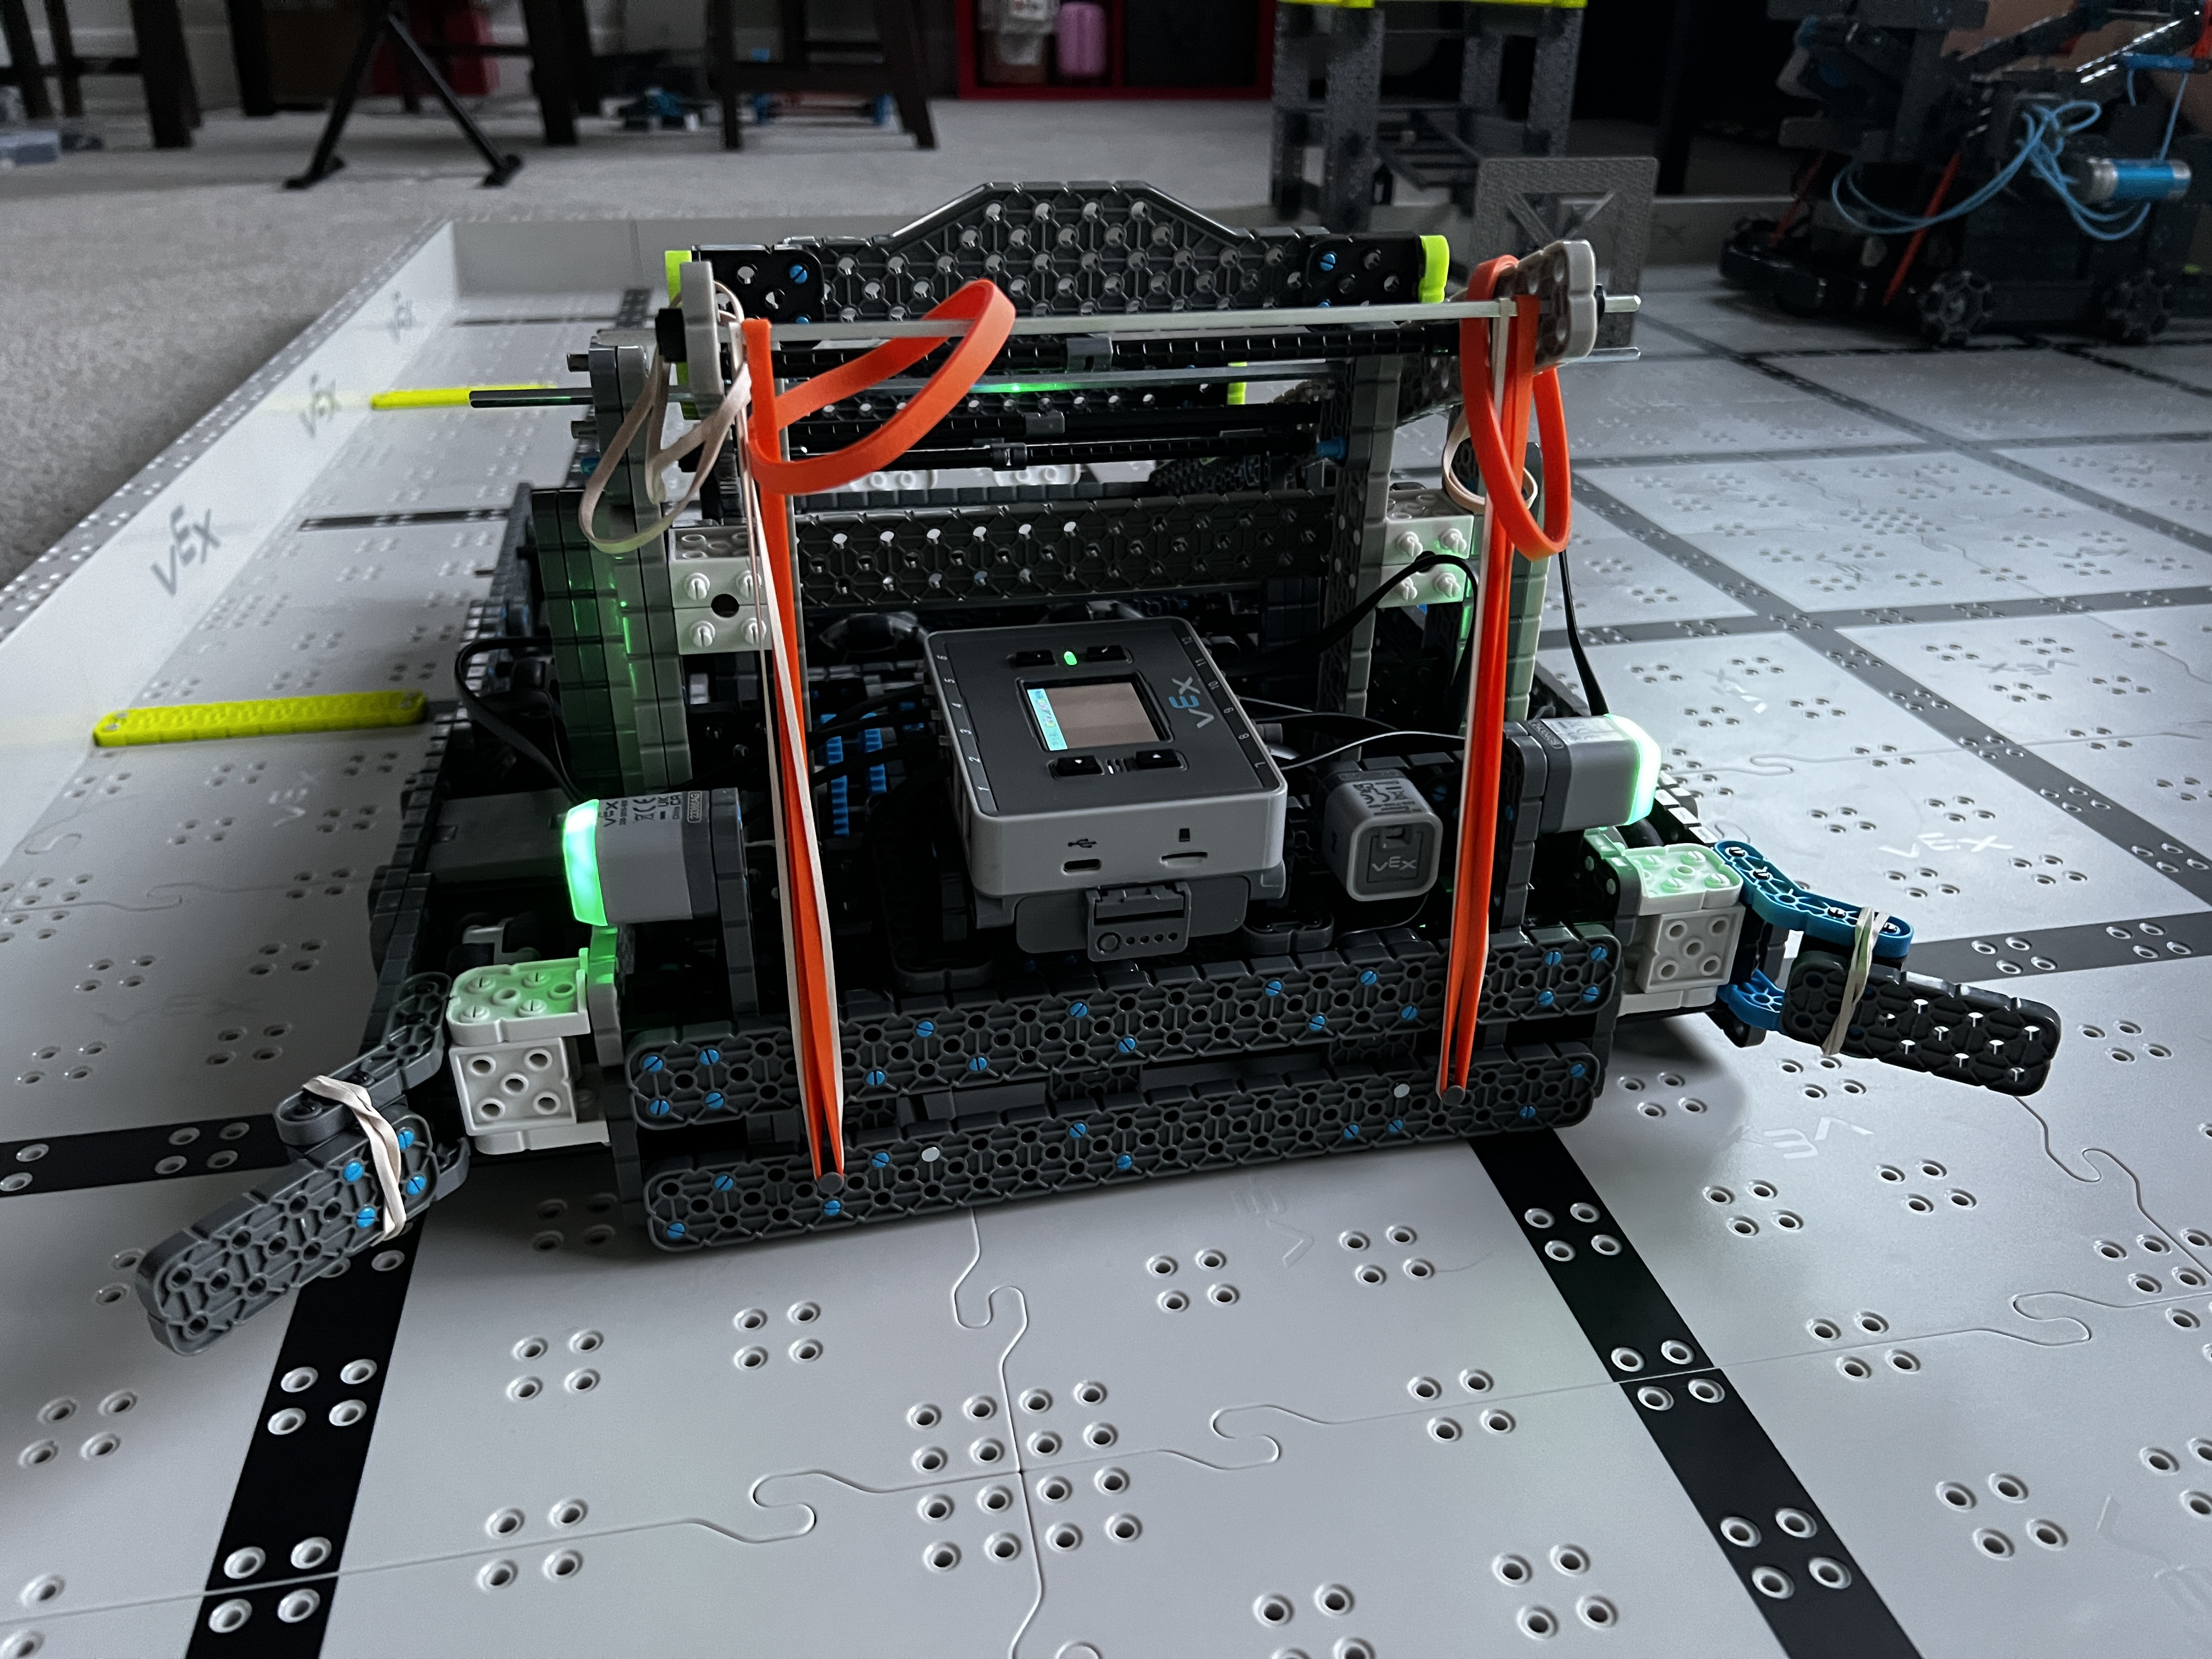
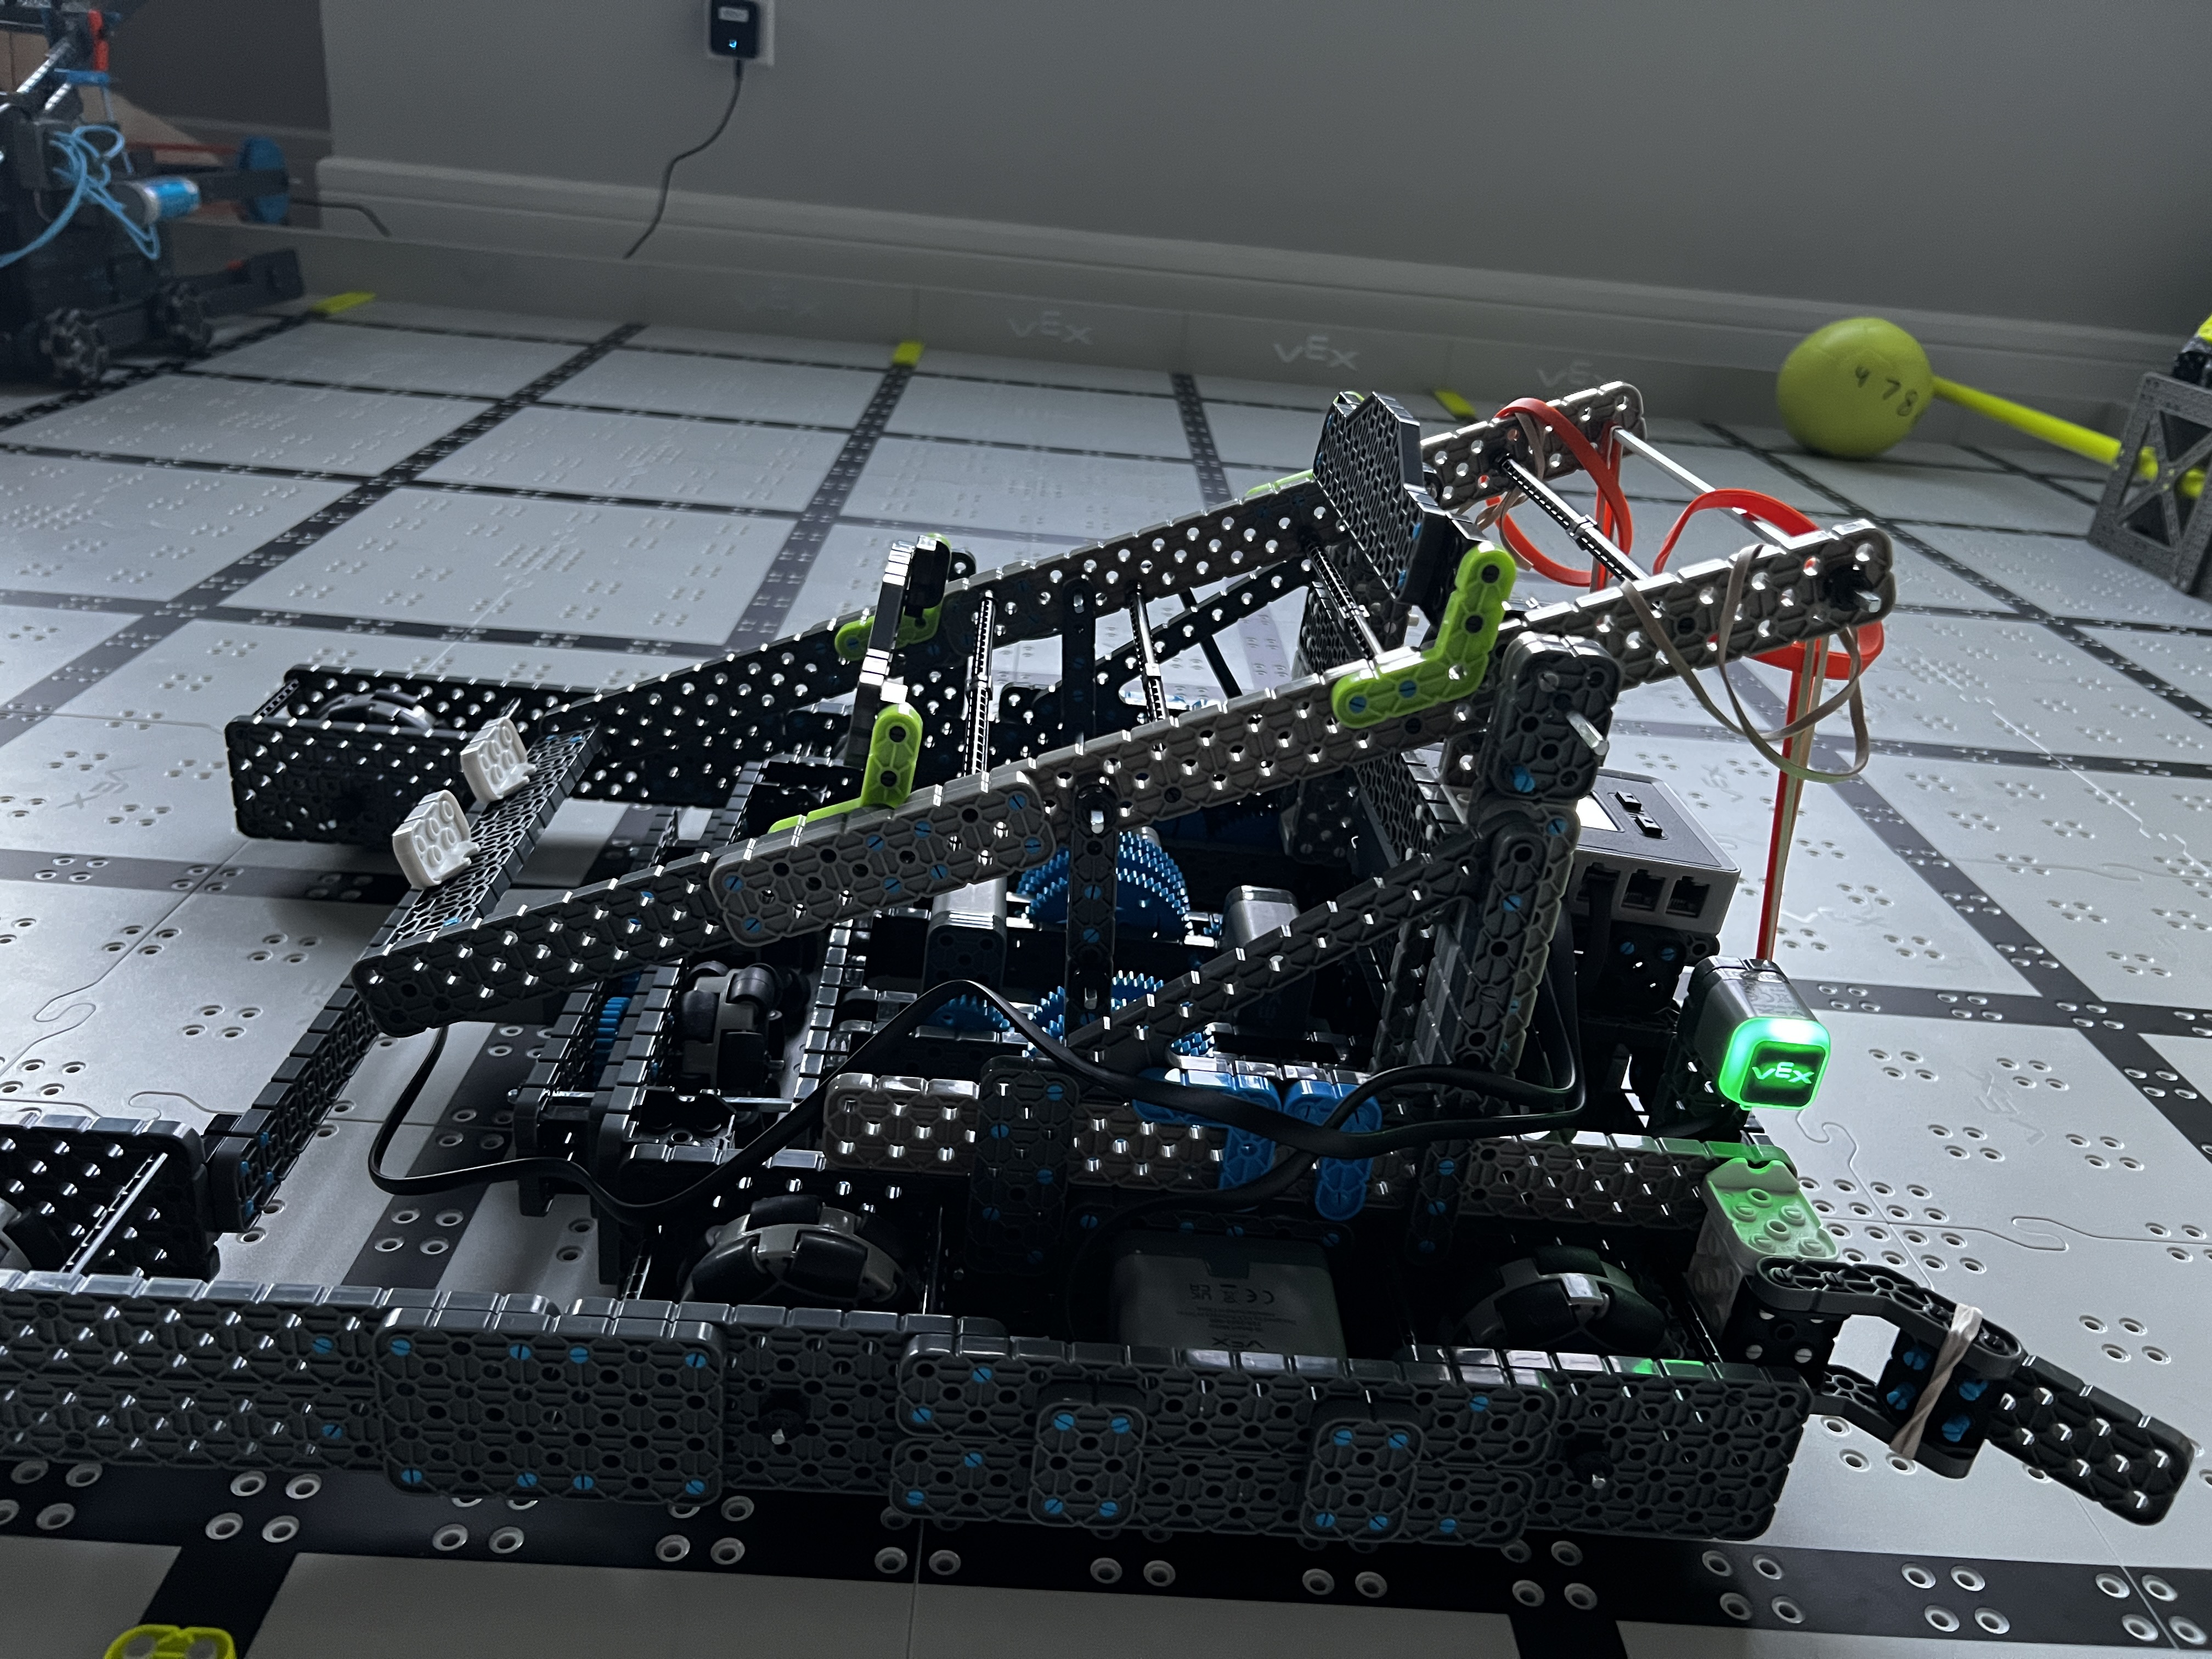
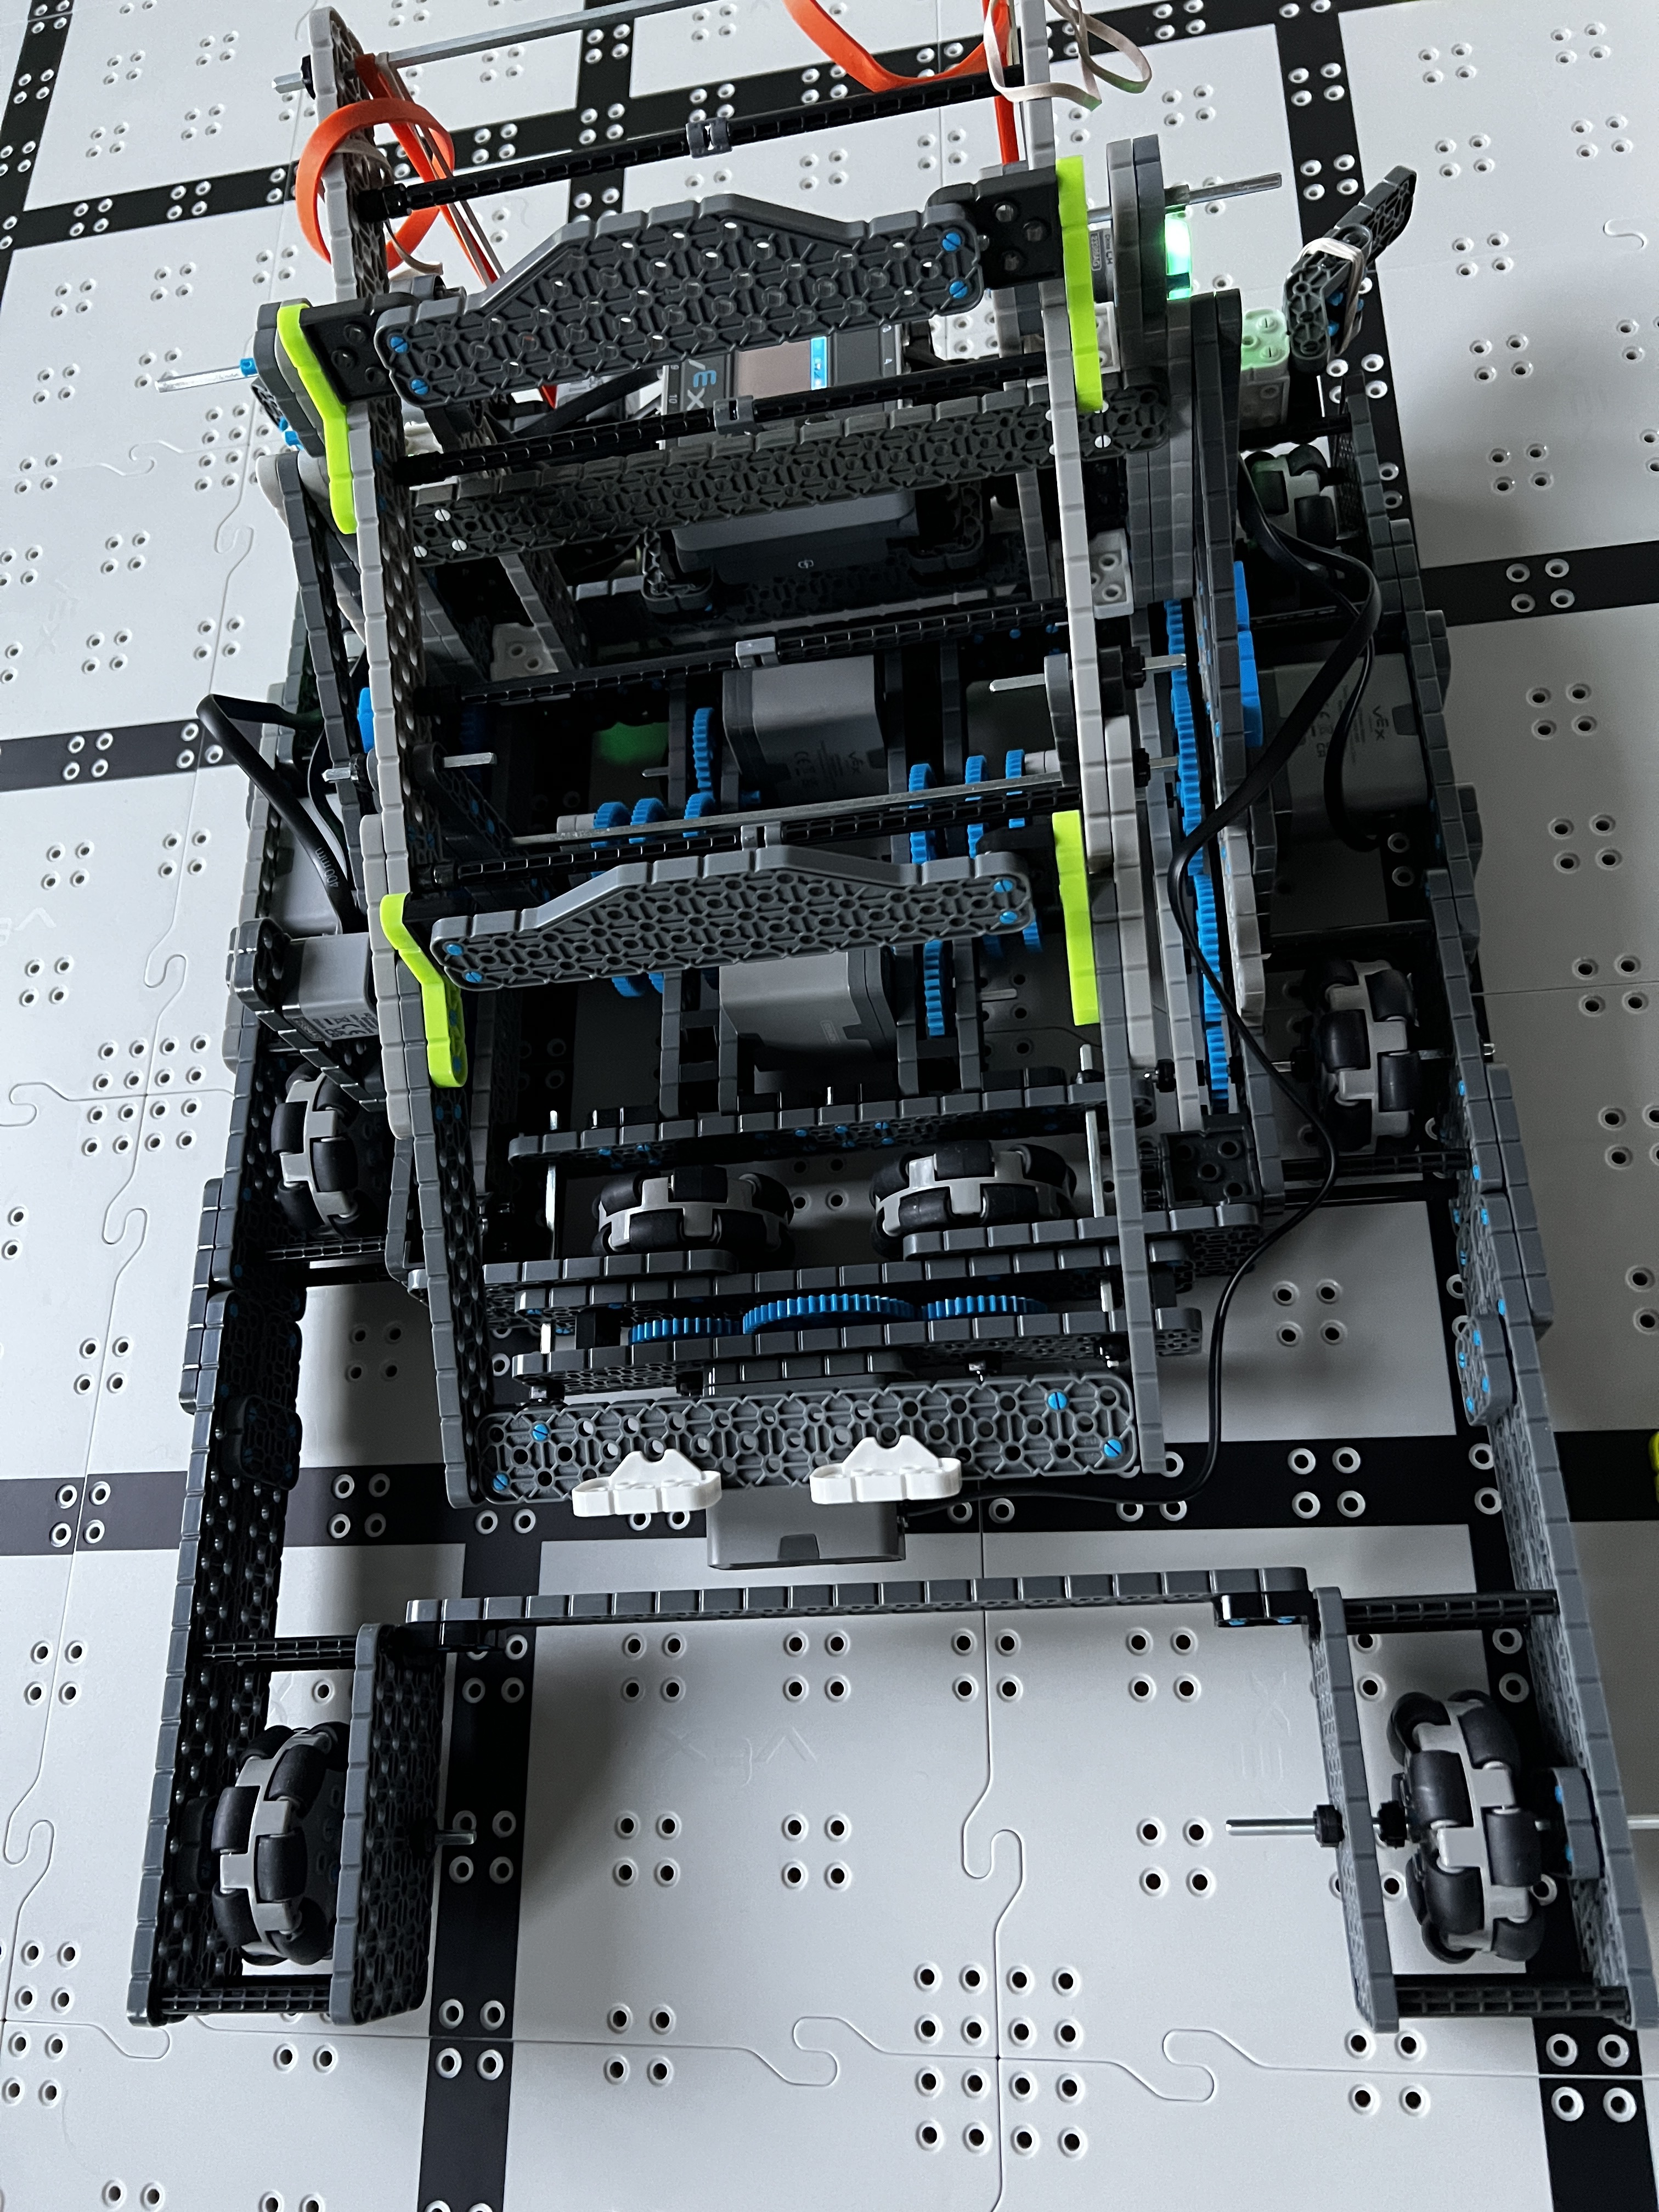
Our team has built a robot with a catapult for Rapid Relay. The catapult can take and shoot 2 balls. It is highly inconsistent unfortunately. If I adjust the tension to correctly throw the ball into the upper goal it often misses the lower goal. If I adjust for lower it misses upper. If I load both balls at the same time it misses both.
It seems like the weight of 2 balls changes the tension. If I increase the tension by doubling from one to 2 rubber bands on each side then the choochoo is unable to arm the catapult.
I thought if I could over power the catapult by increasing tension and then constraint the throw by connecting the choochoo more forward I could make the catapult ignore the ball weight problem but that didn’t work out either.
The YouTube videos with catapults shooting
2 balls make it look easy but it’s been anything but. I’m at a loss after spending many nights on this. We have a tournament coming up in just over a week so our team is worried. Any help would be appreciated.
Are you trying to make the robot launch two balls into the high and low goals and launch one ball into a goal at the same tenstion? This takes alot of tuning of the basket angle to launch correctly. Am I misunderstanding you?
p.s. I love you motor location for your choo-choo and you H-drive!
Thanks! Yes I’m trying to have the robot launch 2 balls typically though if it can only load one as could be the case during team matches then I want it to launch just the one.
So many YouTube videos show the catapults with 2 balls being launched reliably I’m not sure why we’re unable to do it.
So with a Choo-choo, you can not have different levels of charging when firing, so you will need to tune the angle of the basket, length for the catapult arm, and tension/number of rubber bands. What my team did is we used a distance sensor to stop our ratcheting pully mechanism when it was charged enough to launch one ball. We still charged our catapult fully to launch two balls.
I reccomend using an angle beam instead of a white corner connector for the basket as (at least for us) it does not give you as much tuning oppertunities.
@BananaPi is onto a solution if you are using the ratchet plan.
I have a team that has the ends of the rubber bands around a doubled up 2x beam that is attached to gears and a motor. They spin the beam to make the bands tighter and looser for the goal setups. So that can be an alternate plan.
It doesn’t take long to adjust the distance. They fire, adjust the tension and then load using the choo-choo (that way the beam does not need to spin with a load on it)
If you can hit the top goal all the time, what happens if you just move up or back a few inches? Can the ball go in by the goal being earlier or later in the shot arc?
Being able to shoot two balls is nothing short of a feat . I understand how you feel, but shooting two balls is just trial and error to find the sweet spot. I would suggest instead of simply fiddling with the tension, try changing other factors, like fulcrum placement, length of catapult, bucket size, etc. I wish you the best of luck!
I have made good progress in the last 2-3 days. First, I replaced the choochoo with the ratchet so I could have different levels of tension. I put 2 distance sensors one for less tension (when there is only 1 ball) and another for more tension (when there 2 balls). Lots of trial and error later I able to mostly have it work.
The one iffy thing is when there are 2 balls sometimes the lower ball hits the switch but doesn’t go inside the goal, the power is not enough. The upper ball is fine with 2 balls. The lower ball is also fine when its just the one ball. But its mostly there and I will keep fiddling.
Thank you to all that gave me ideas and suggestions for things to try.
One more thing - when driving straight I am seeing some drift to one side. I expect that will be a problem for autonomous. What are the common causes for drift? Both sides wheels are moving freely.
This is an issue my team has with our robot. Most likely, the drift is caused by friction in your geartrain or chain. Could you give us some pictures of the gears of the drivetrain? To counteract this without rebuilding the robot, I would try to code a function that drives the robot while keeping it at the starting heading. The code could look something like this:
def driveAtHeading(dir, angle, dist):
    lPower = 100
    rPower = 100
    curAng = 0
    while True:
        if launchingBumper.pressing(): # Condition to exit loop
            strafe(False, "R")
            wait(1000, MSEC)
            left_drive_smart.stop()
            right_drive_smart.stop() # Stops the motors
            break
        # Checks the rotation value of the inertial sensor
        curAng = brain_inertial.rotation()
        # Sets the motor power based on the rotation of the sensor
        if curAng < angle:
            lPower = 100
            rPower = 90
        elif curAng >= angle - 1 and curAng <= angle + 1:
            lPower = 100
            rPower = 100
        else:
            lPower = 90
            rPower = 100
        # Spins the drivetrain motors
        left_drive_smart.spin(dir, lPower, PERCENT)
        right_drive_smart.spin(dir, rPower, PERCENT)
        wait(20, MSEC) # waits before looping again
(don’t pay attention to me nut using the dist varible. We didn’t need to add a distance value for our autonomous) In addition to this, you could code a PD loop. This dosen’t help with the drift, but will keep the other parts of your autonomous more consistient. Good luck!
This is Python right? If so, is there a way to do this in block code? My team is having a lot of inconsistency with our autonomous and all of it is written in block code. Also here are some things I’ve seen in the past few years that I have seen causing drift:
Your battery percentage might be the problem. I’ve seen my robot drift a lot more when it is less than fifty percent. You should try checking battery every time your robot seems to be getting more drift.
You might want to check the holes of the beams the shafts of your wheels are going through. Over lots of usage and time, those beams get some white dust around the holes because the shaft is grinding against the hole of the plastic beam too much.
You might also want to switch out your motors because the square section for the shaft to go through will eventually turn into a circle after a lot of usage.
And lastly if none of this fixes your drift, you might want to get some vex weights to add to the side of your robot that is going faster (opposite of the side it’s drifting towards). Here’s the link: VEX IQ Flywheel Weight