Mix and Match - 1x parts for the win holiday contest

Hello, this is my submission for @Foster’s 1x parts contest. While building this, I definitely cut a few corners, and I also was out of motors and Omni wheels. So, you sadly won’t see this robot move on its own. Now, let’s get into the pictures.


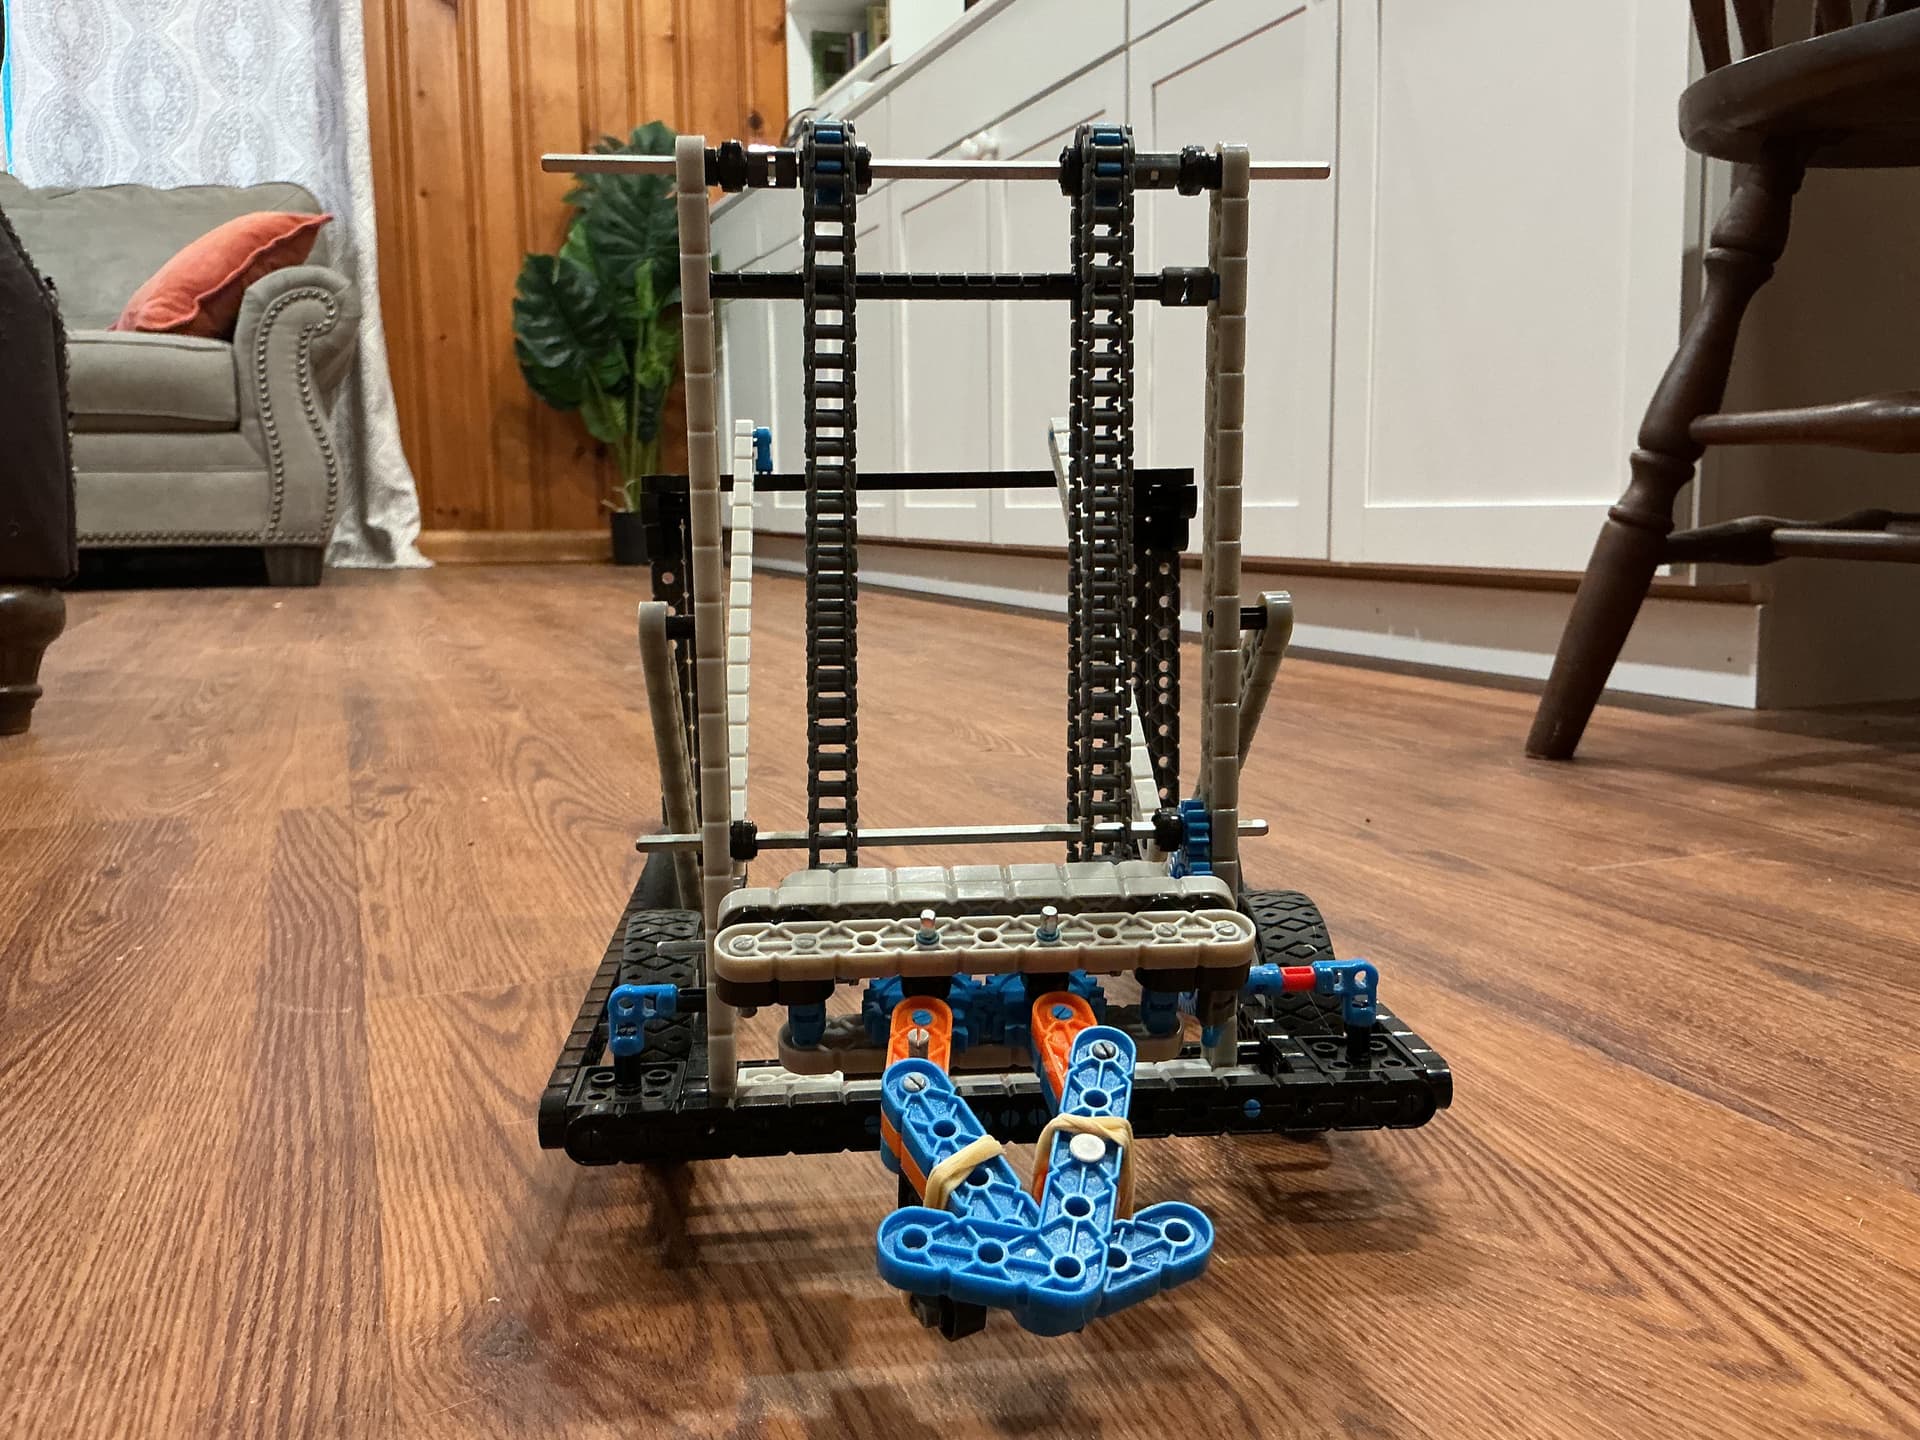
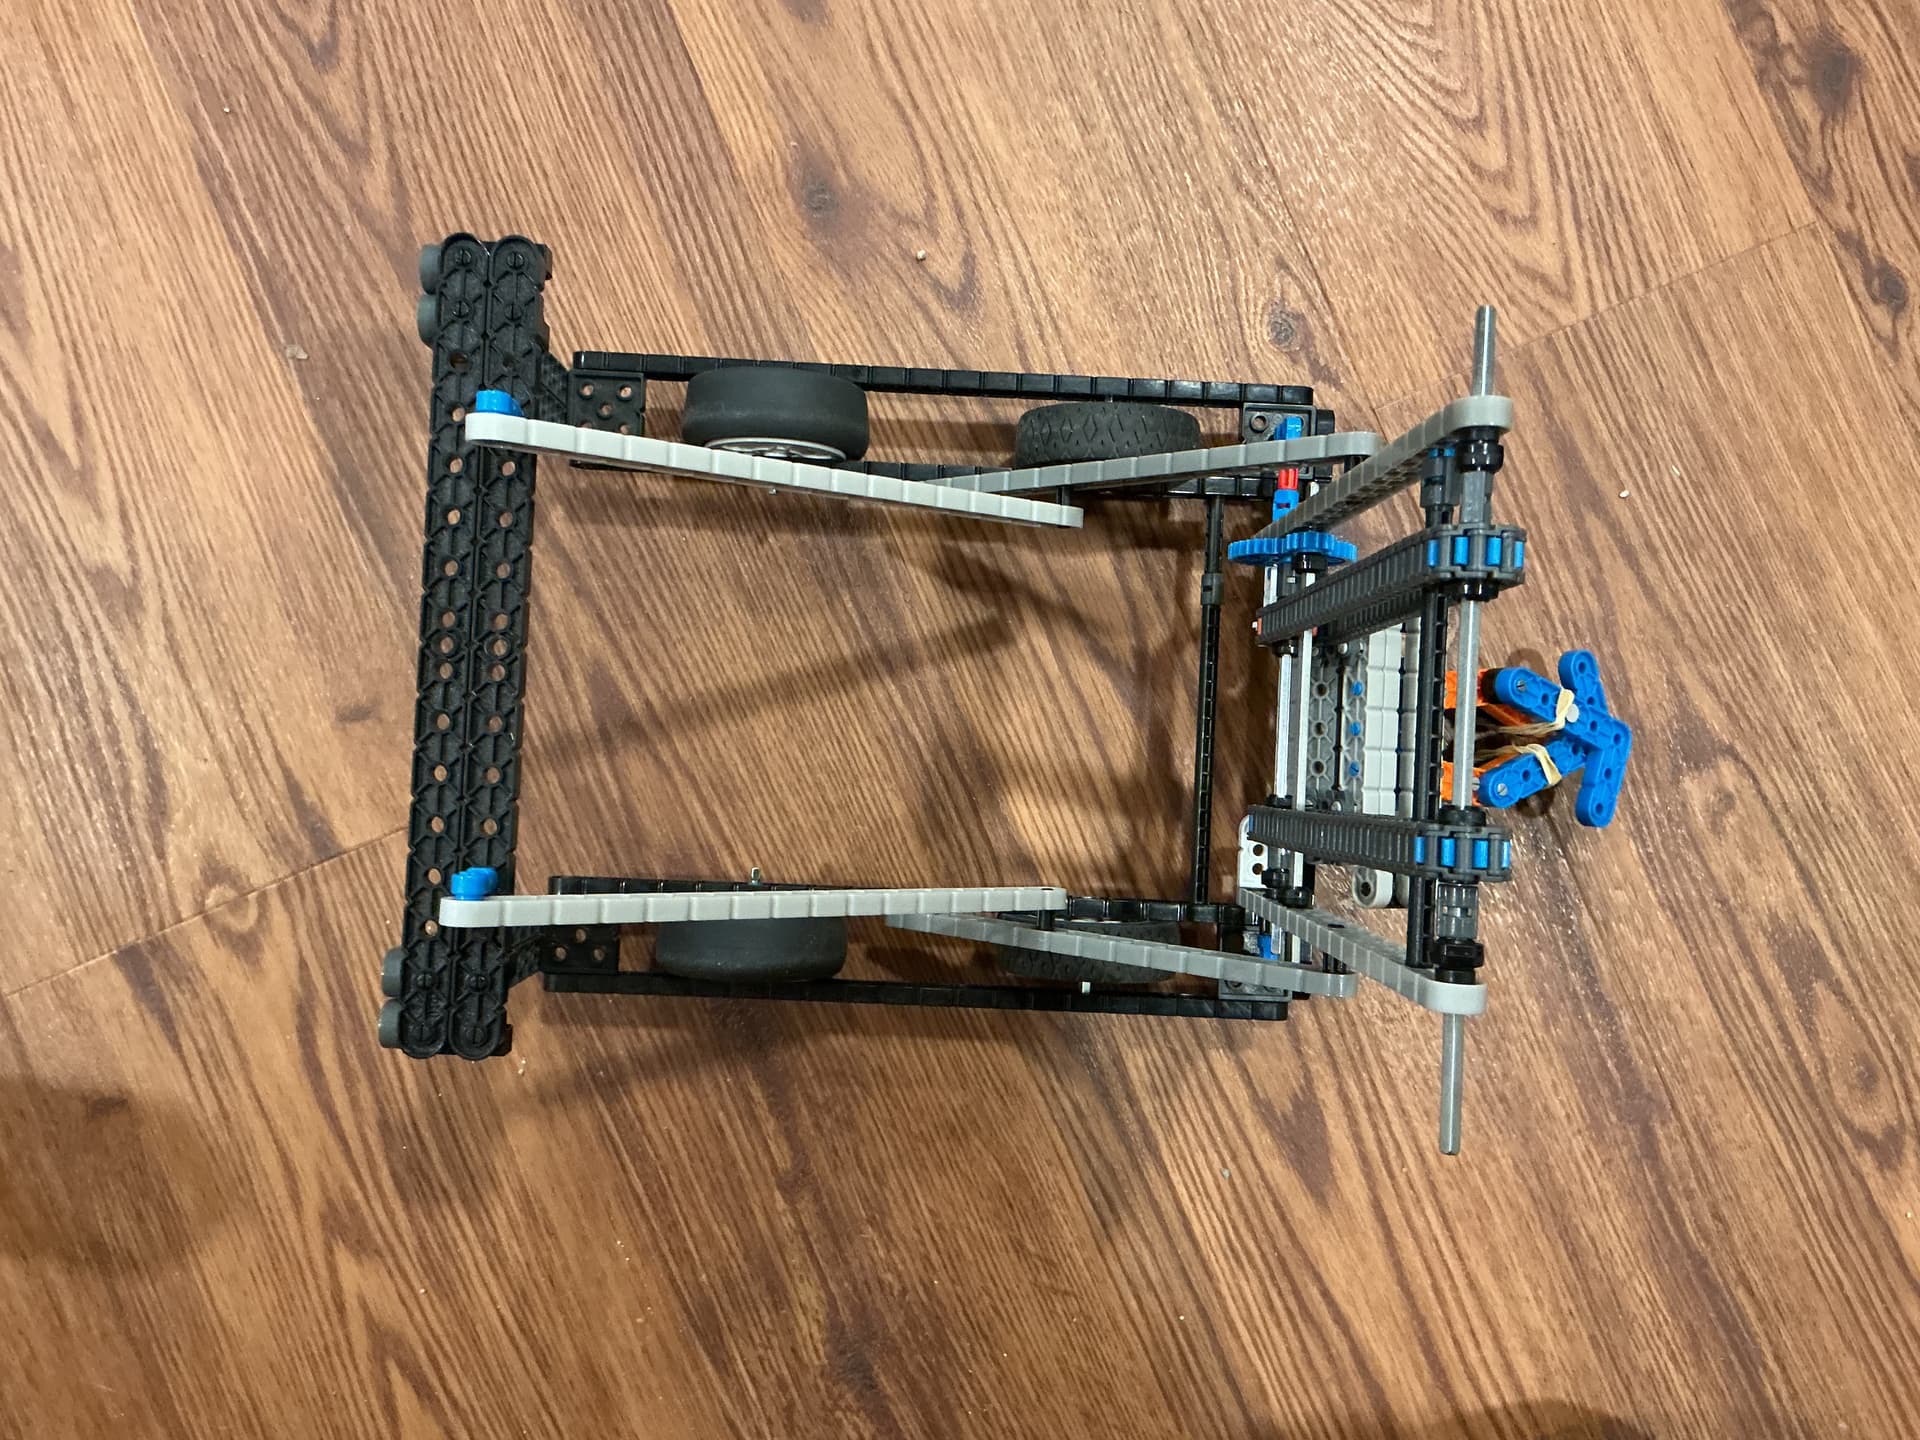
Entire robot:
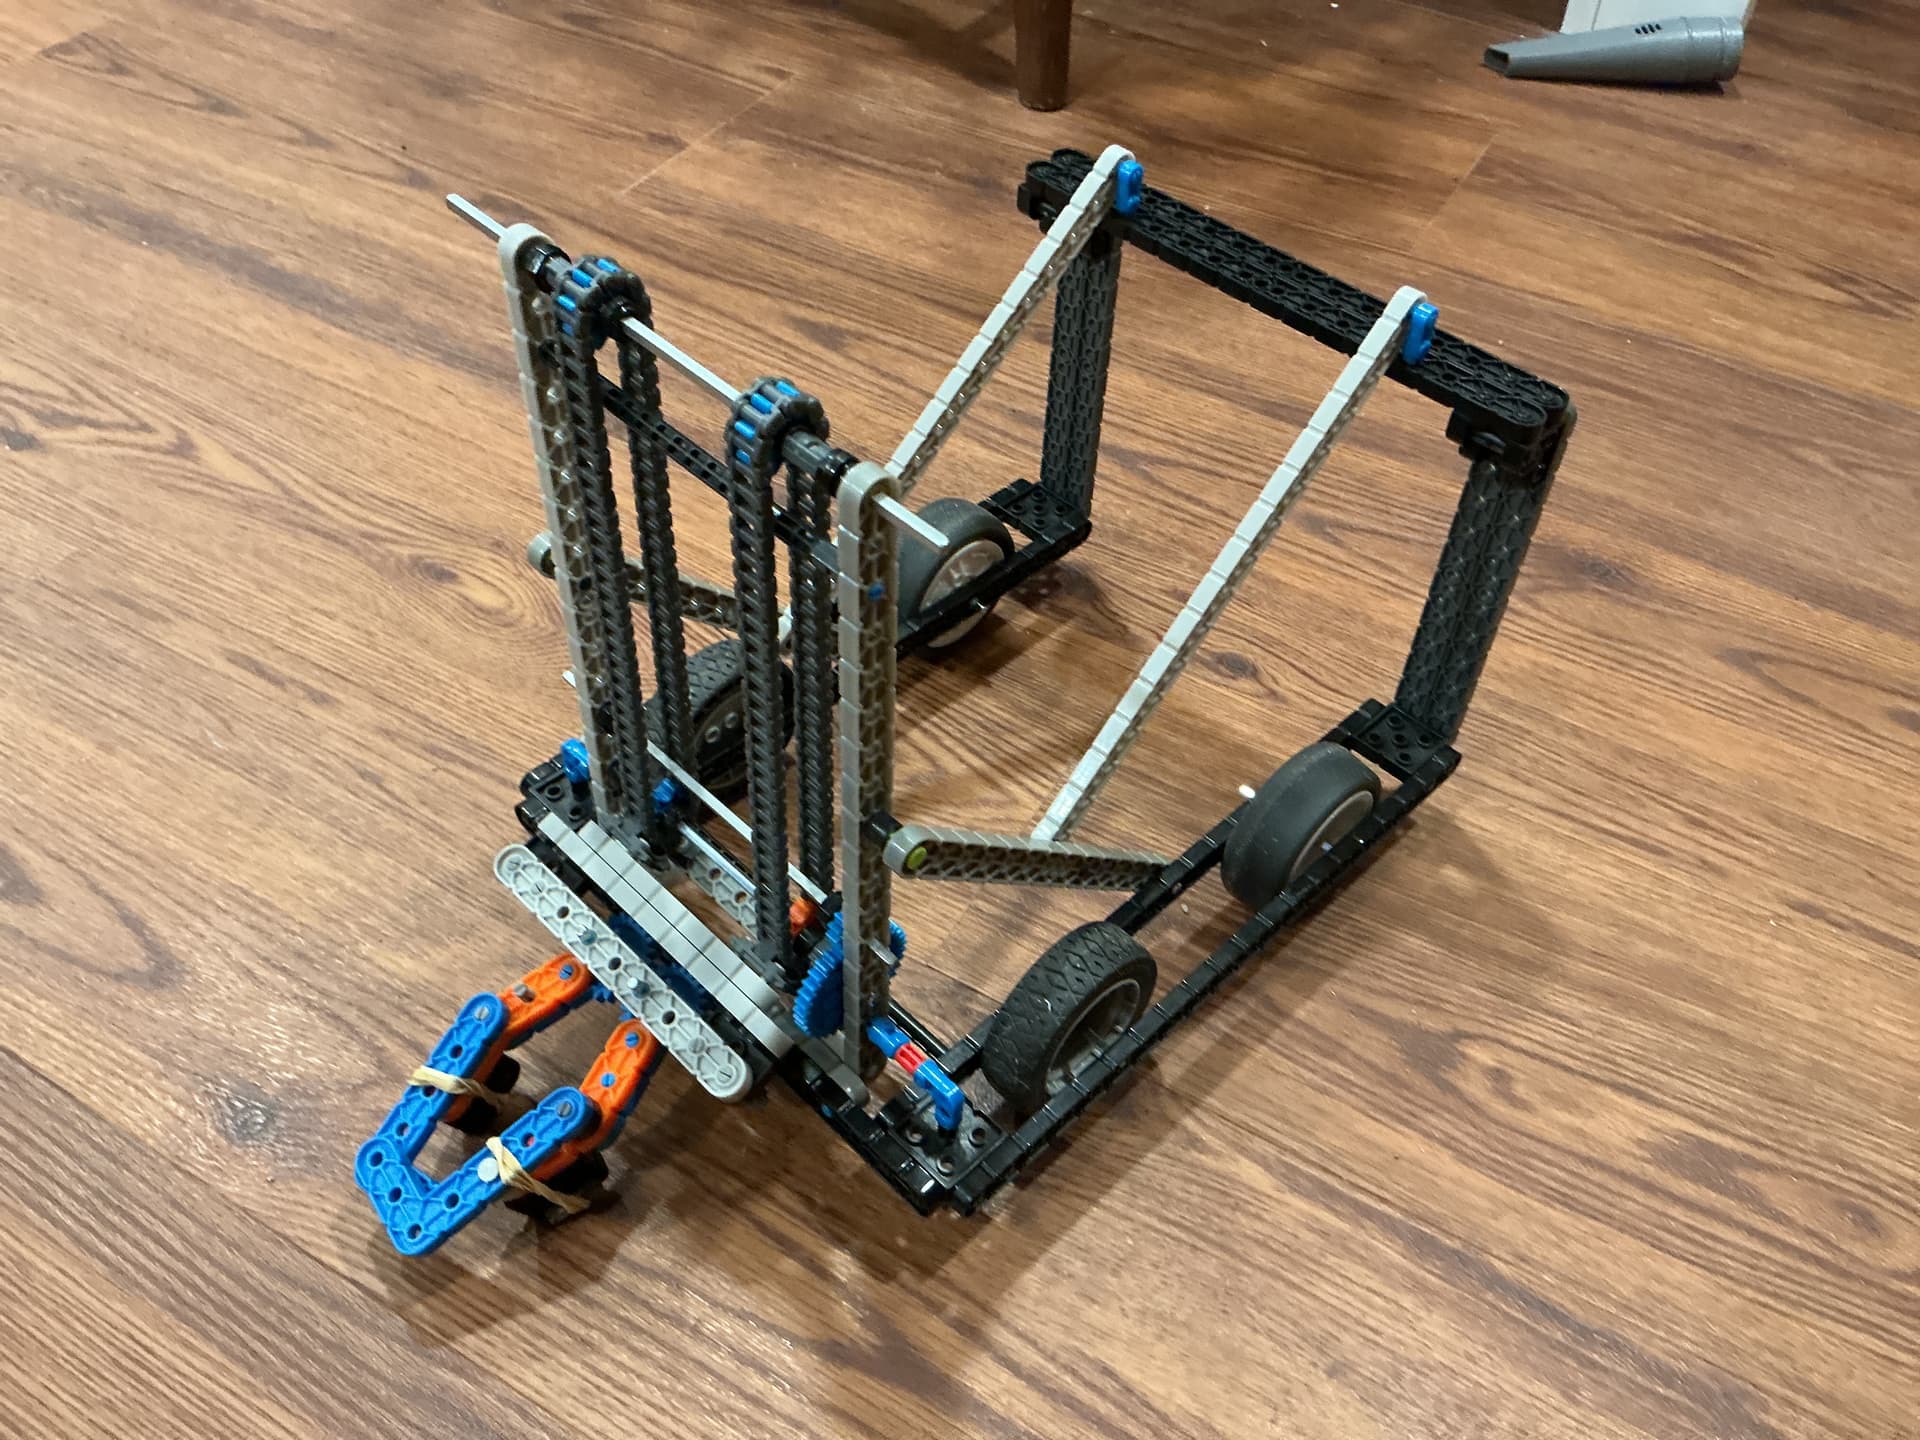
Triangle 1X structure:
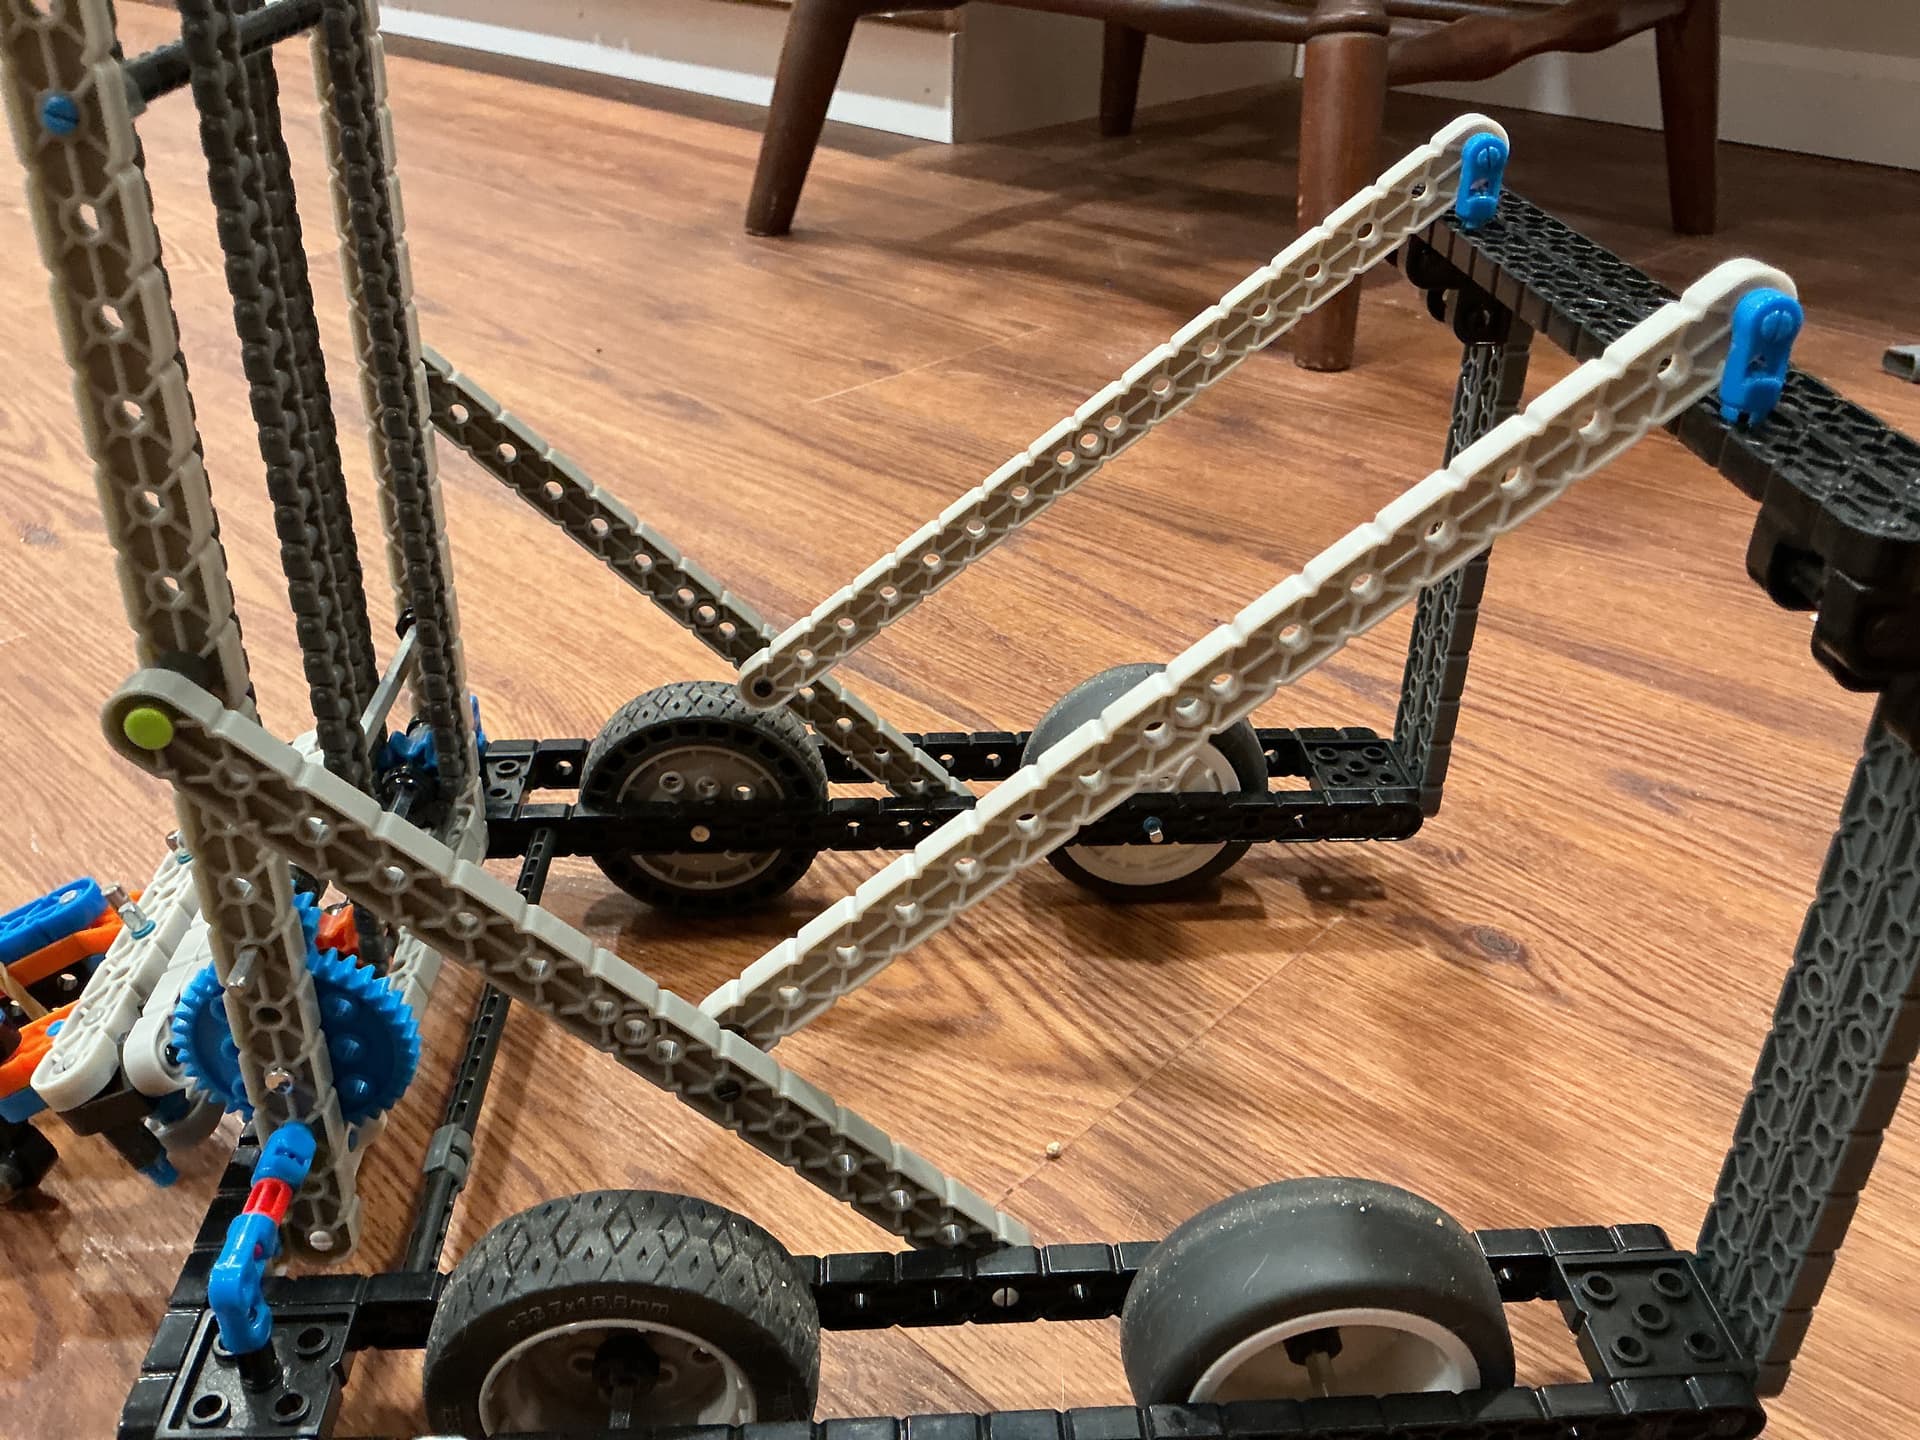

How it works: The front acts as a generic claw bot, moving up and down grabbing and stacking pins.
Robot making 2 stack

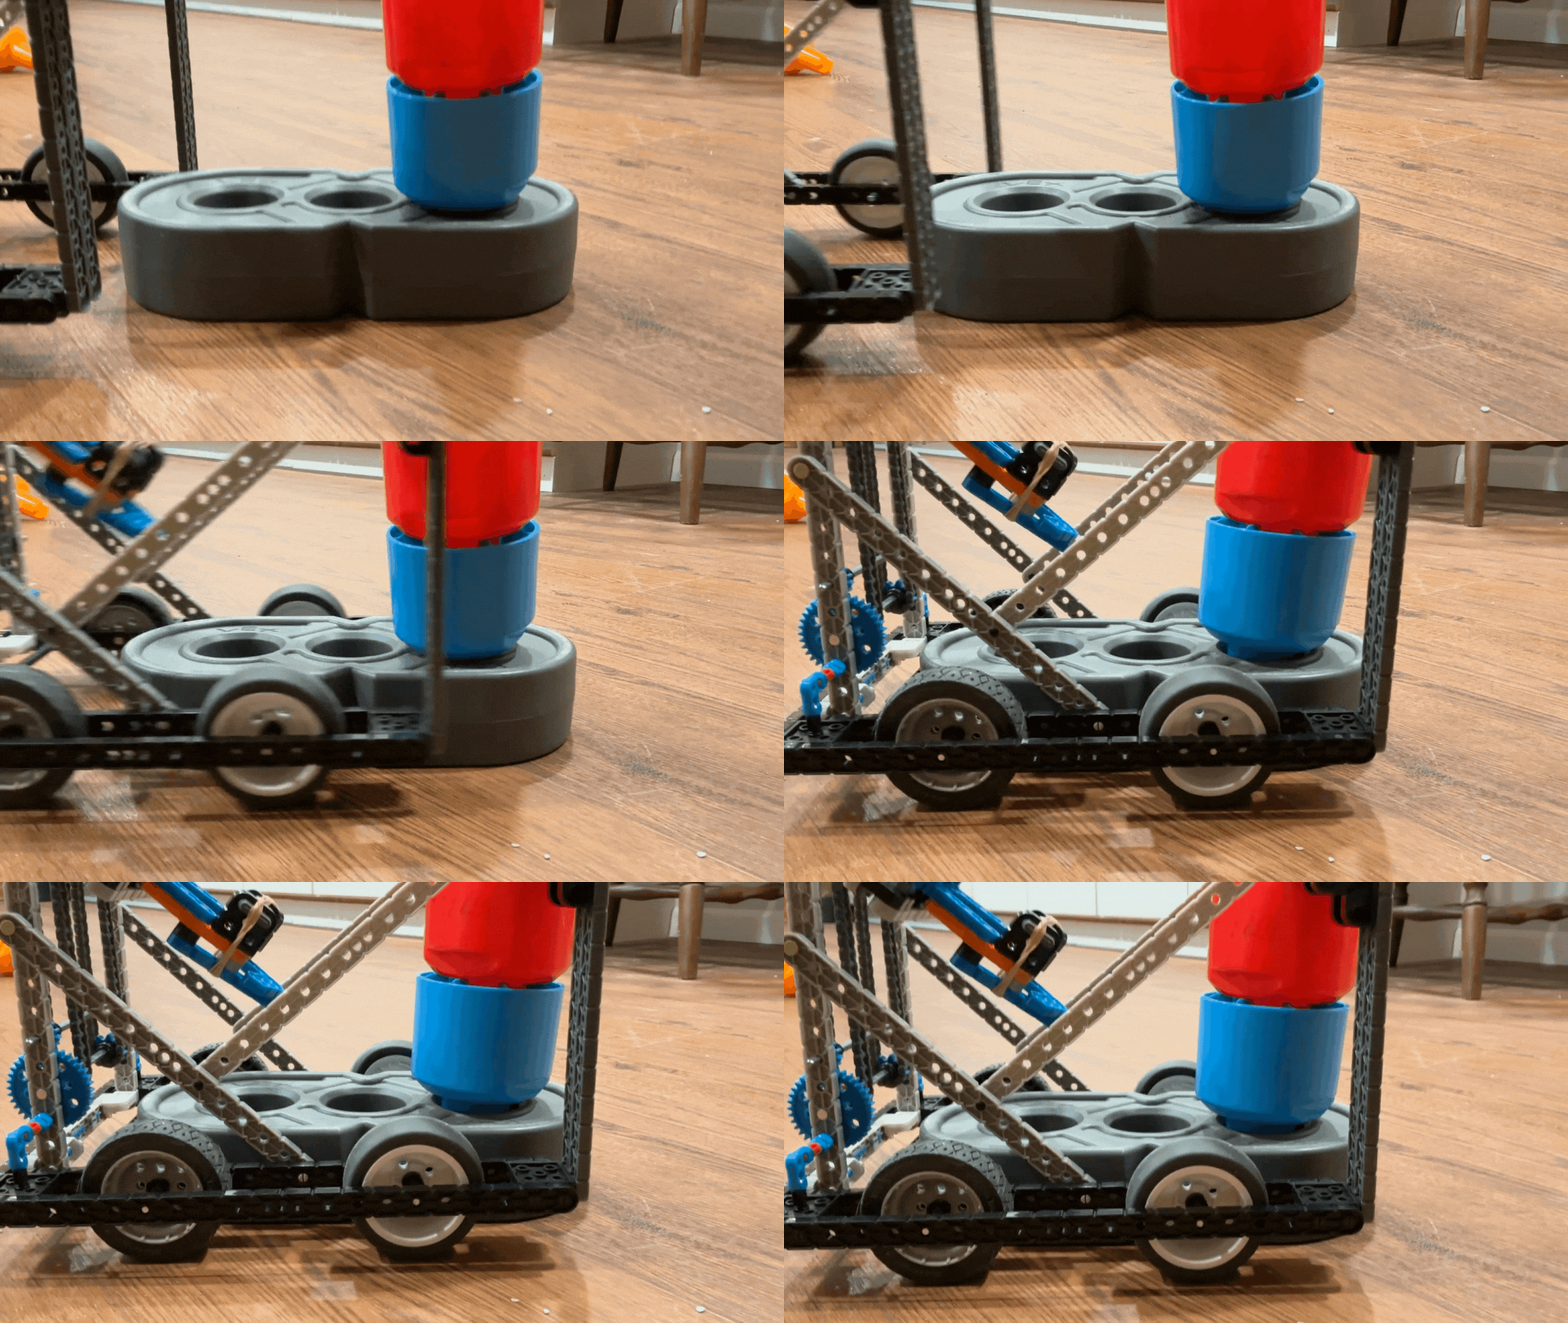
When it wants to score on a beam, it will grab a 2 stack and reverse into the beam it wants to score on. It will then lift the 2 stack all the way to the top of the chain lift. Once the claw reaches the top, it will quickly flip the 2 stack upside down in a 180 degree motion, and lower it into the beam.
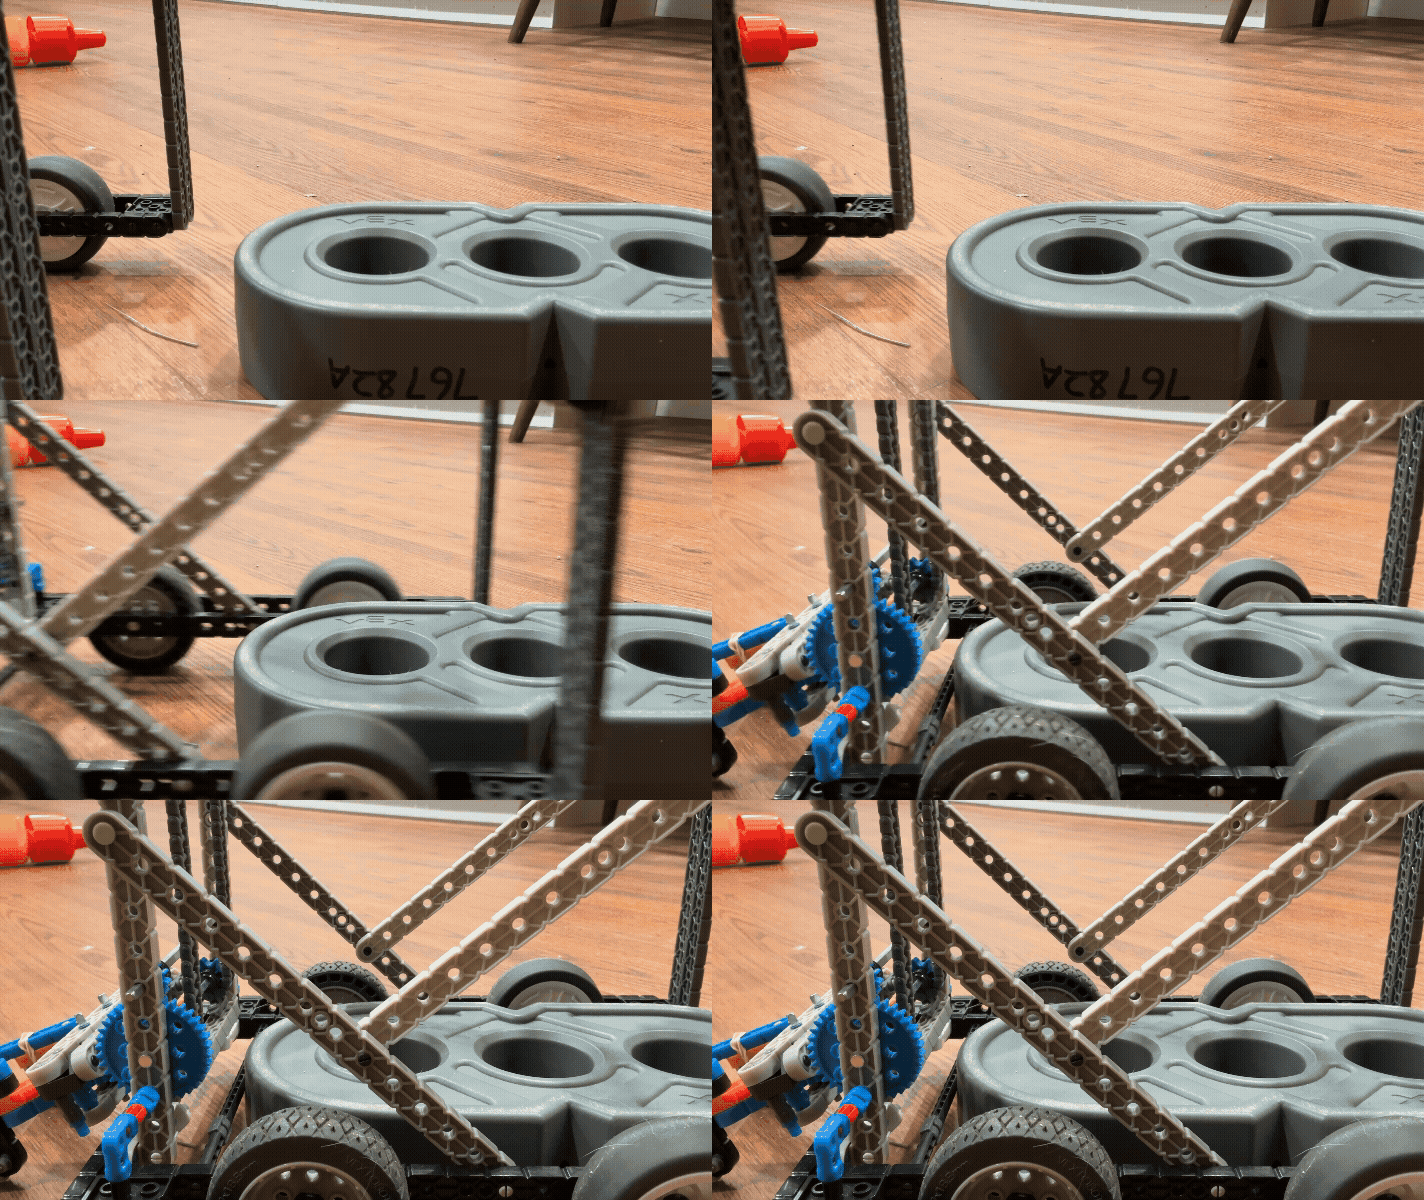
Robot drives into beam

Robot scores on beam

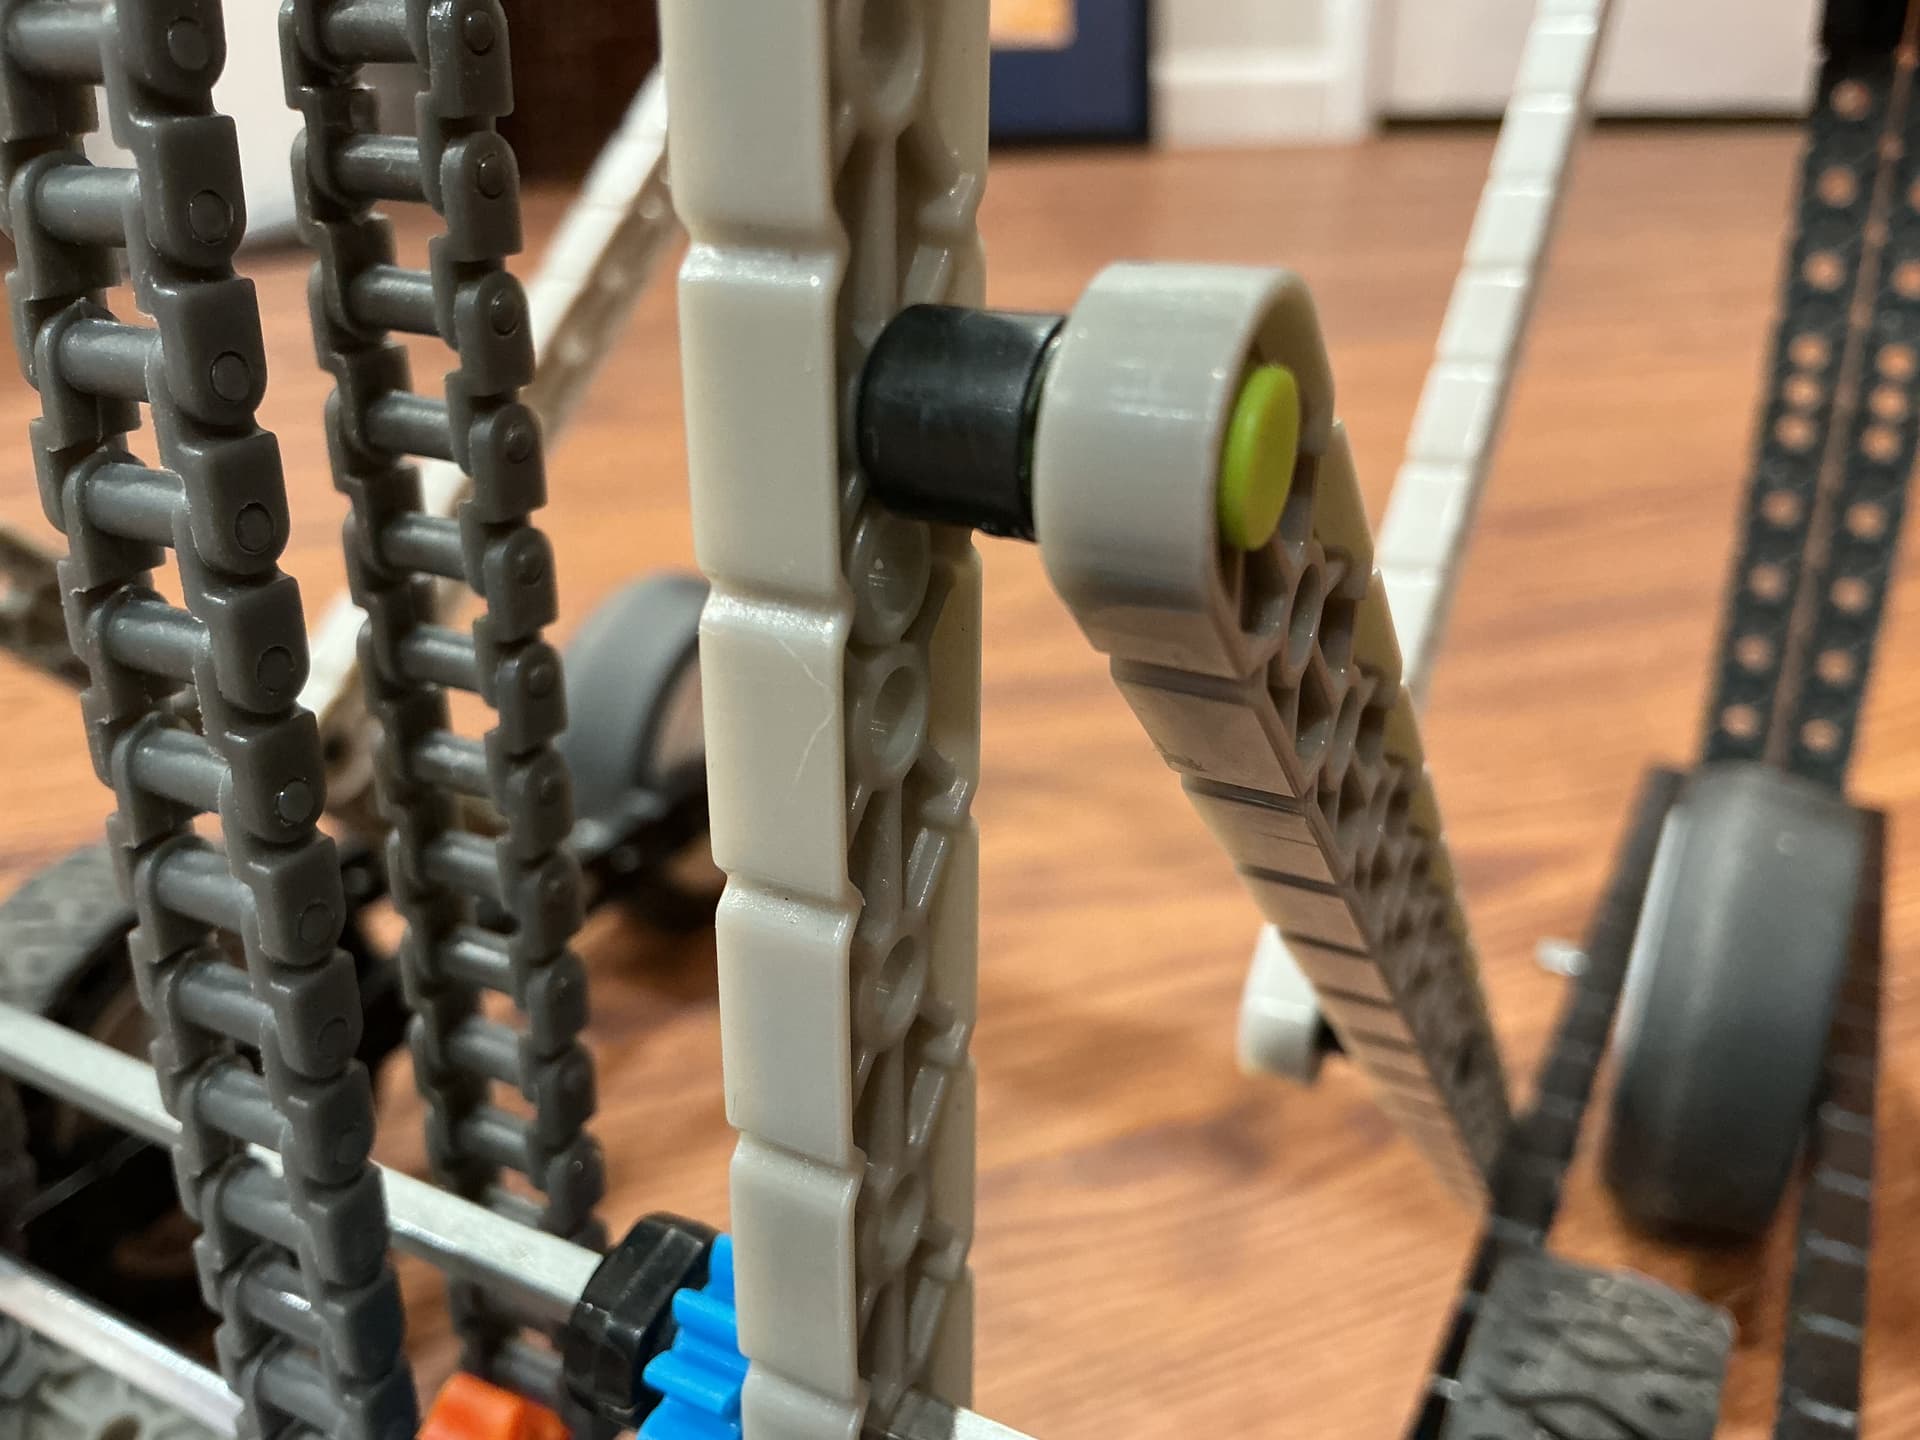
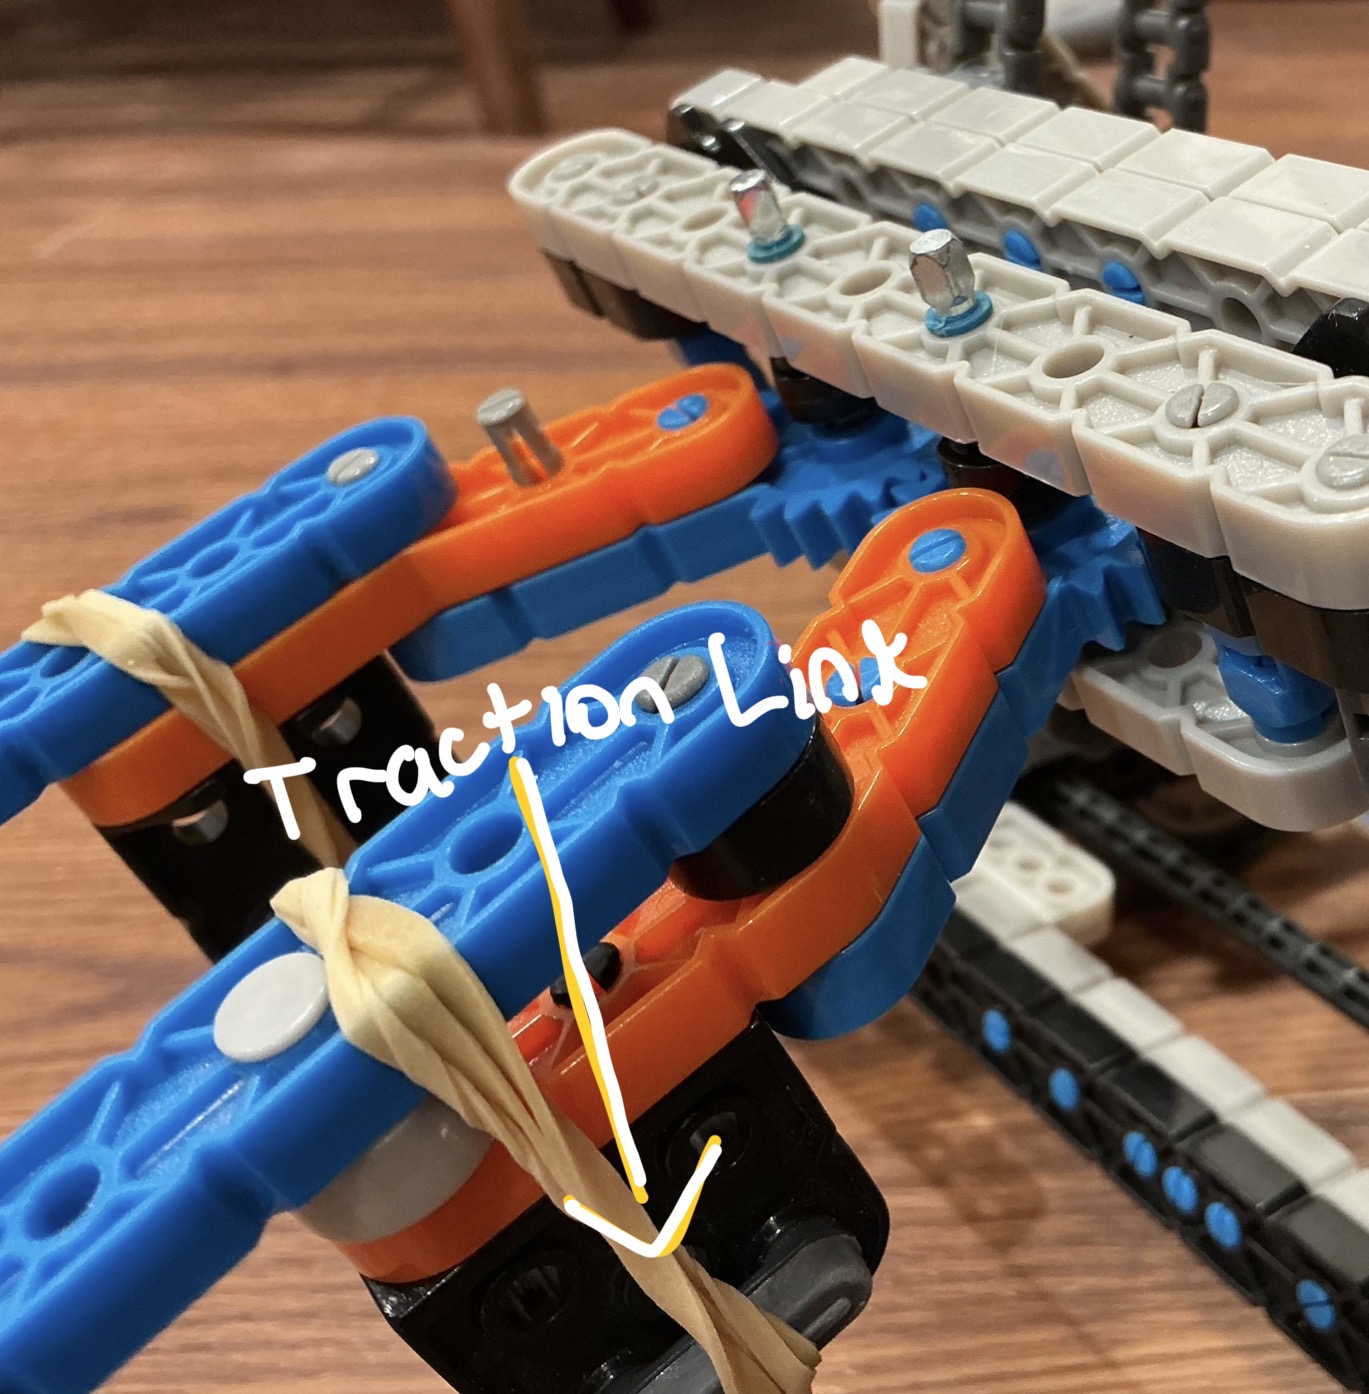
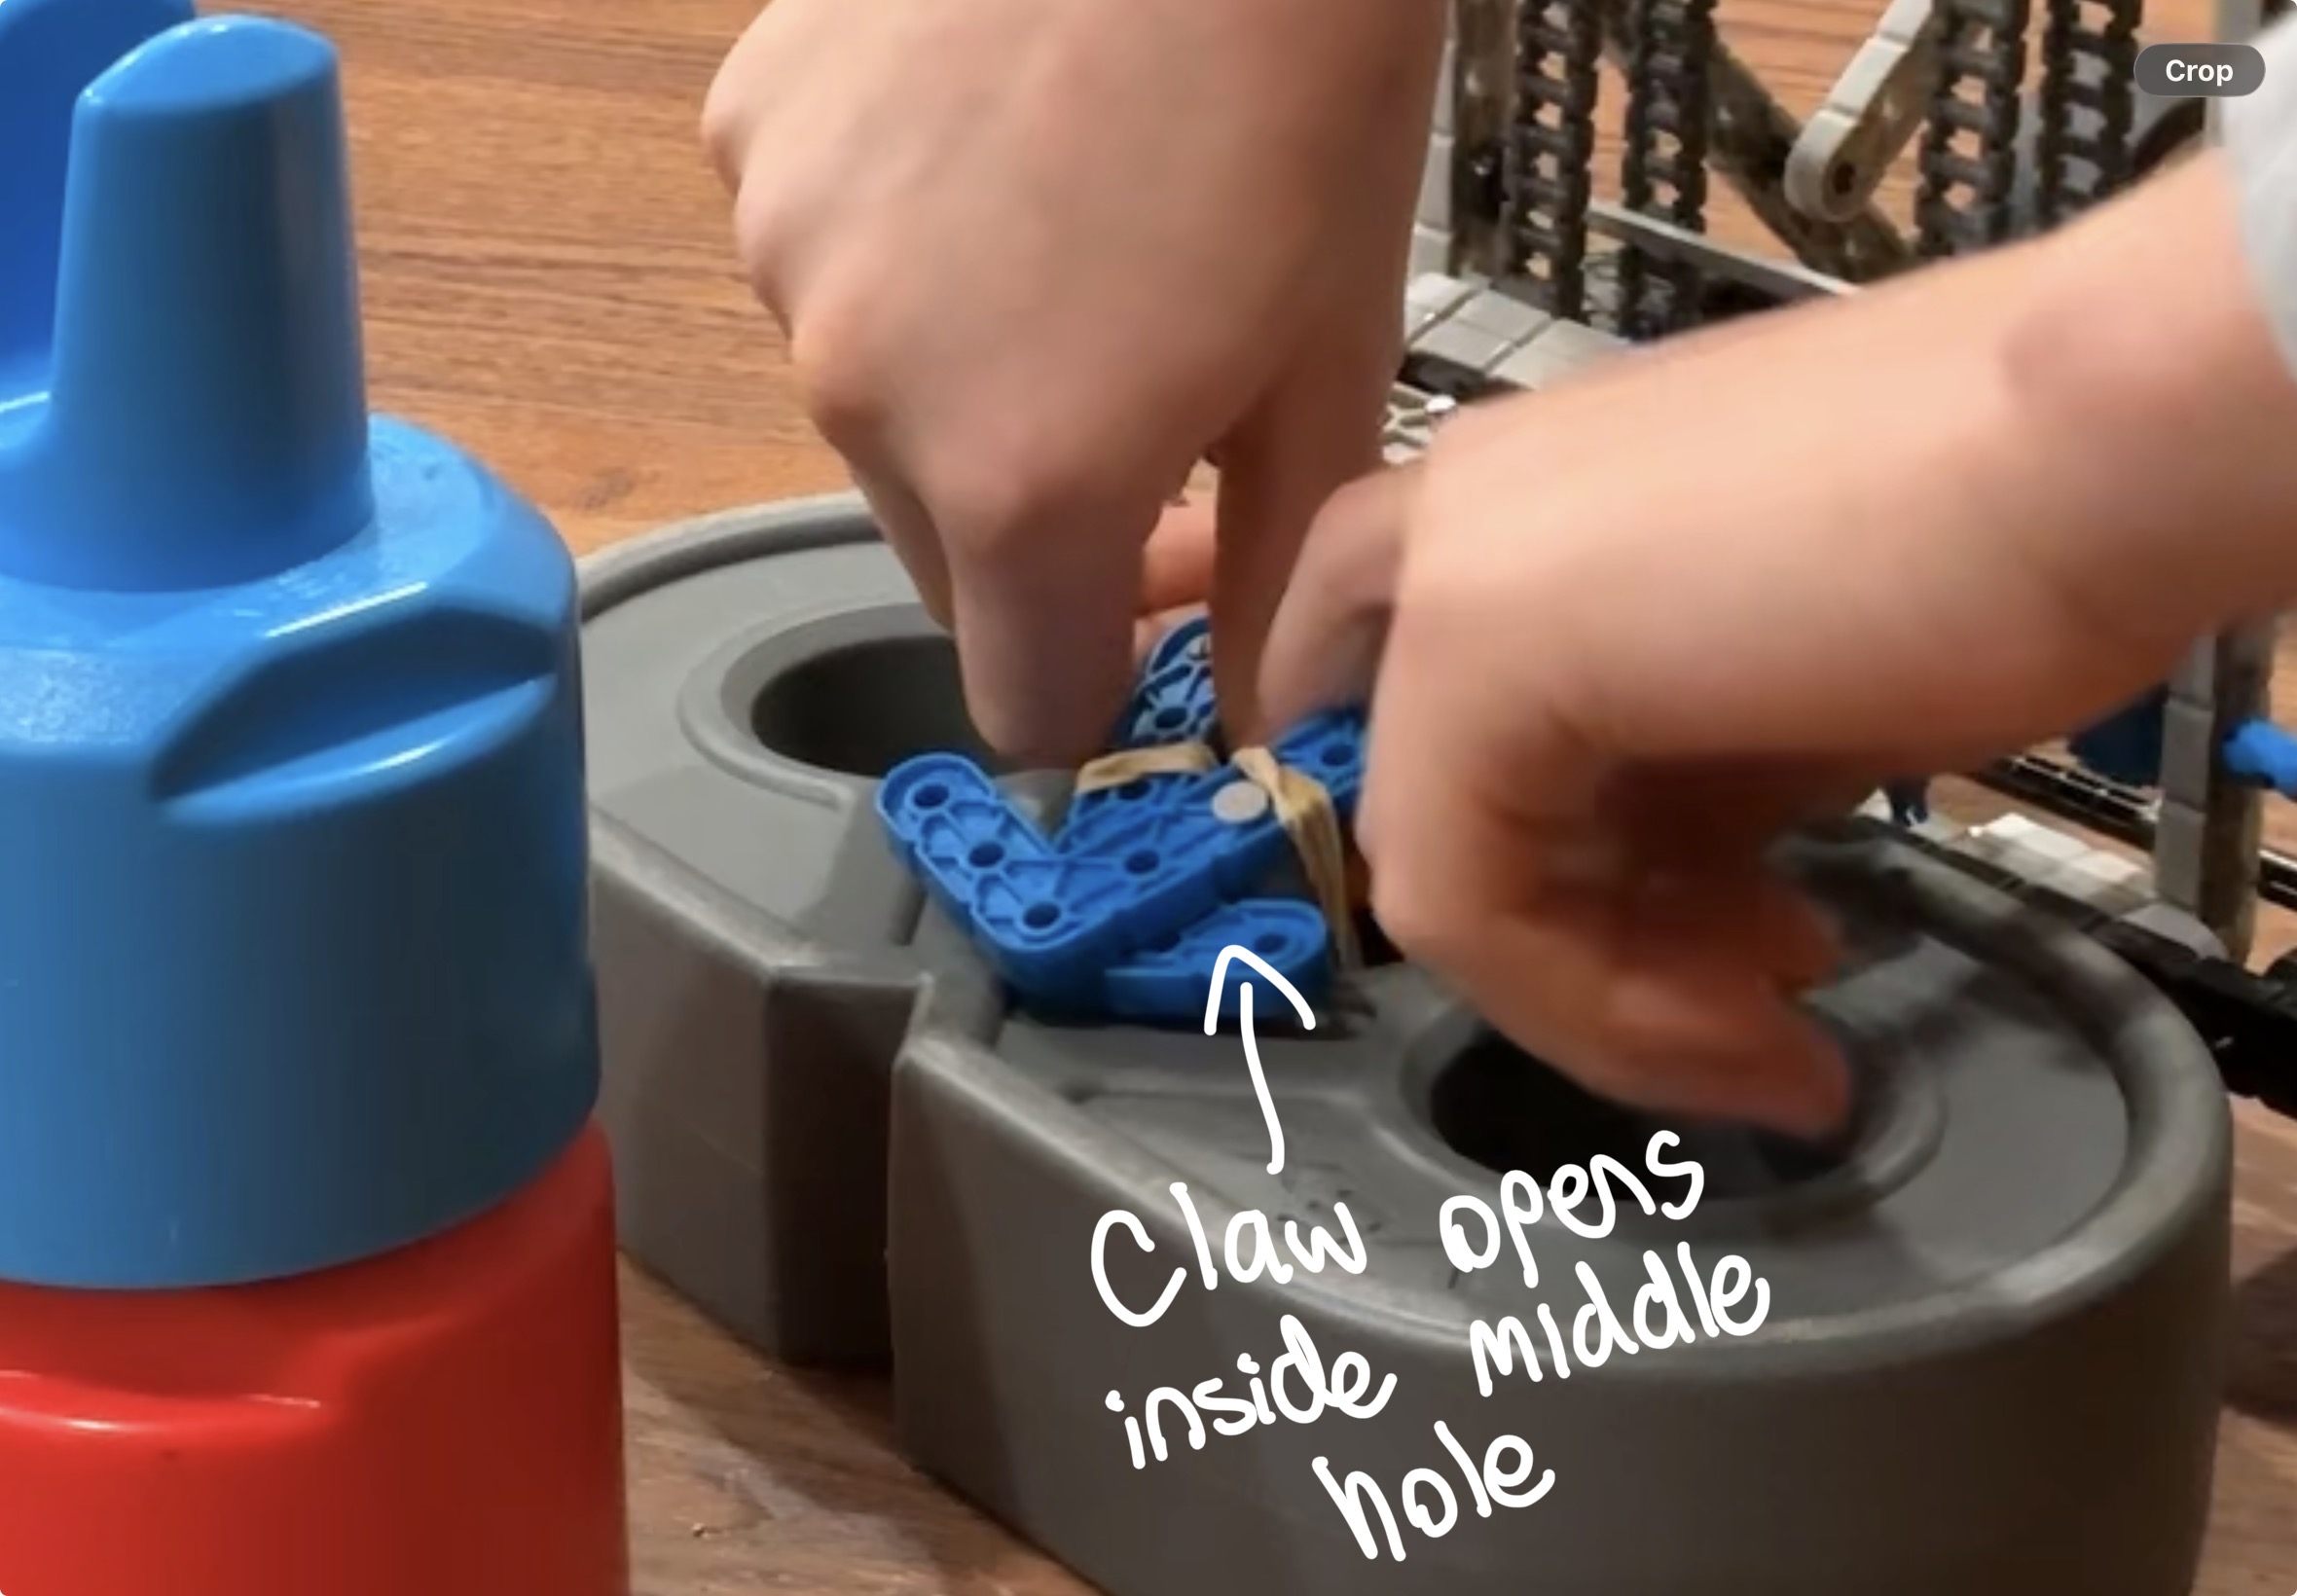
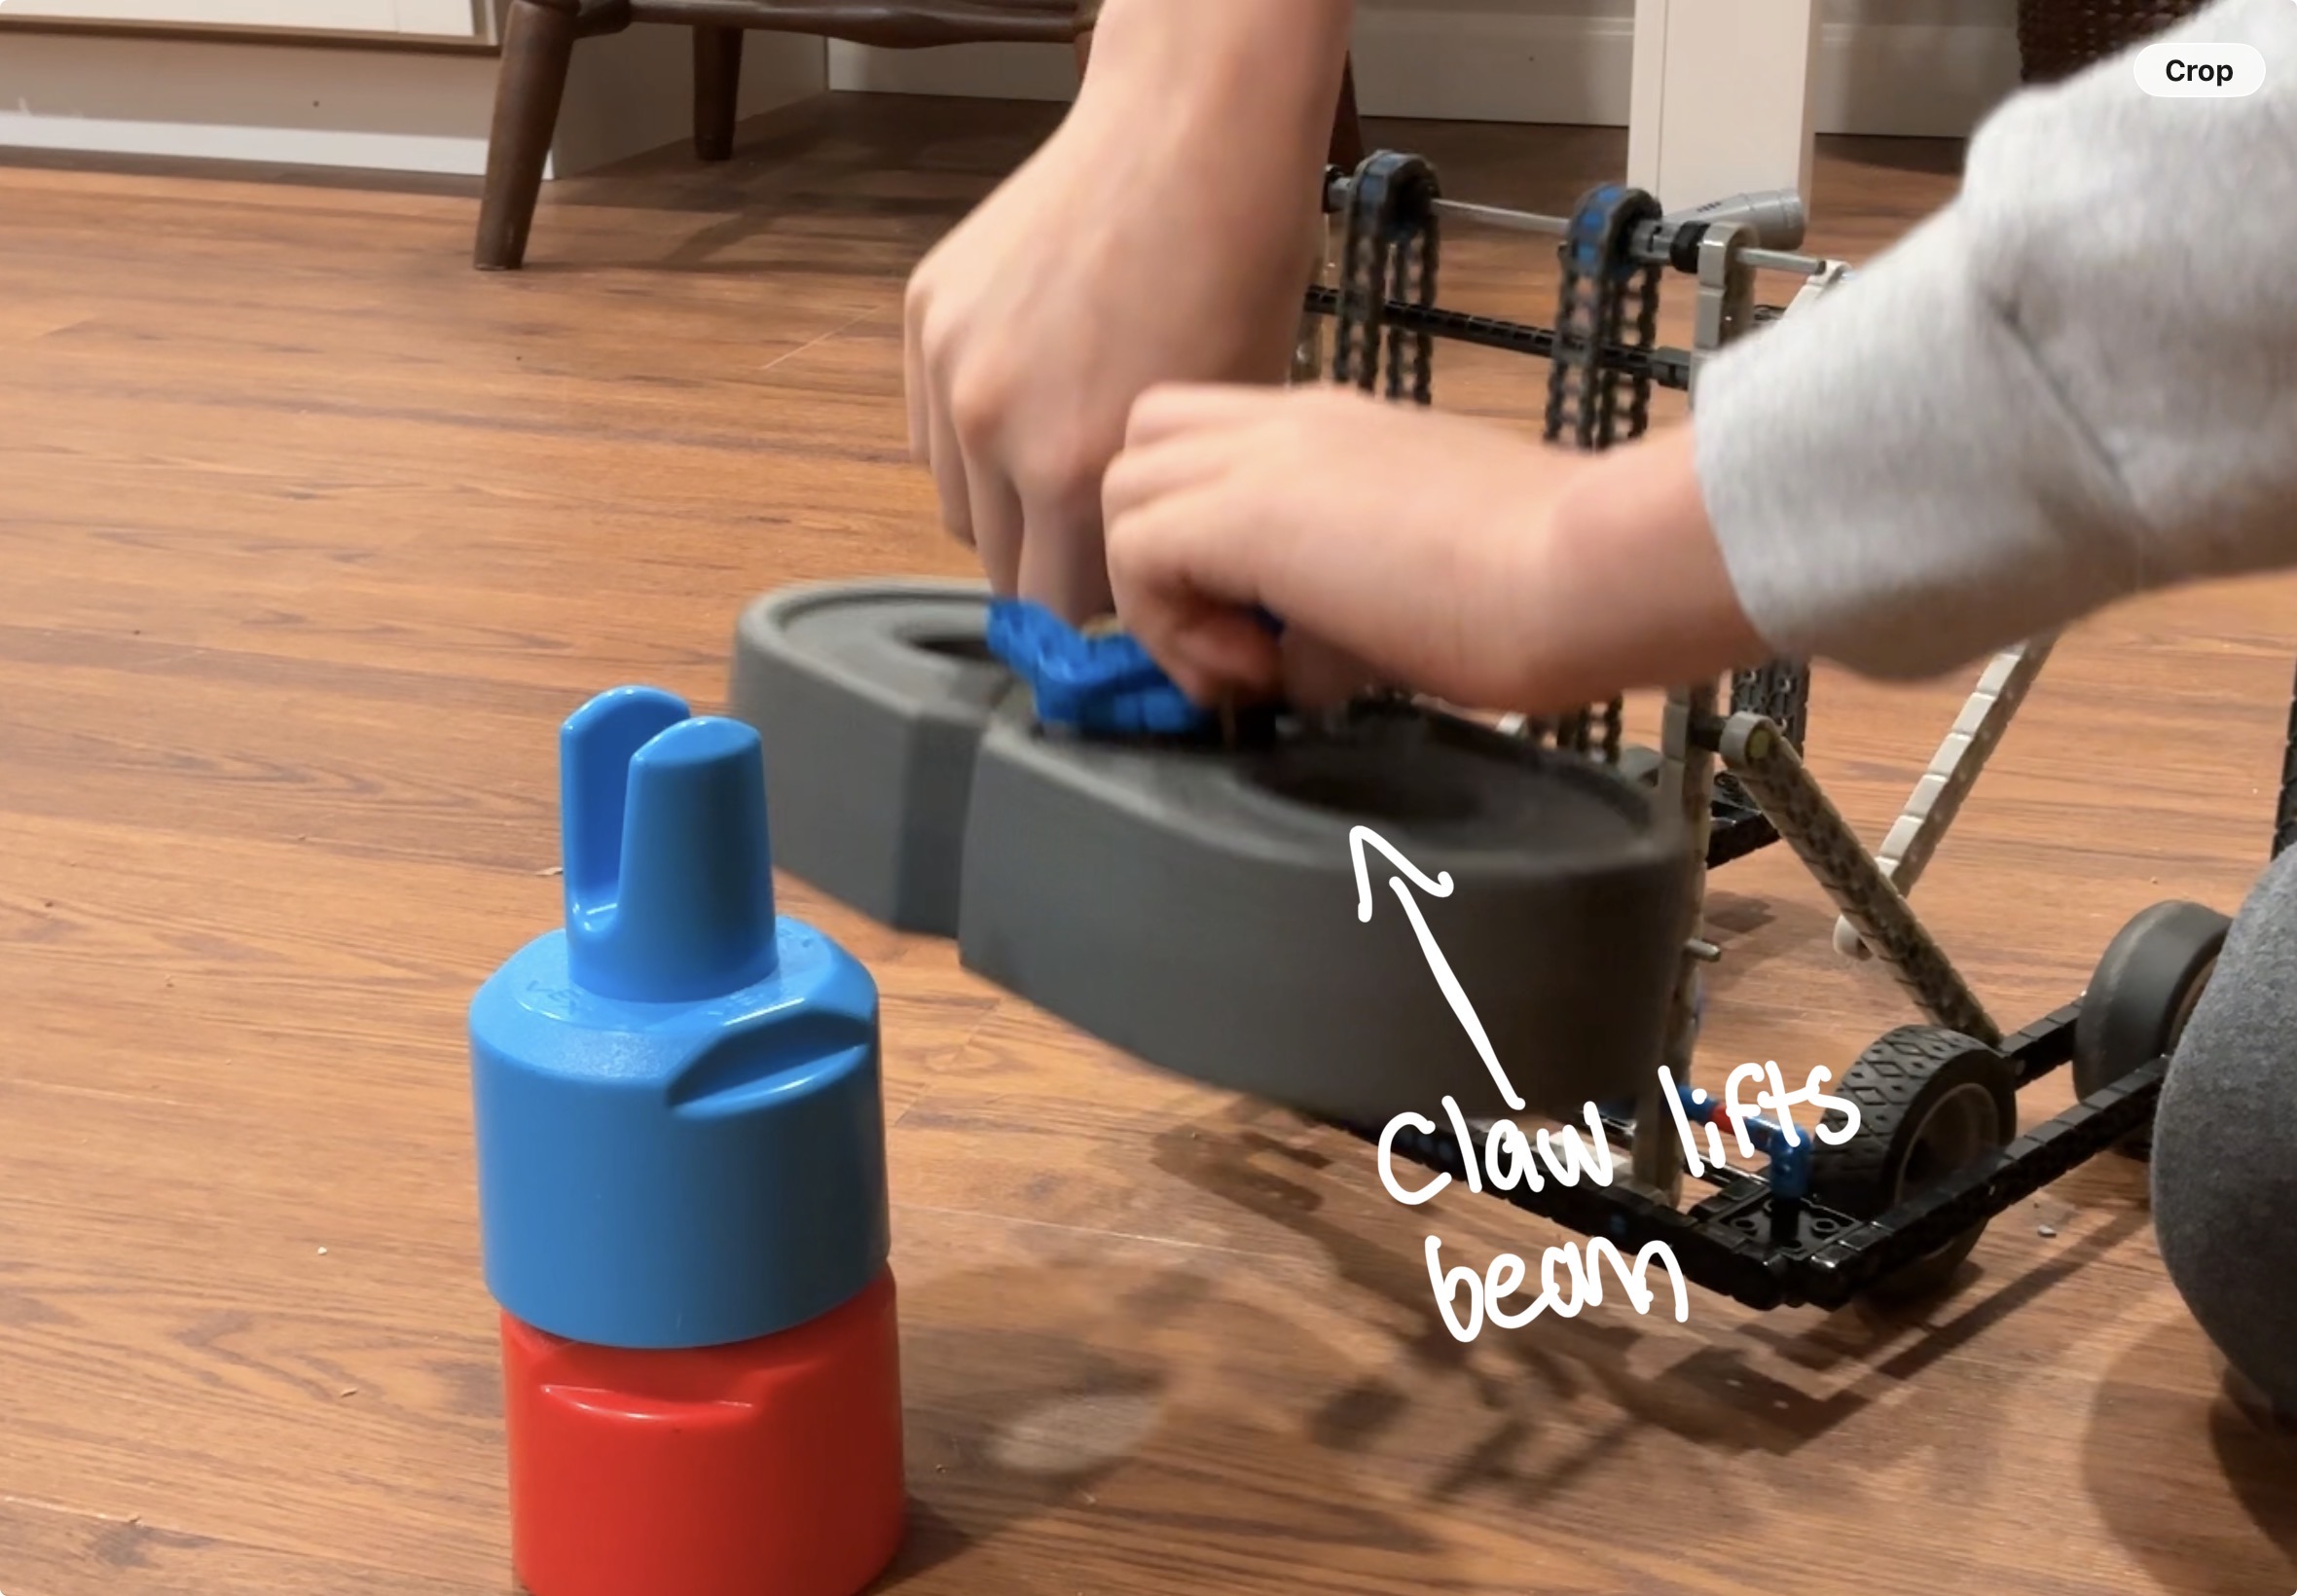
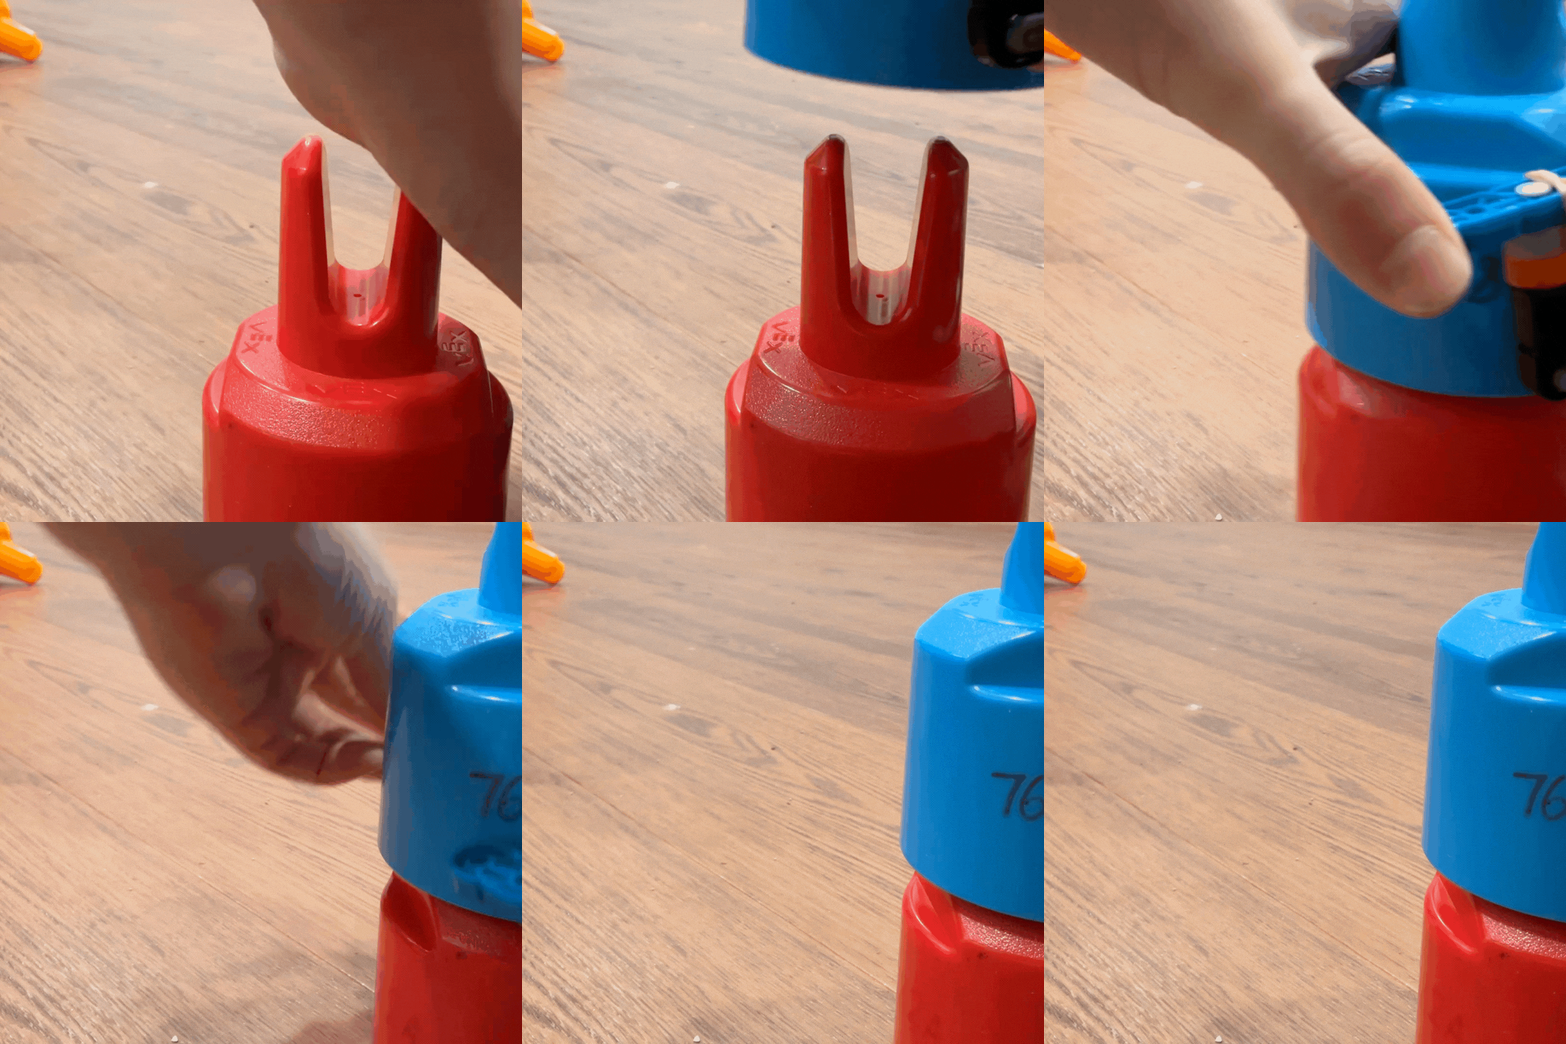
When it wants to pick up a beam, (my favorite part), the claw will close, enter the center hole of a beam, and then open. Rubber traction links located on the outside of the claw will hold firmly onto the beam, allowing it to lift up and down.
Robot picks up beam

Unfortunately, these have not been performed by the robot on its own, due to a lack of motors and only having one brain. (The rest of the motors are on my 180 mech). So, all of the GIFs you will see are assisted by me.


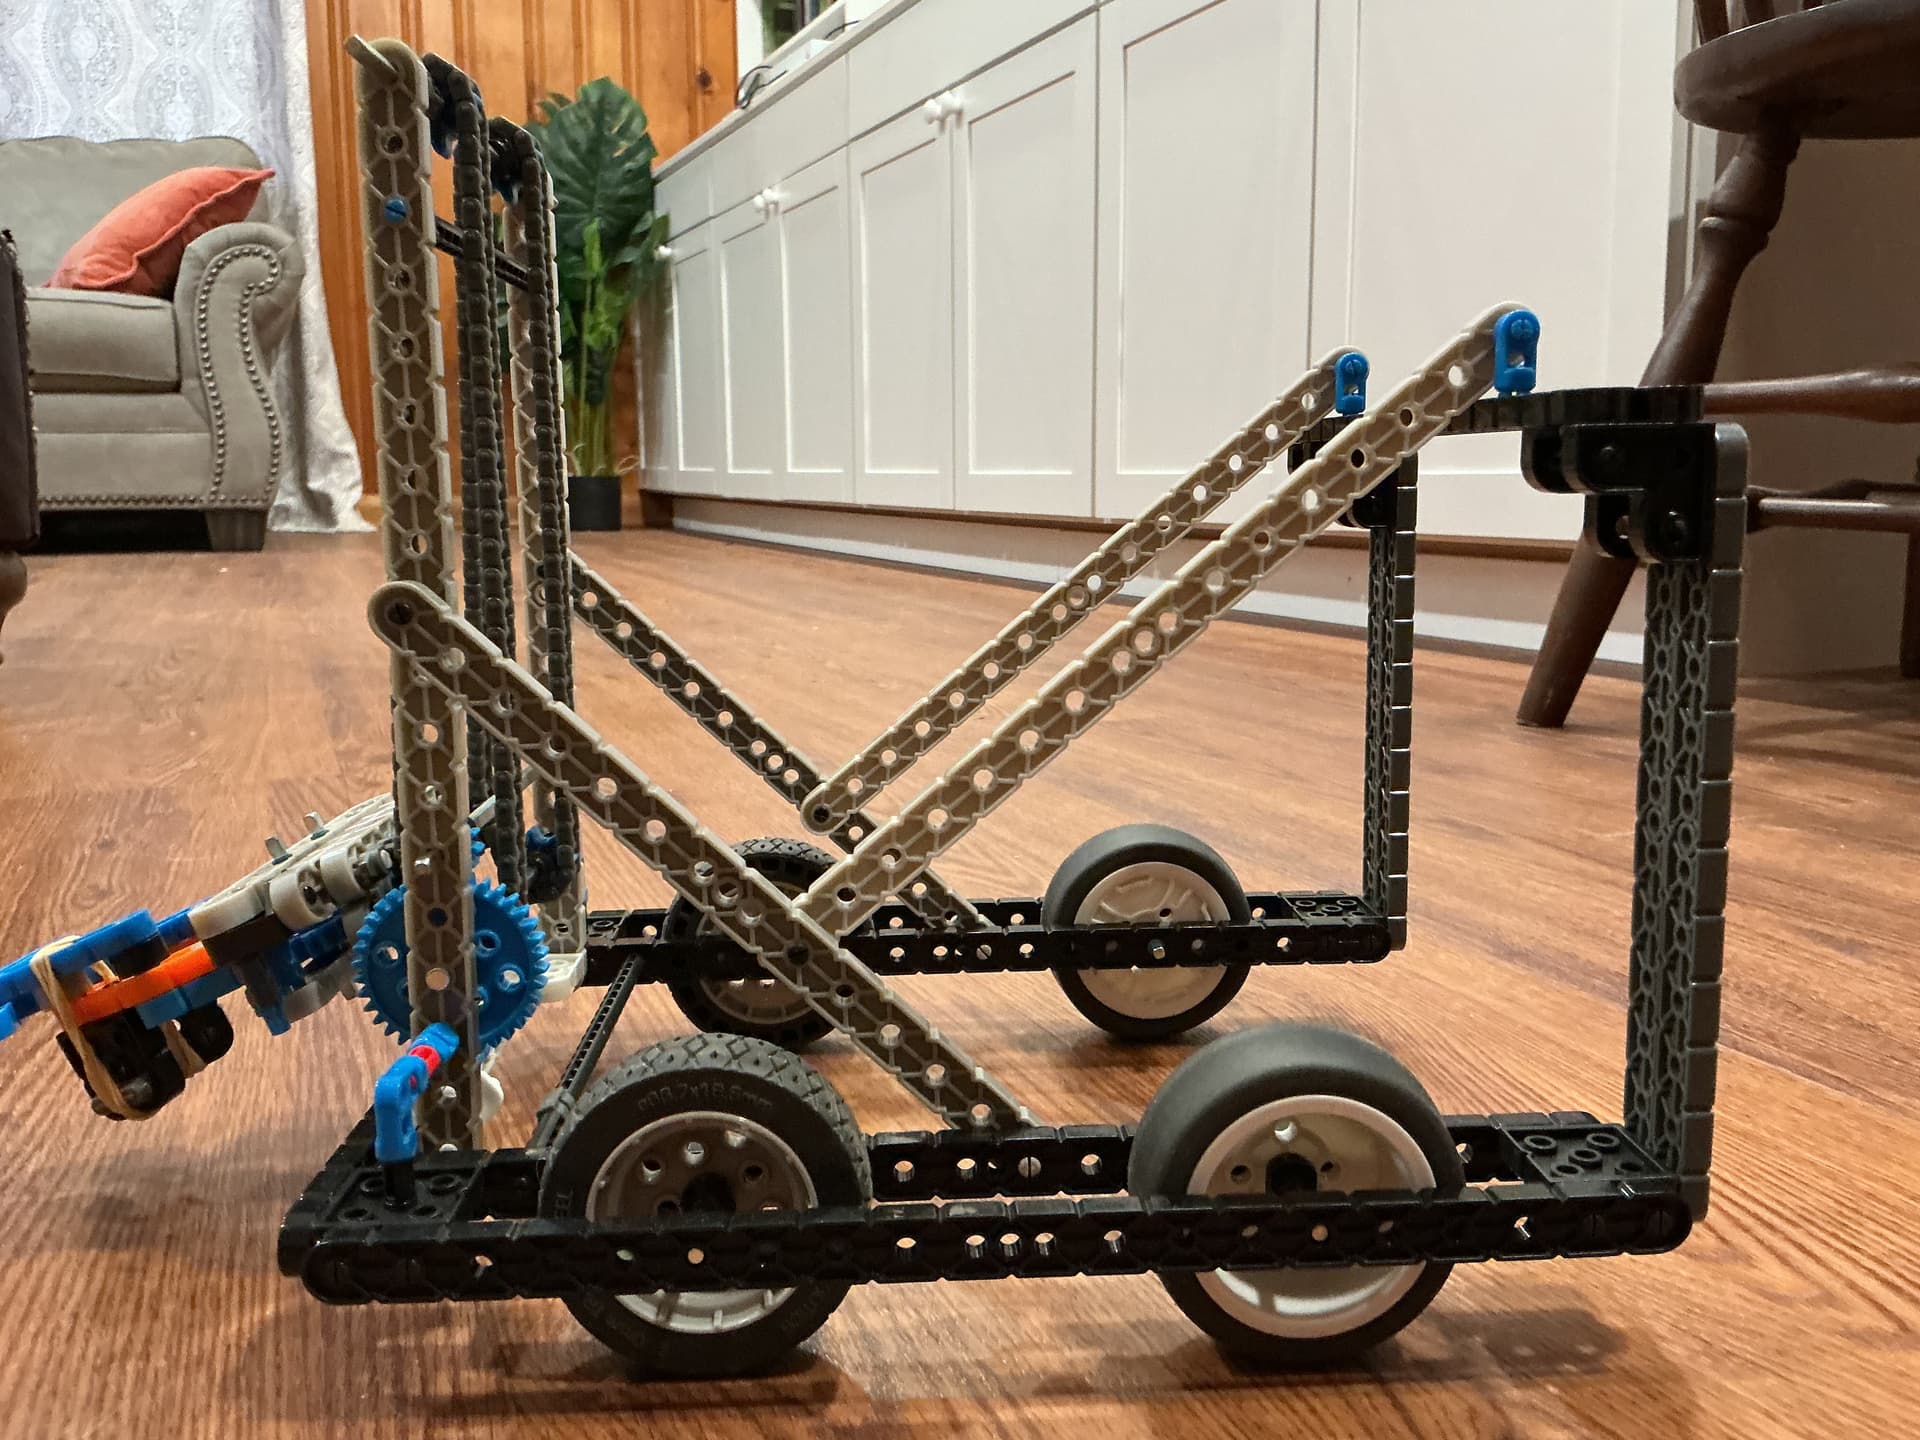
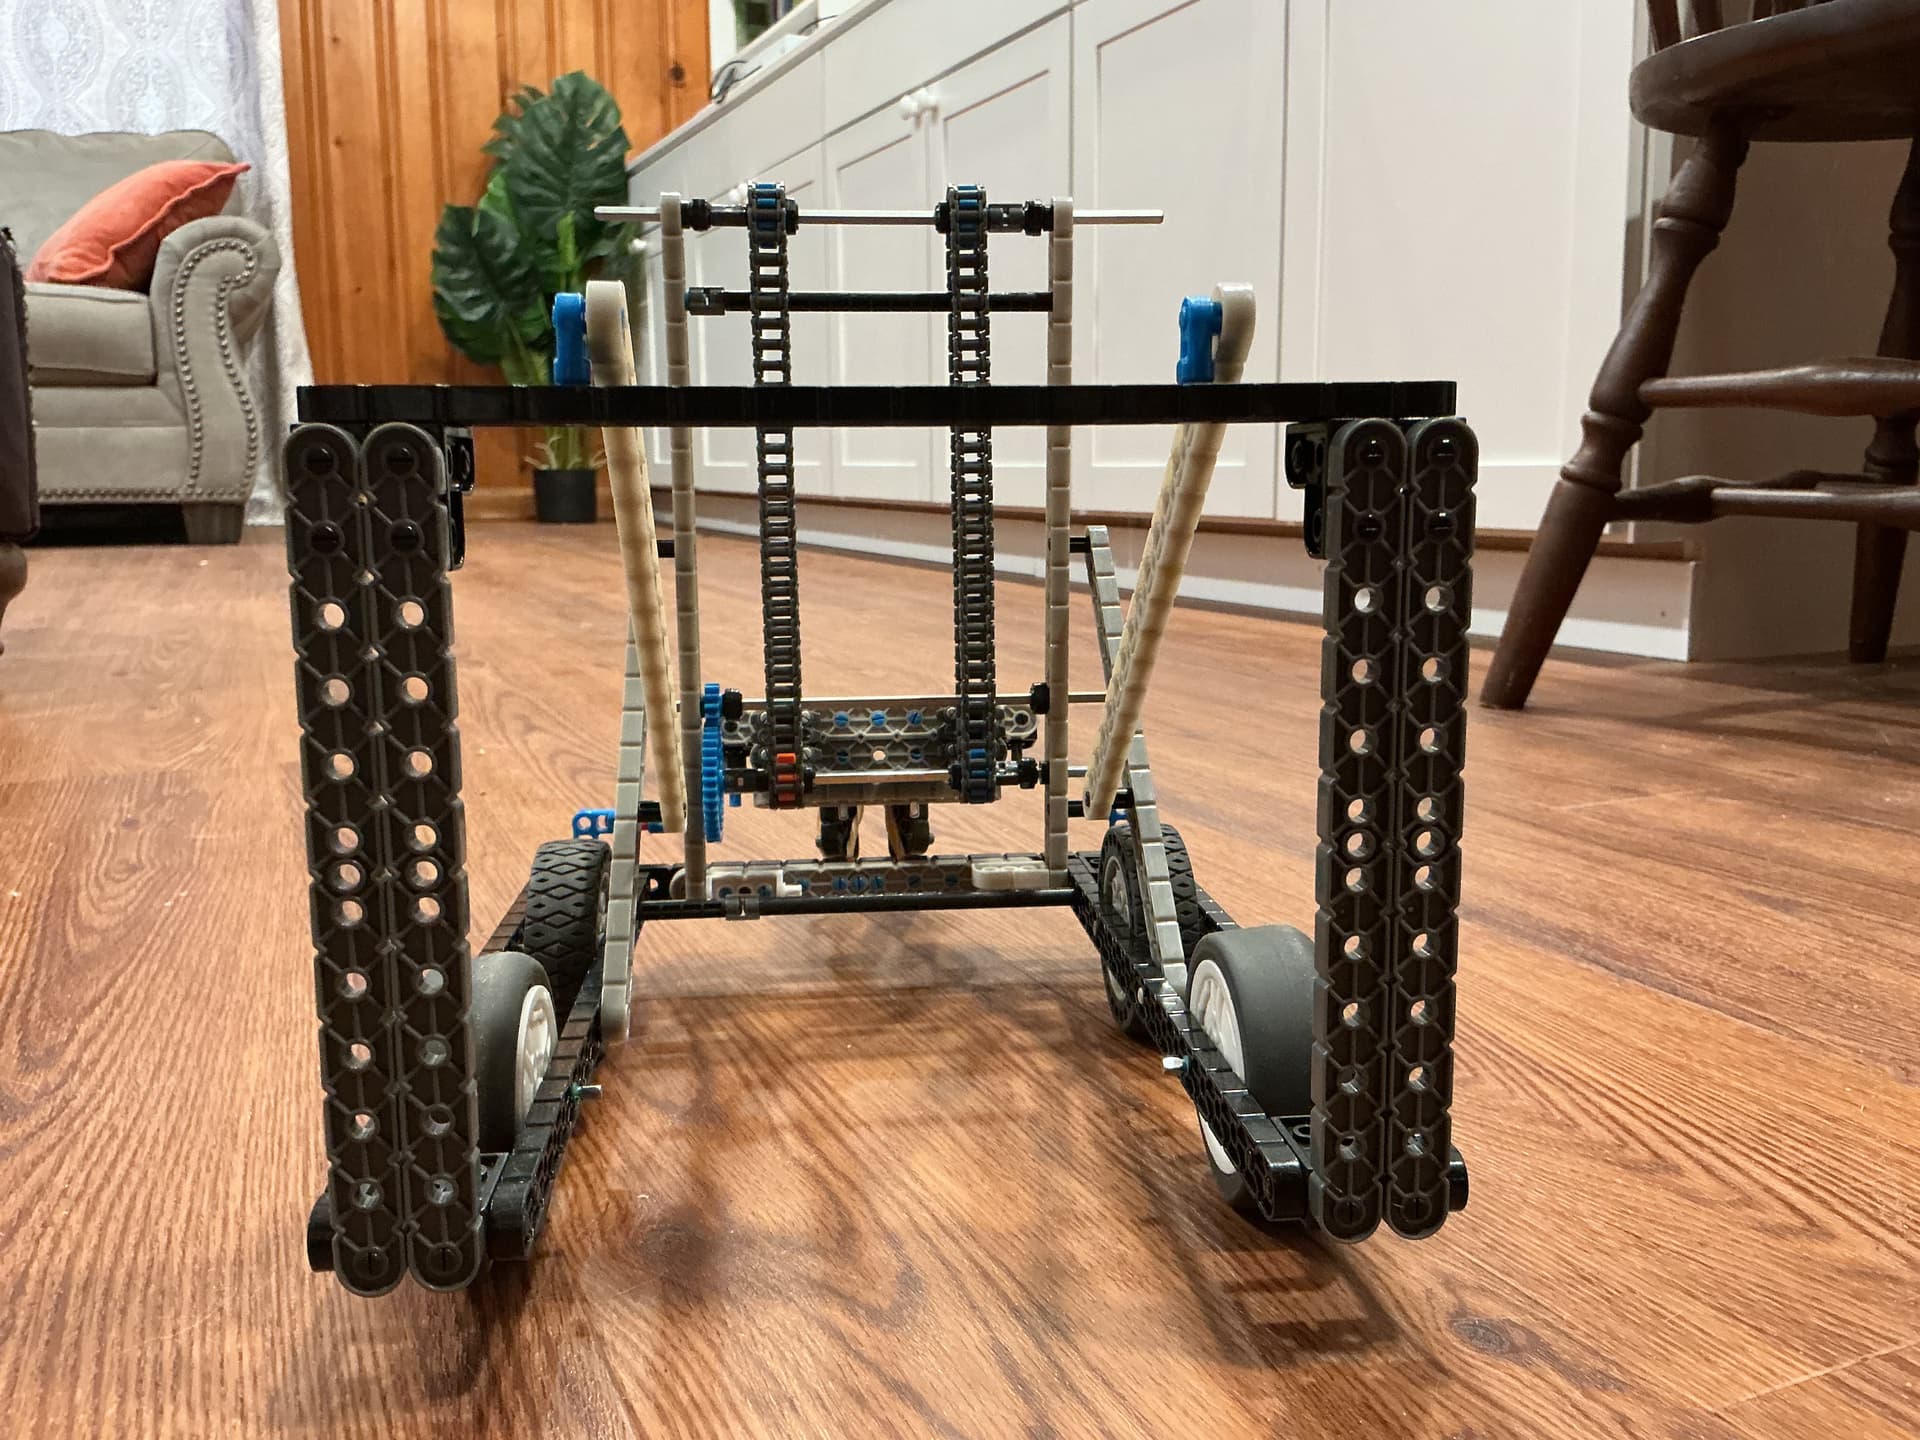
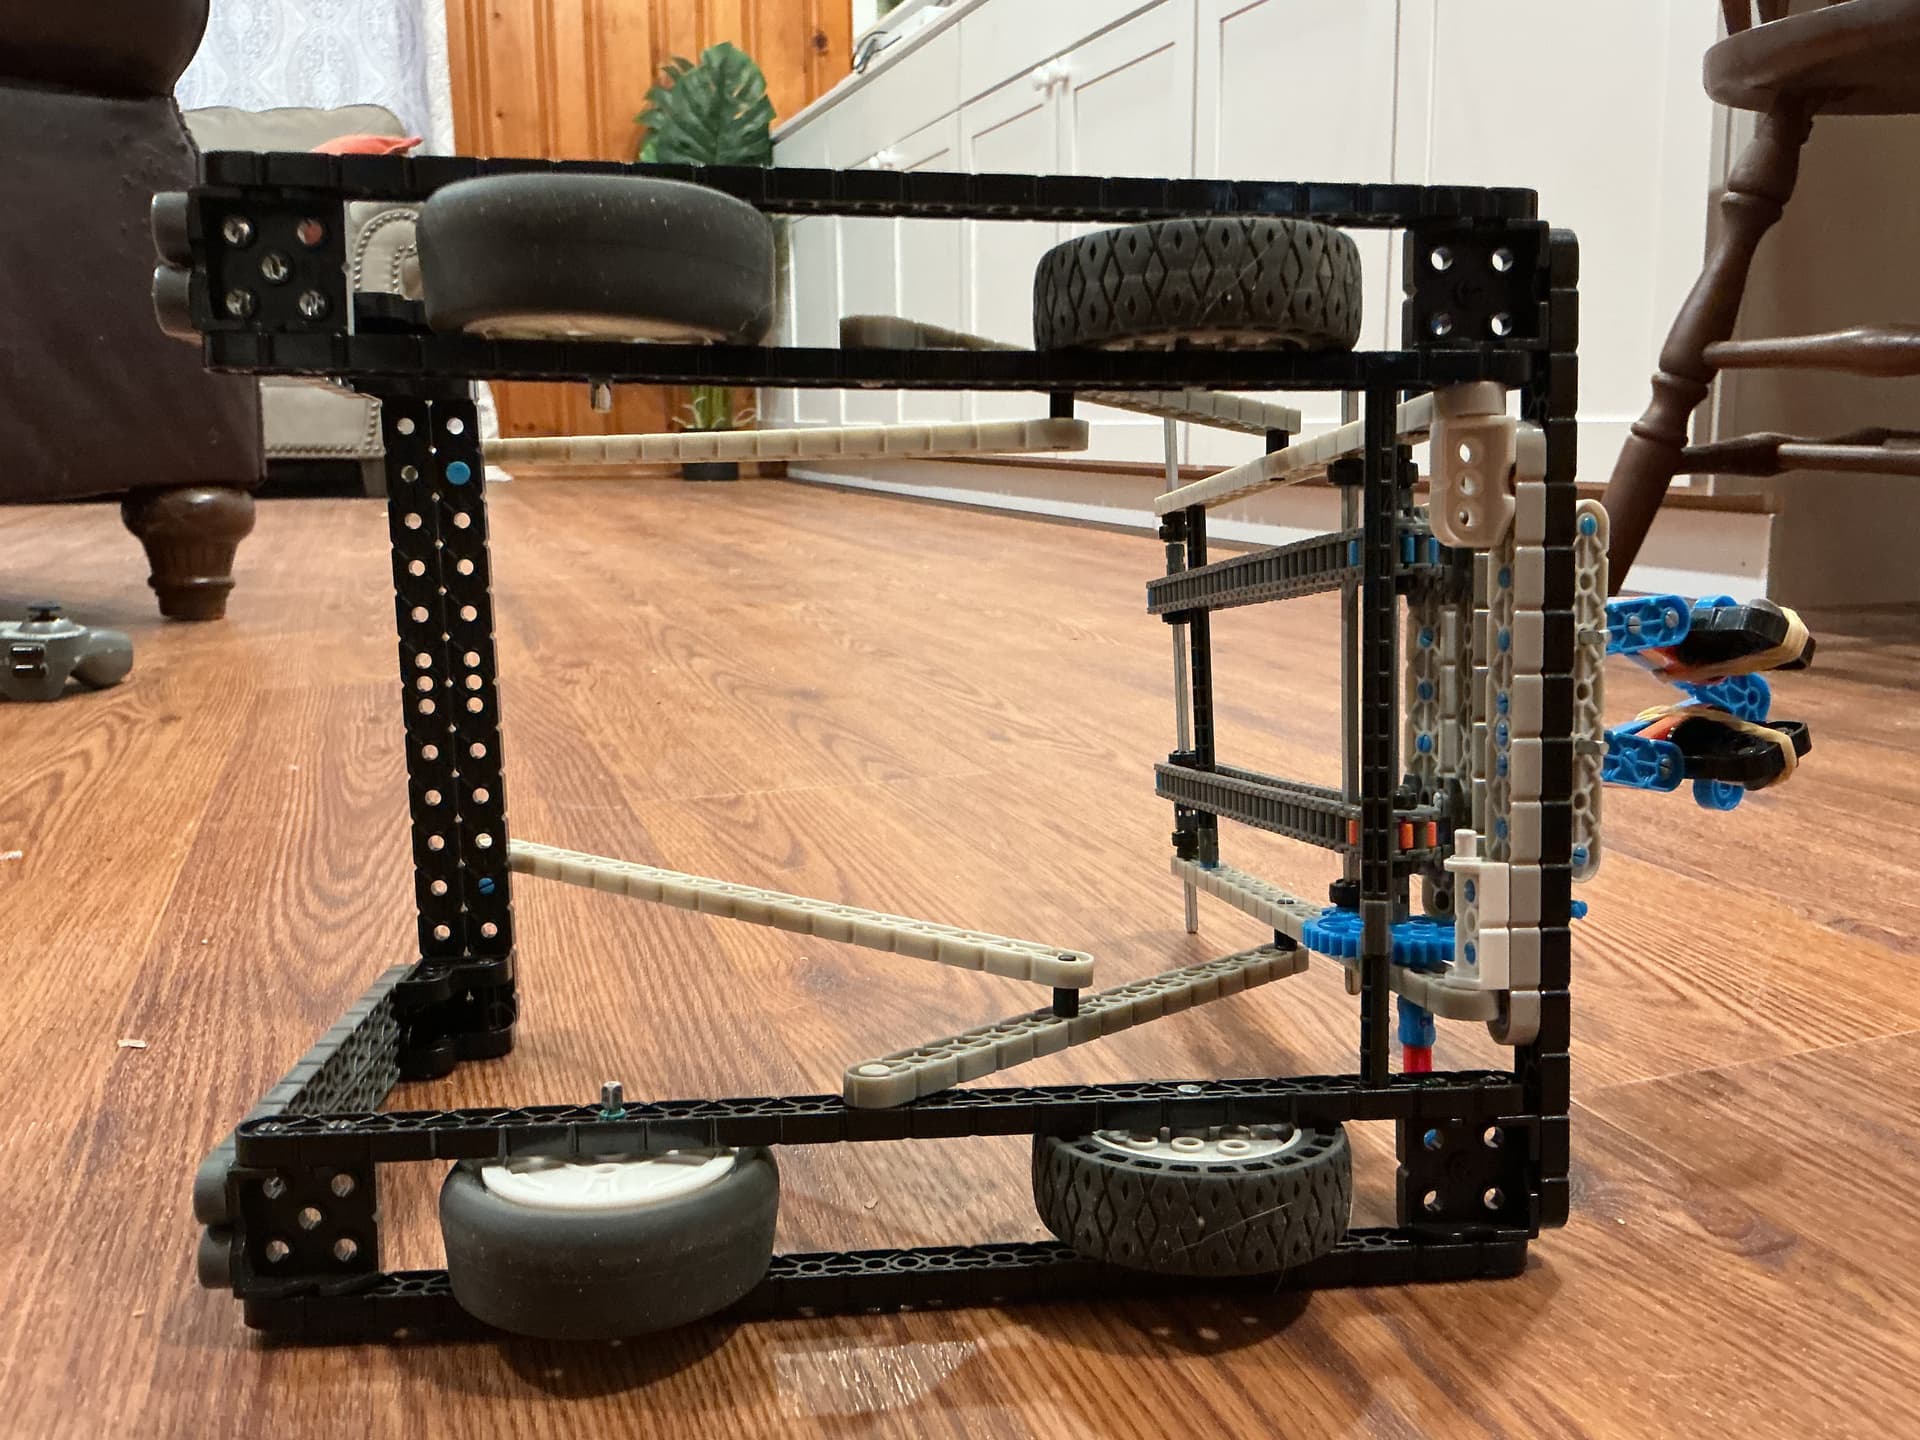
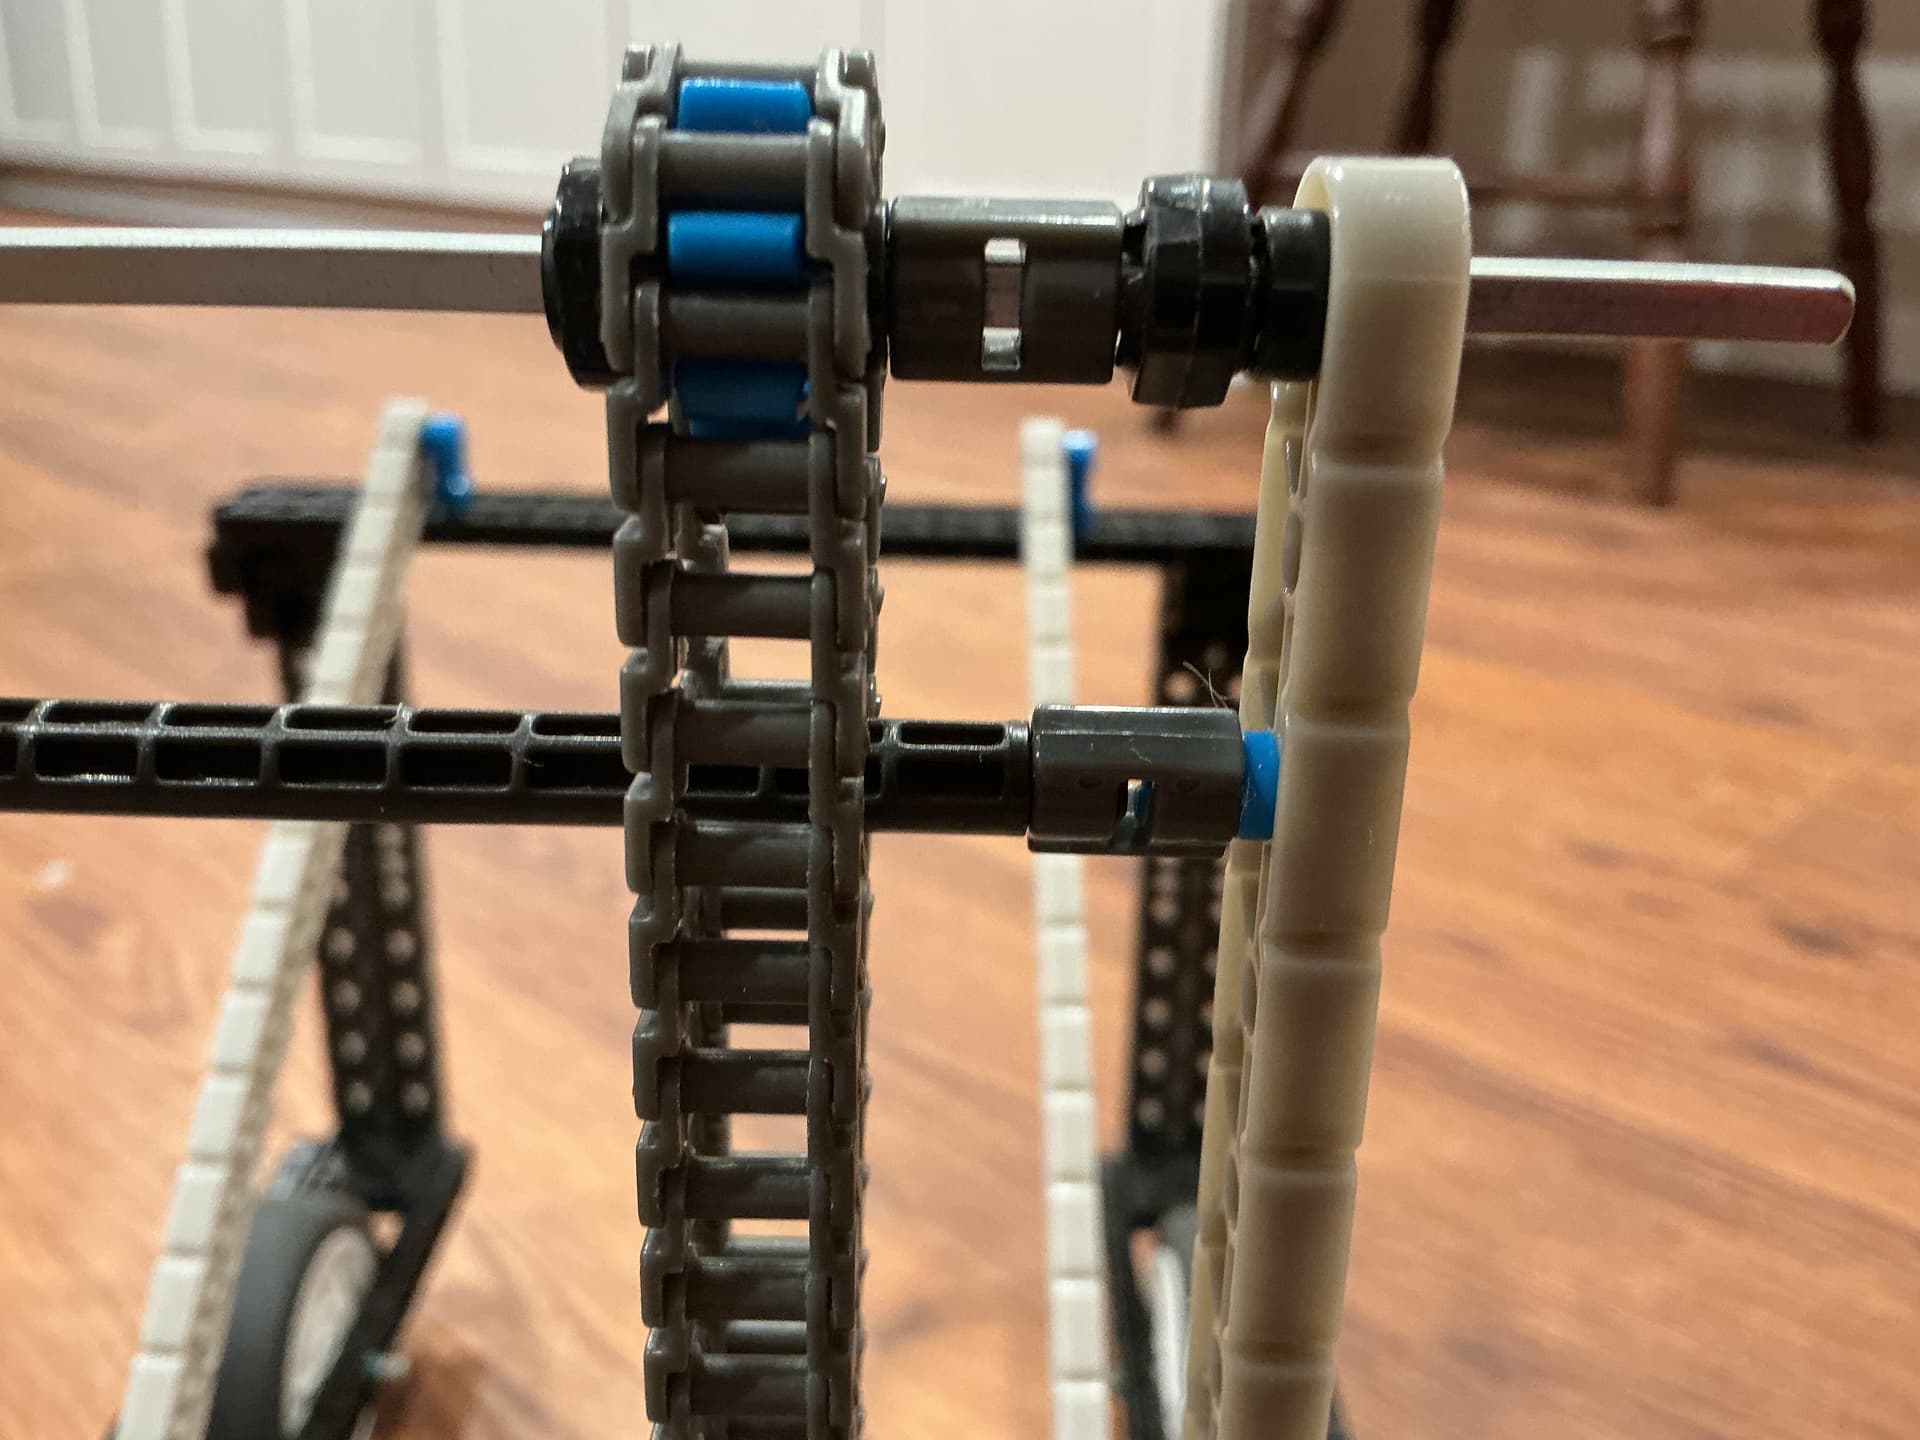
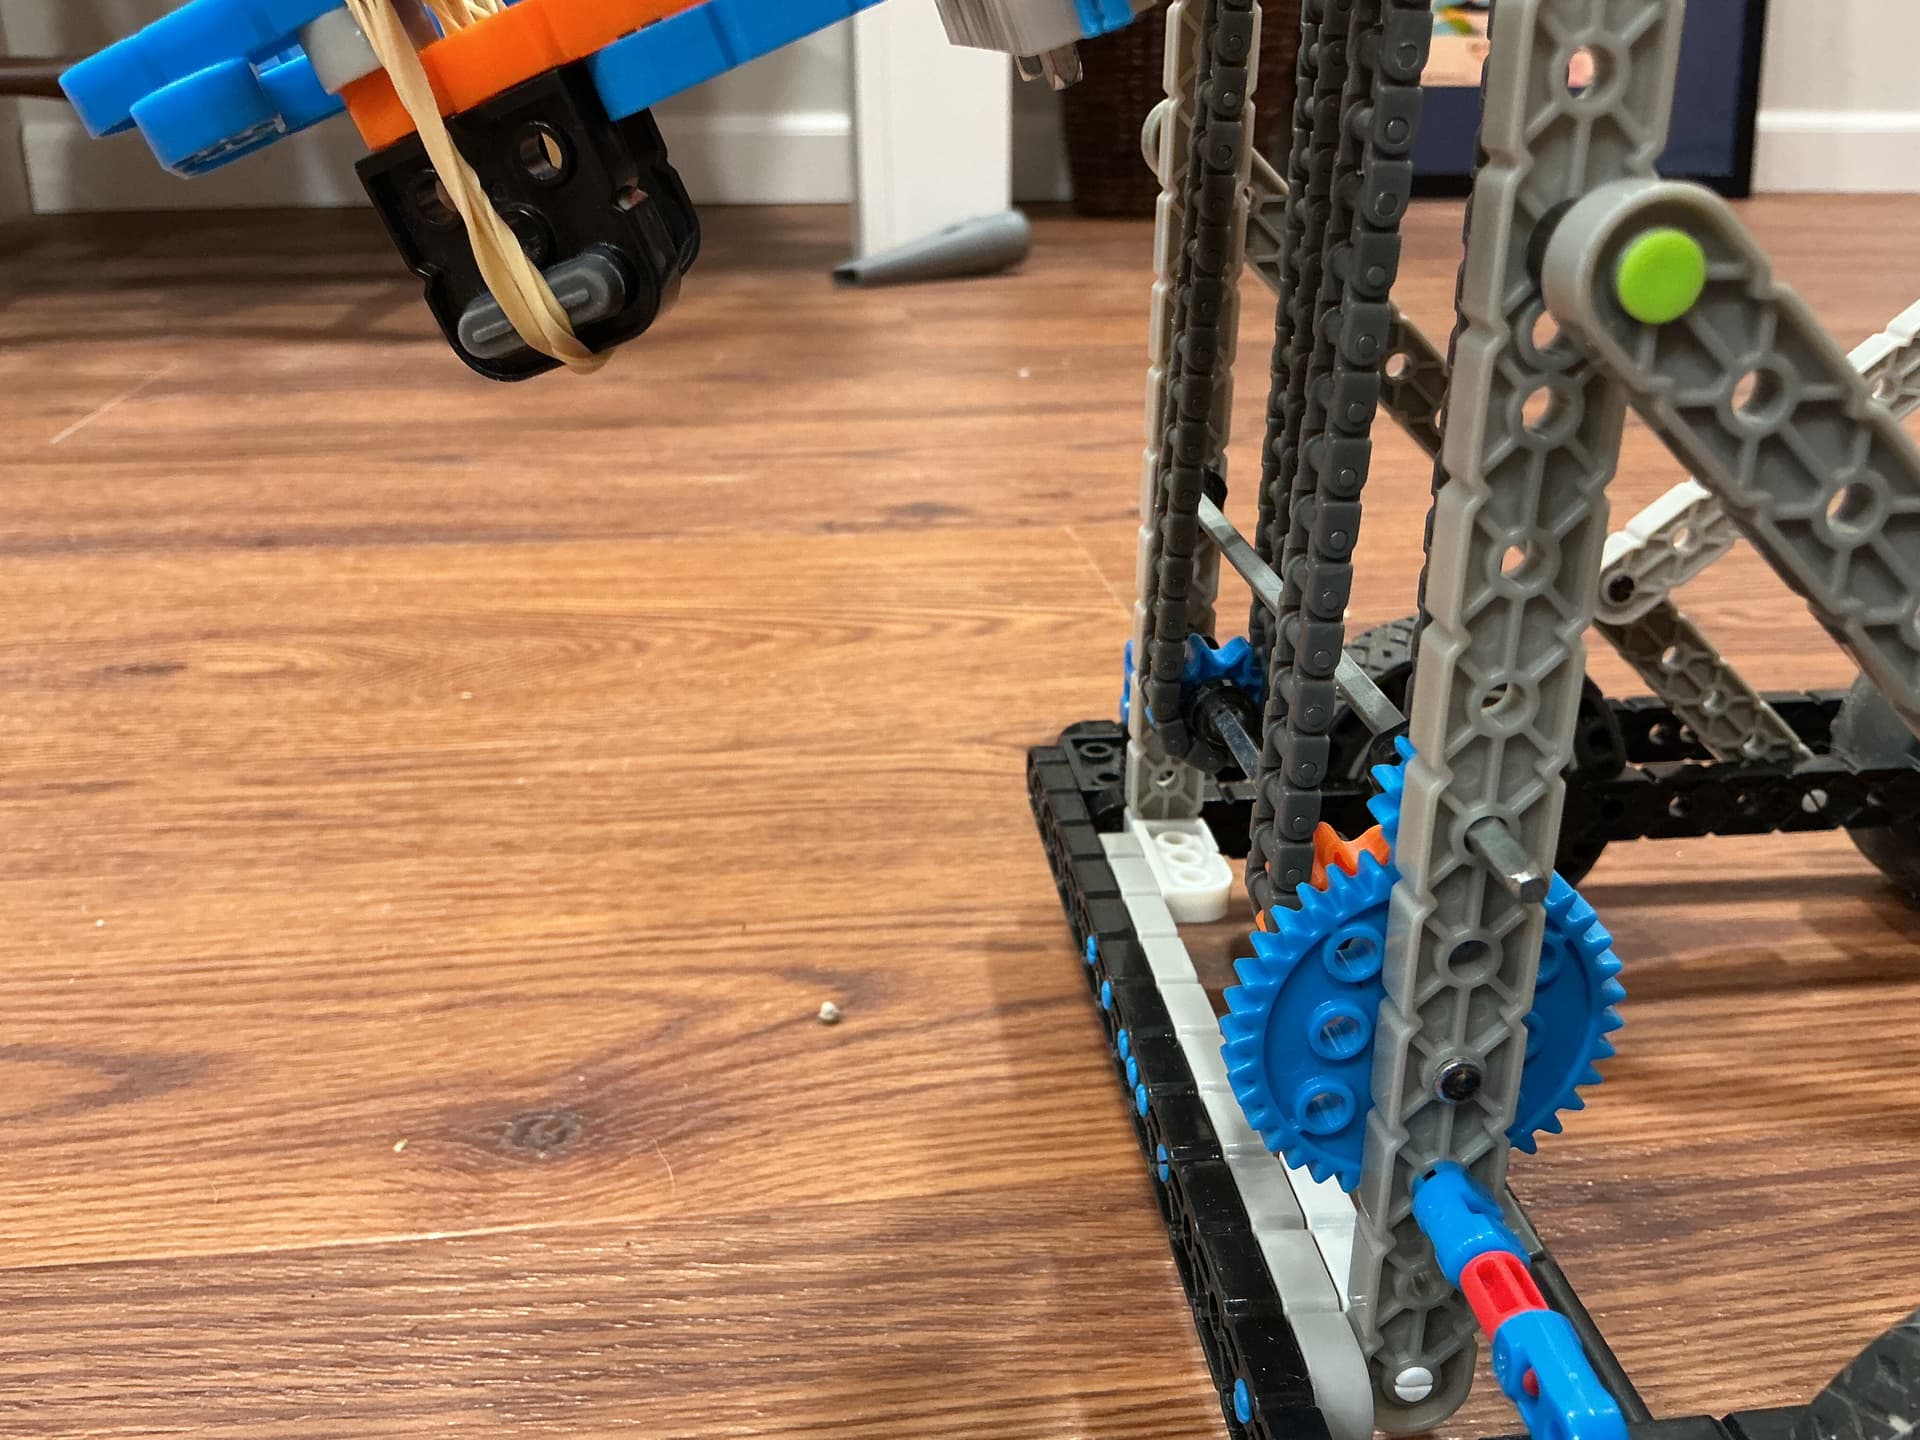
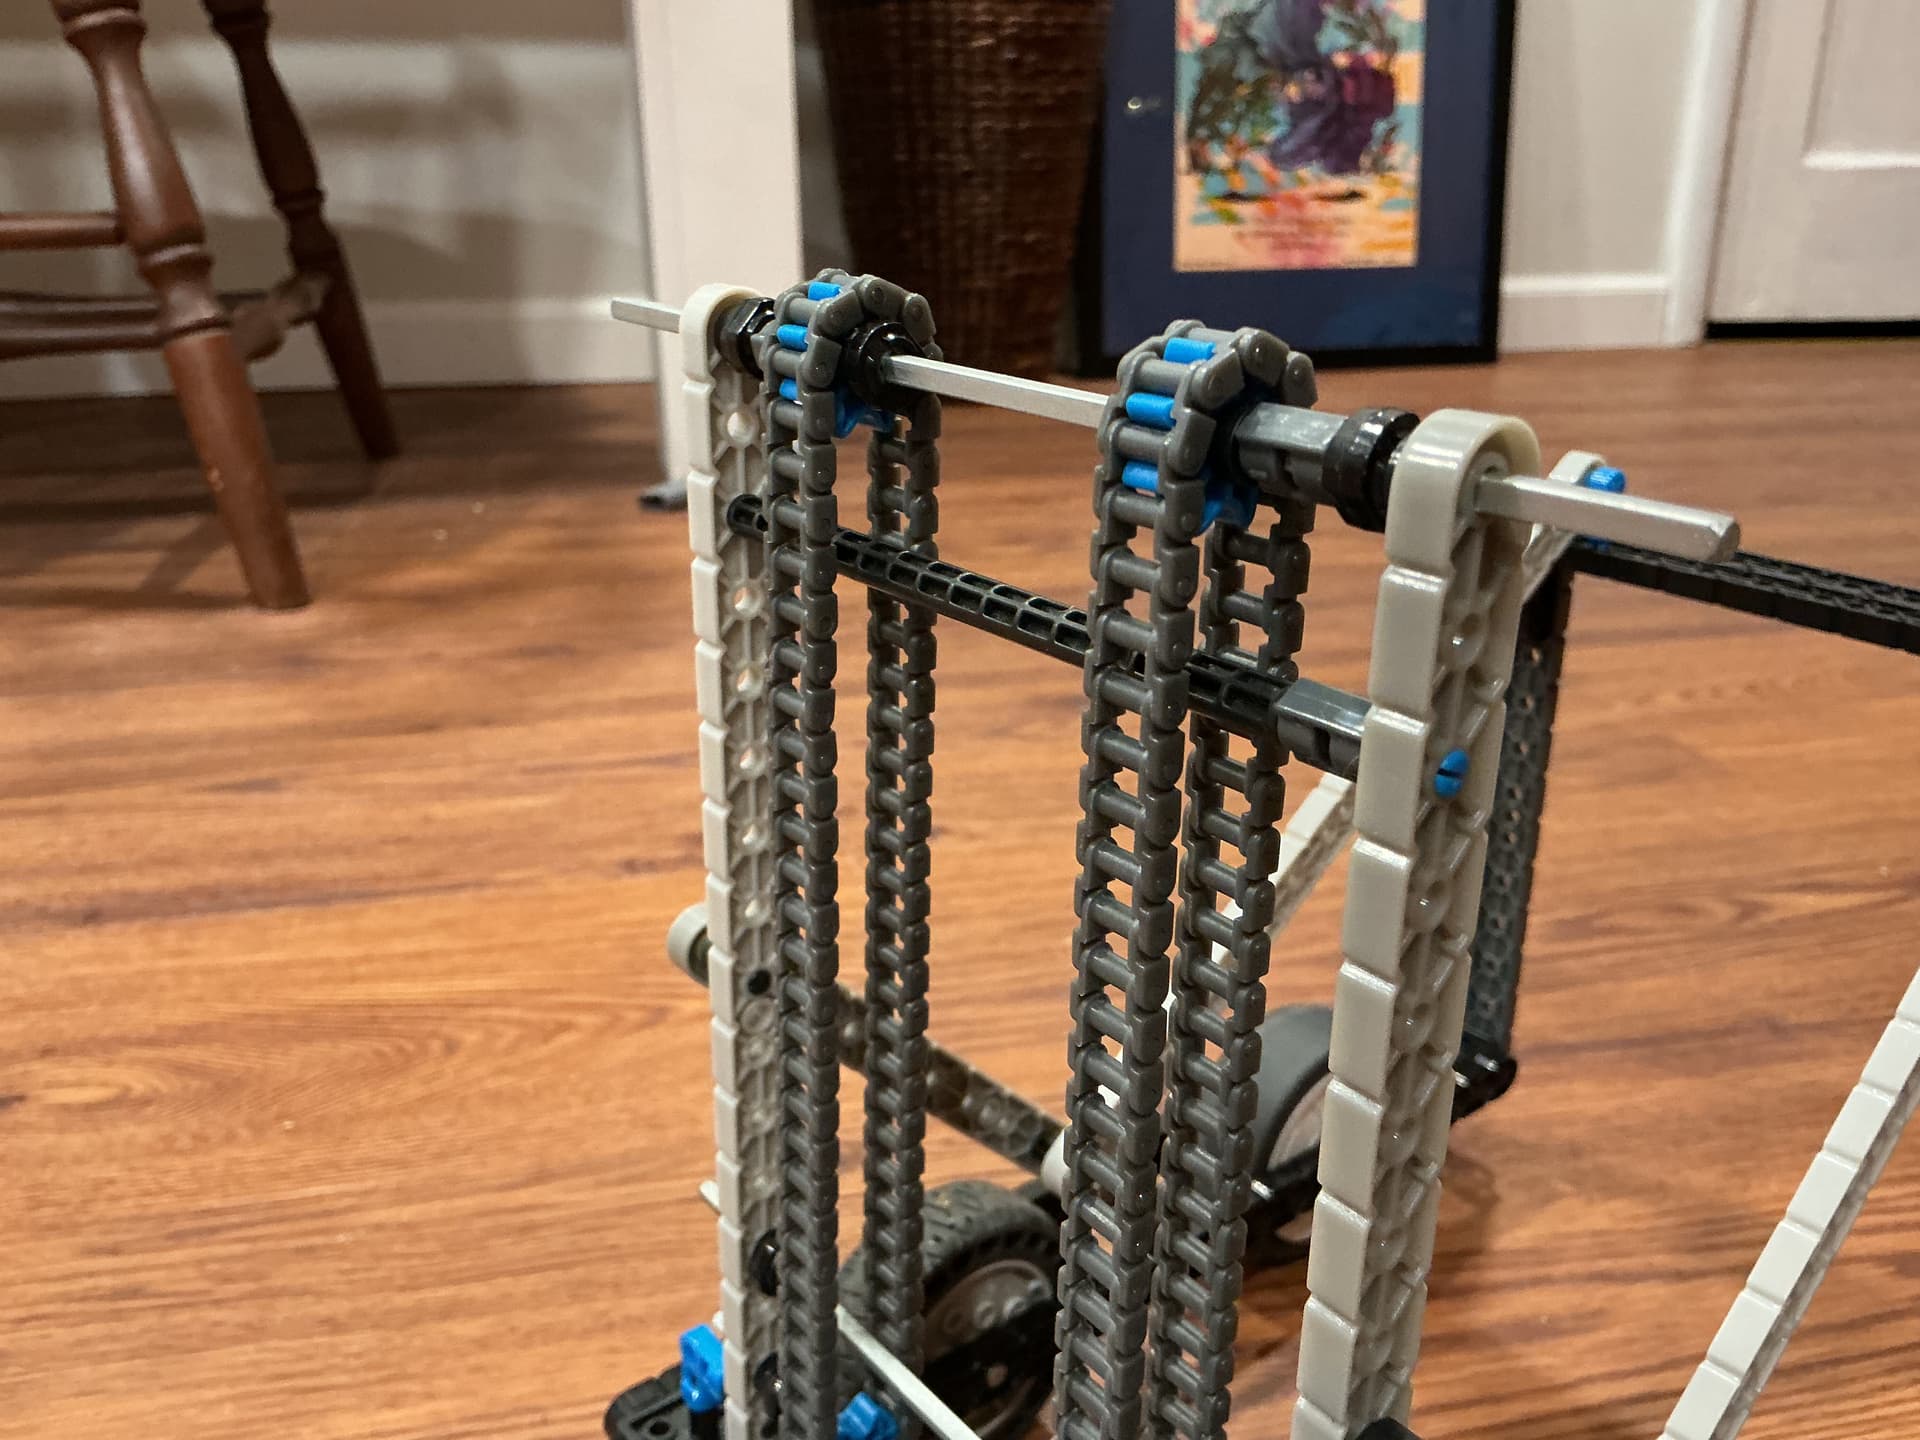
Pics from 6 sides:
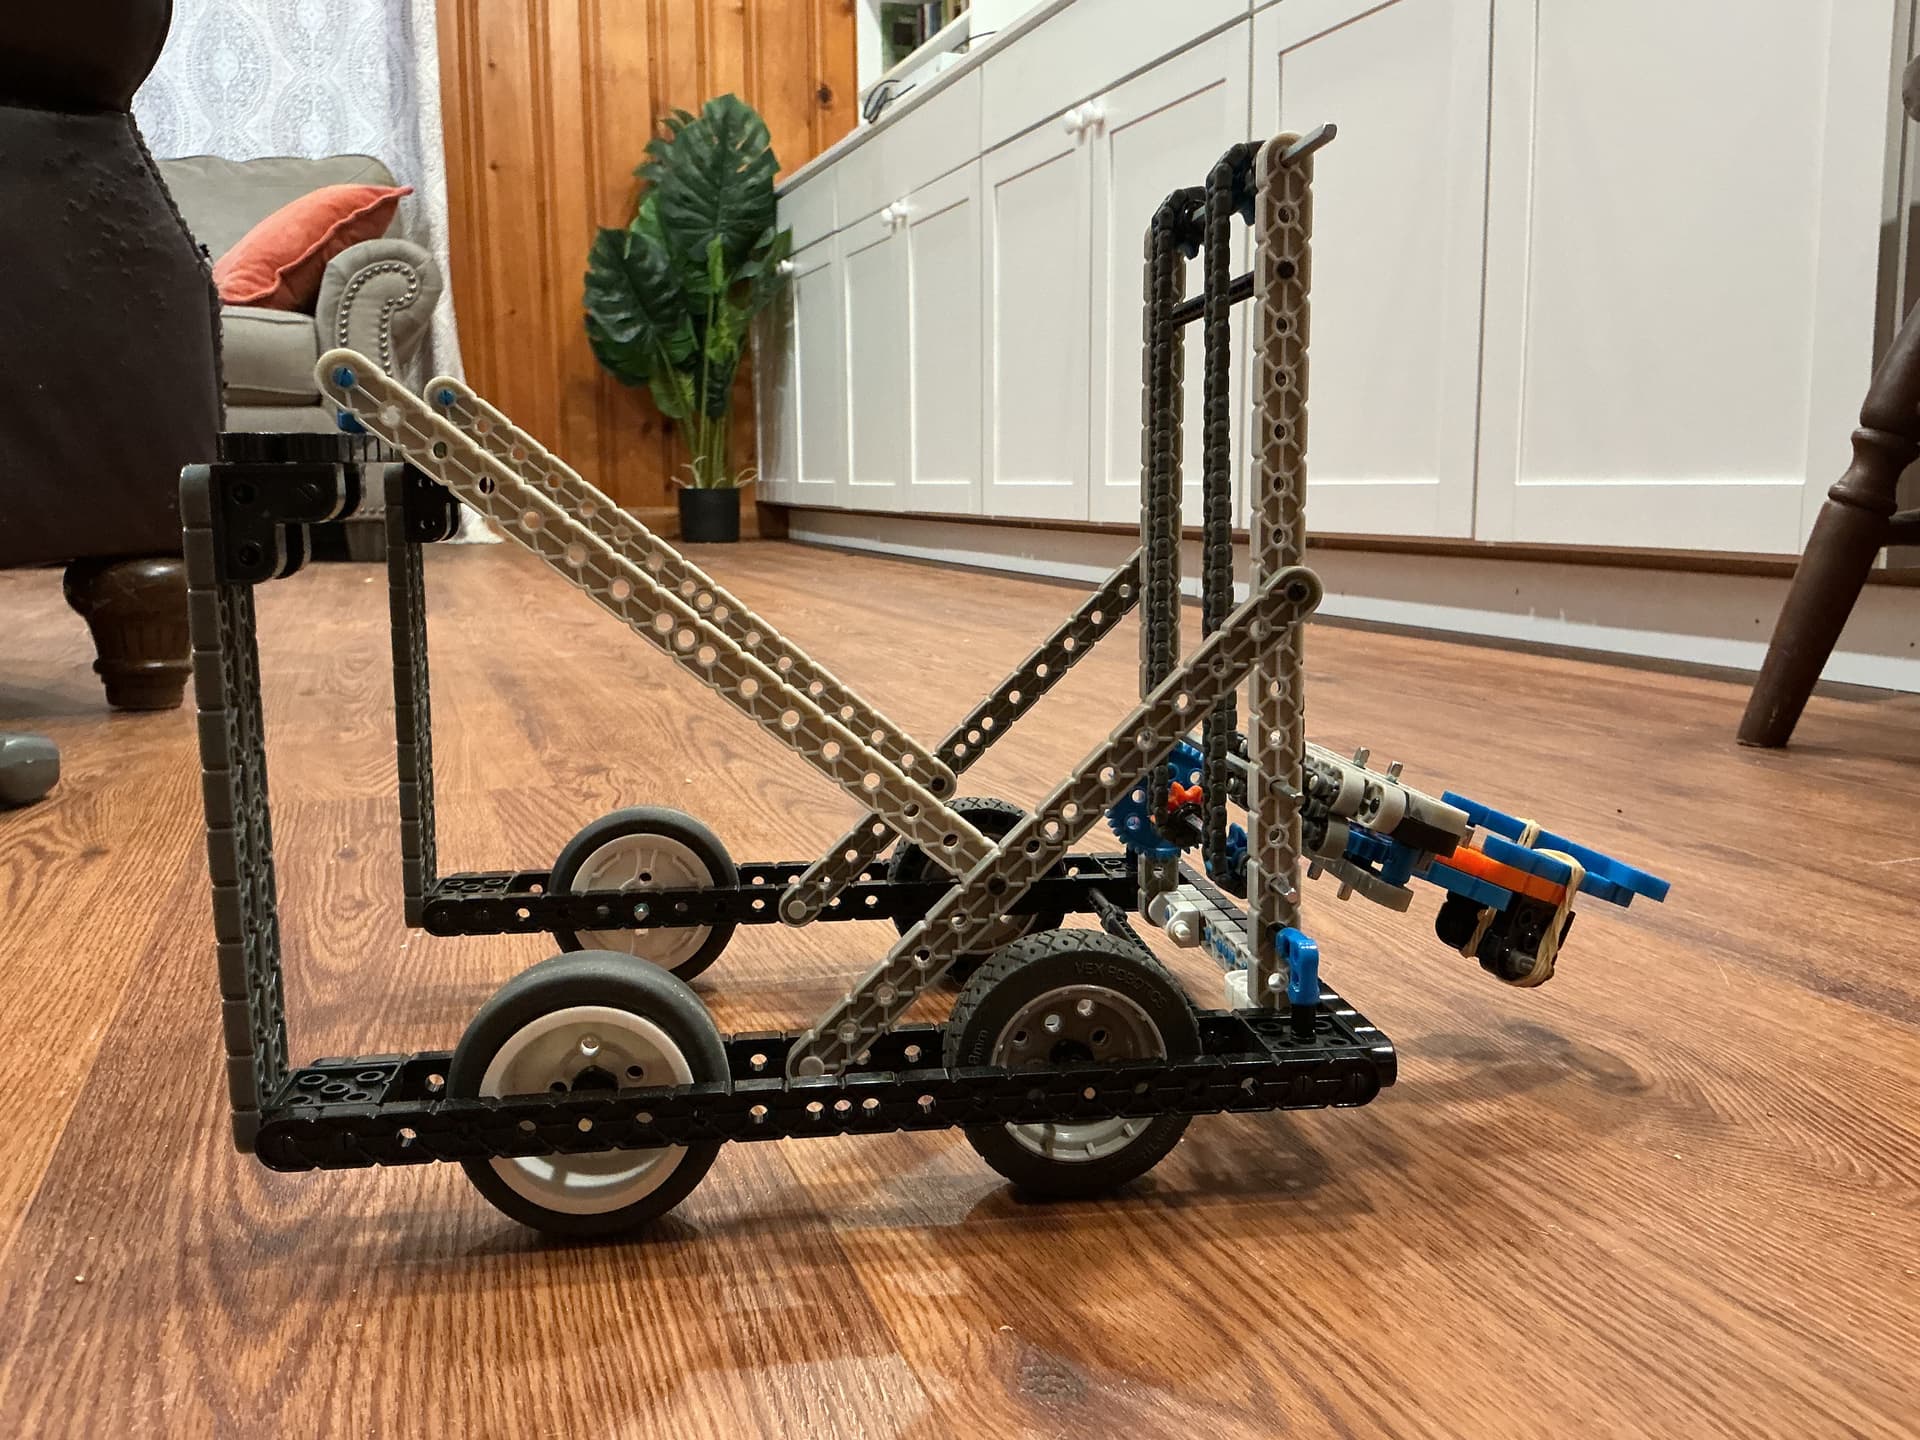
robot pics


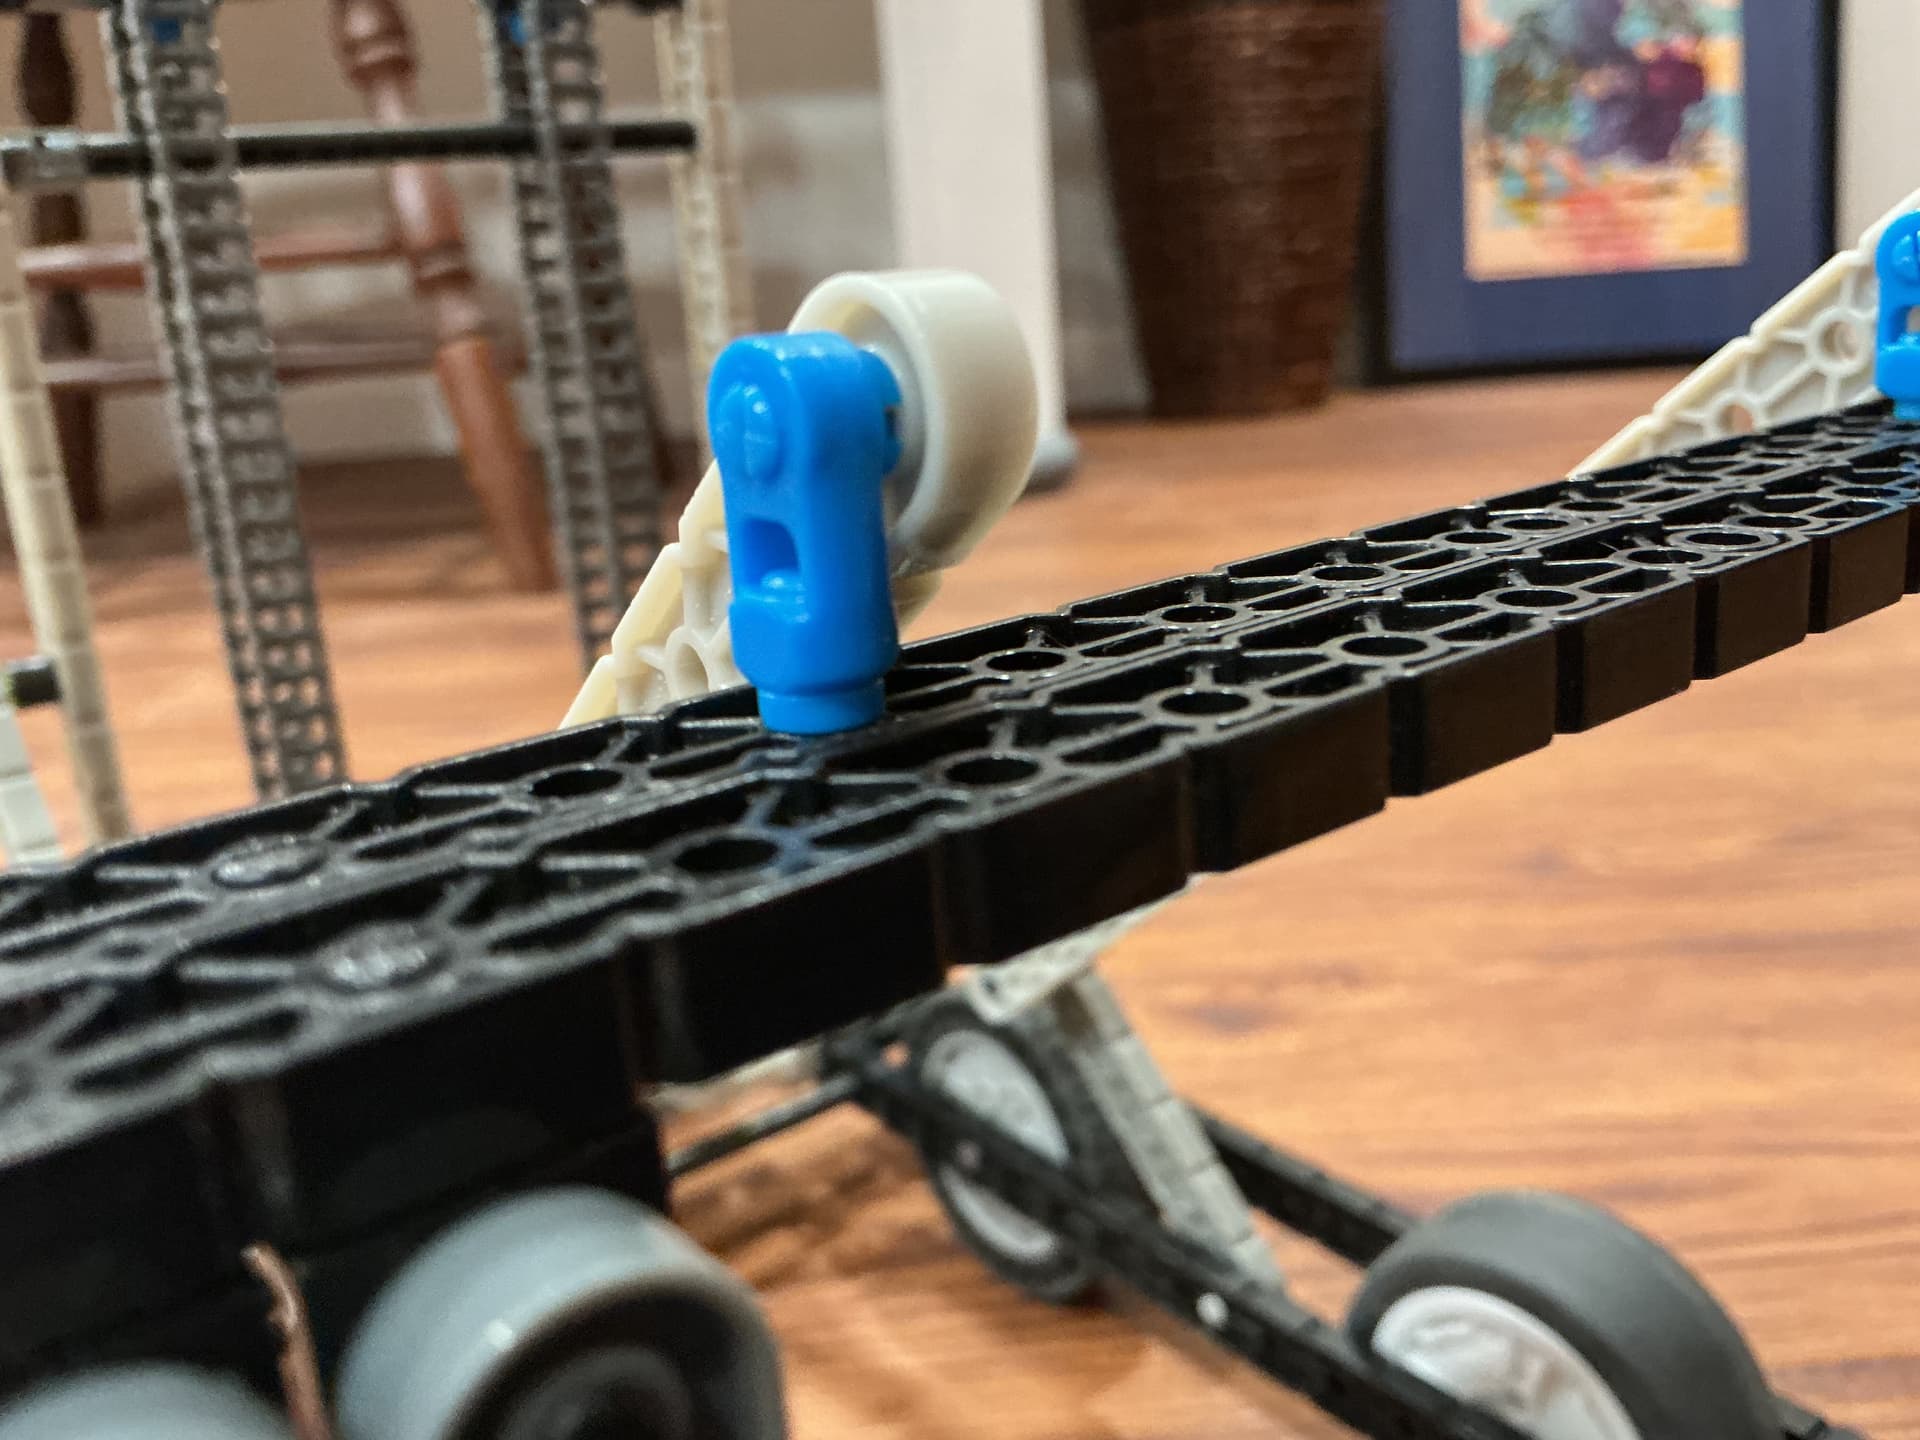
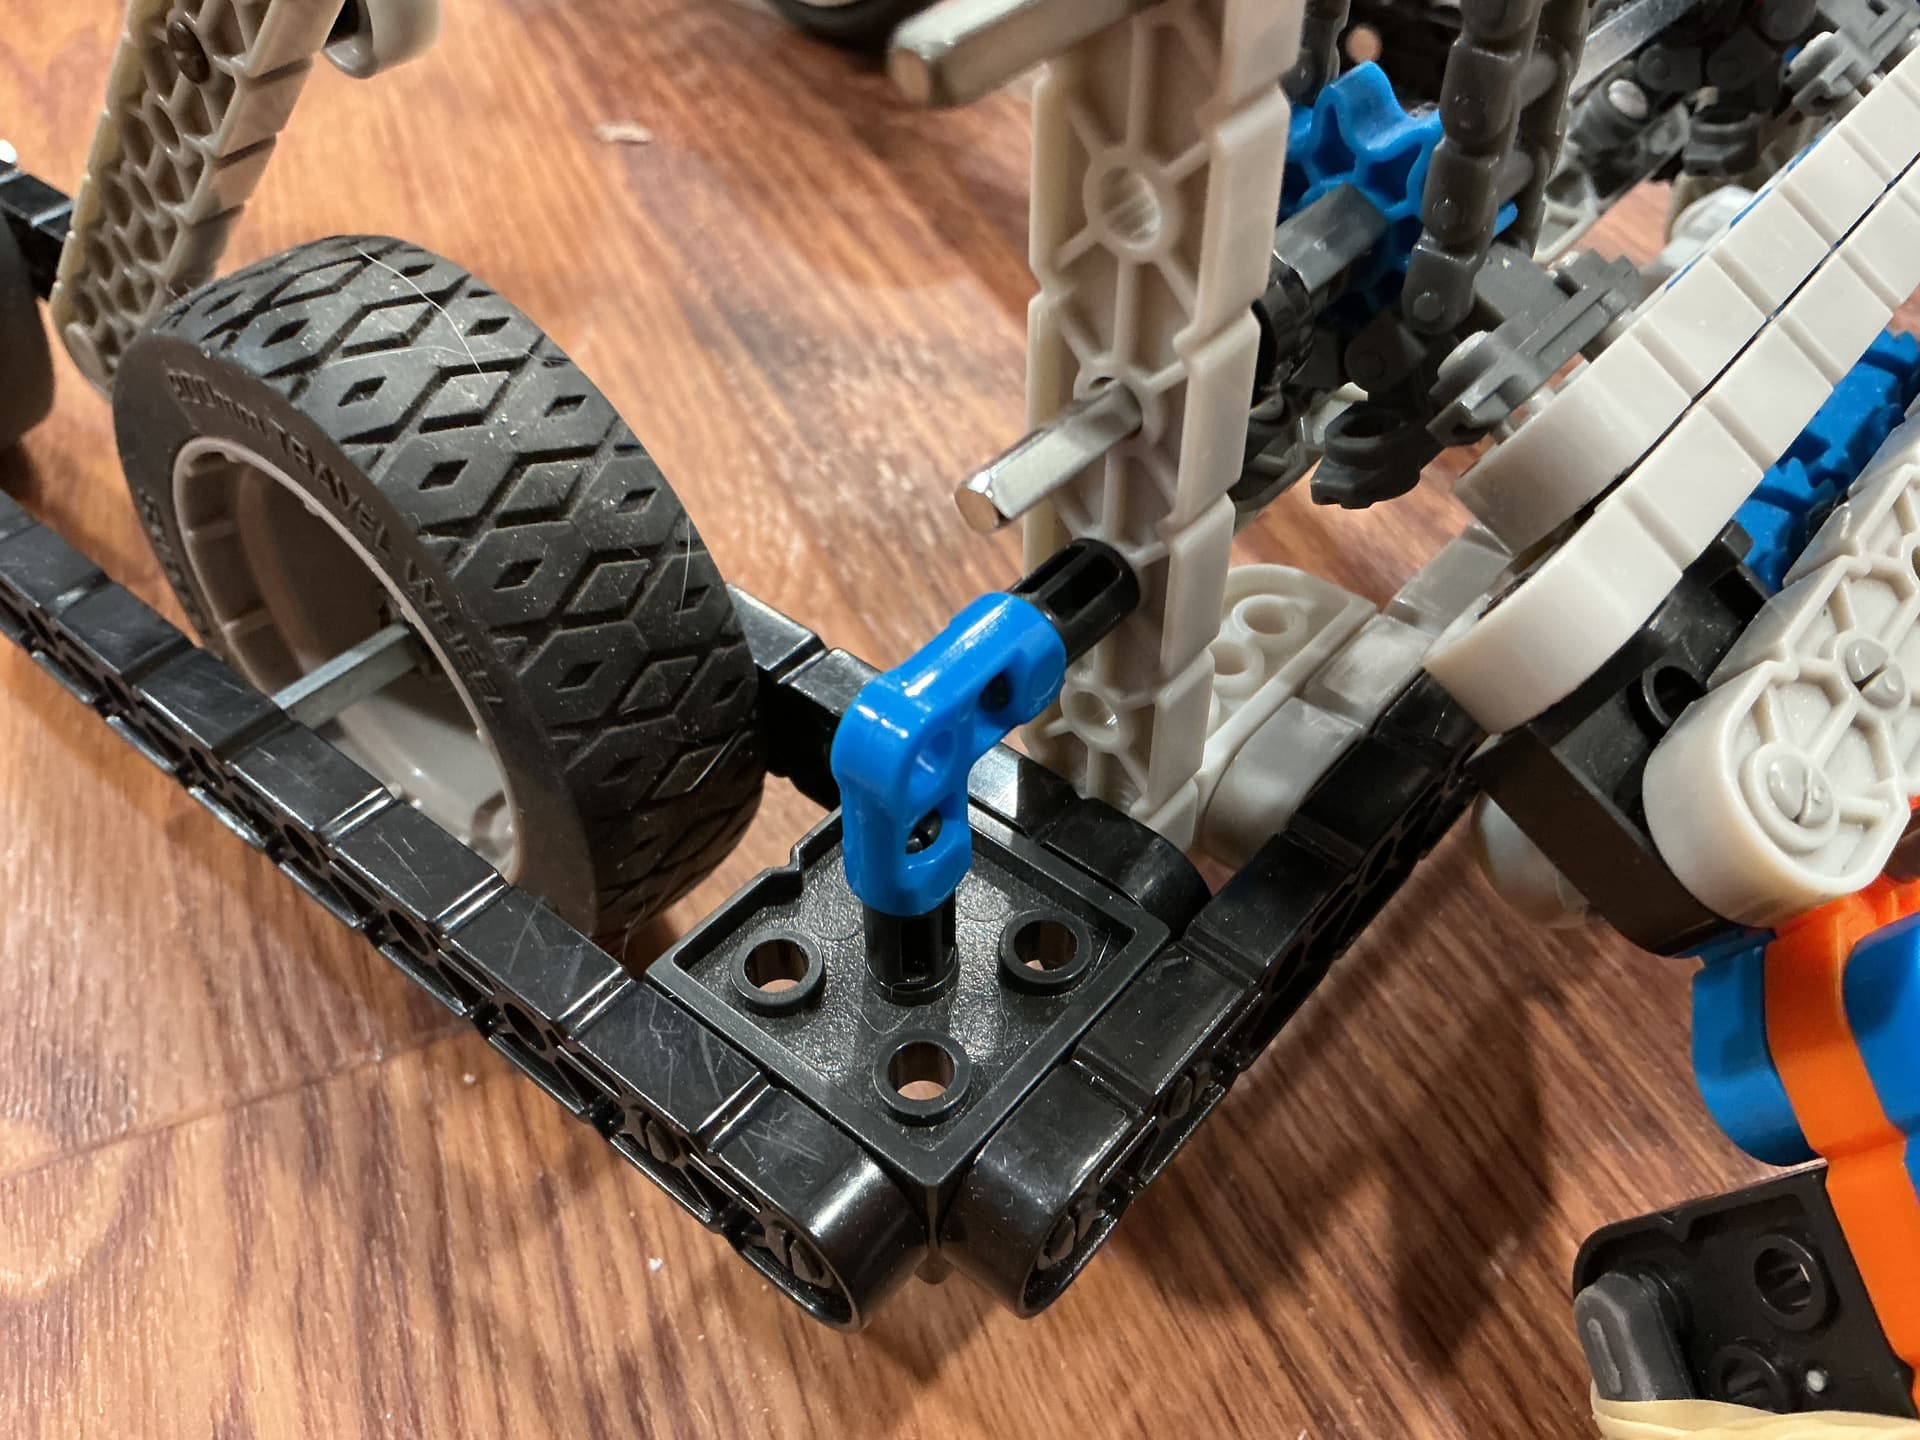
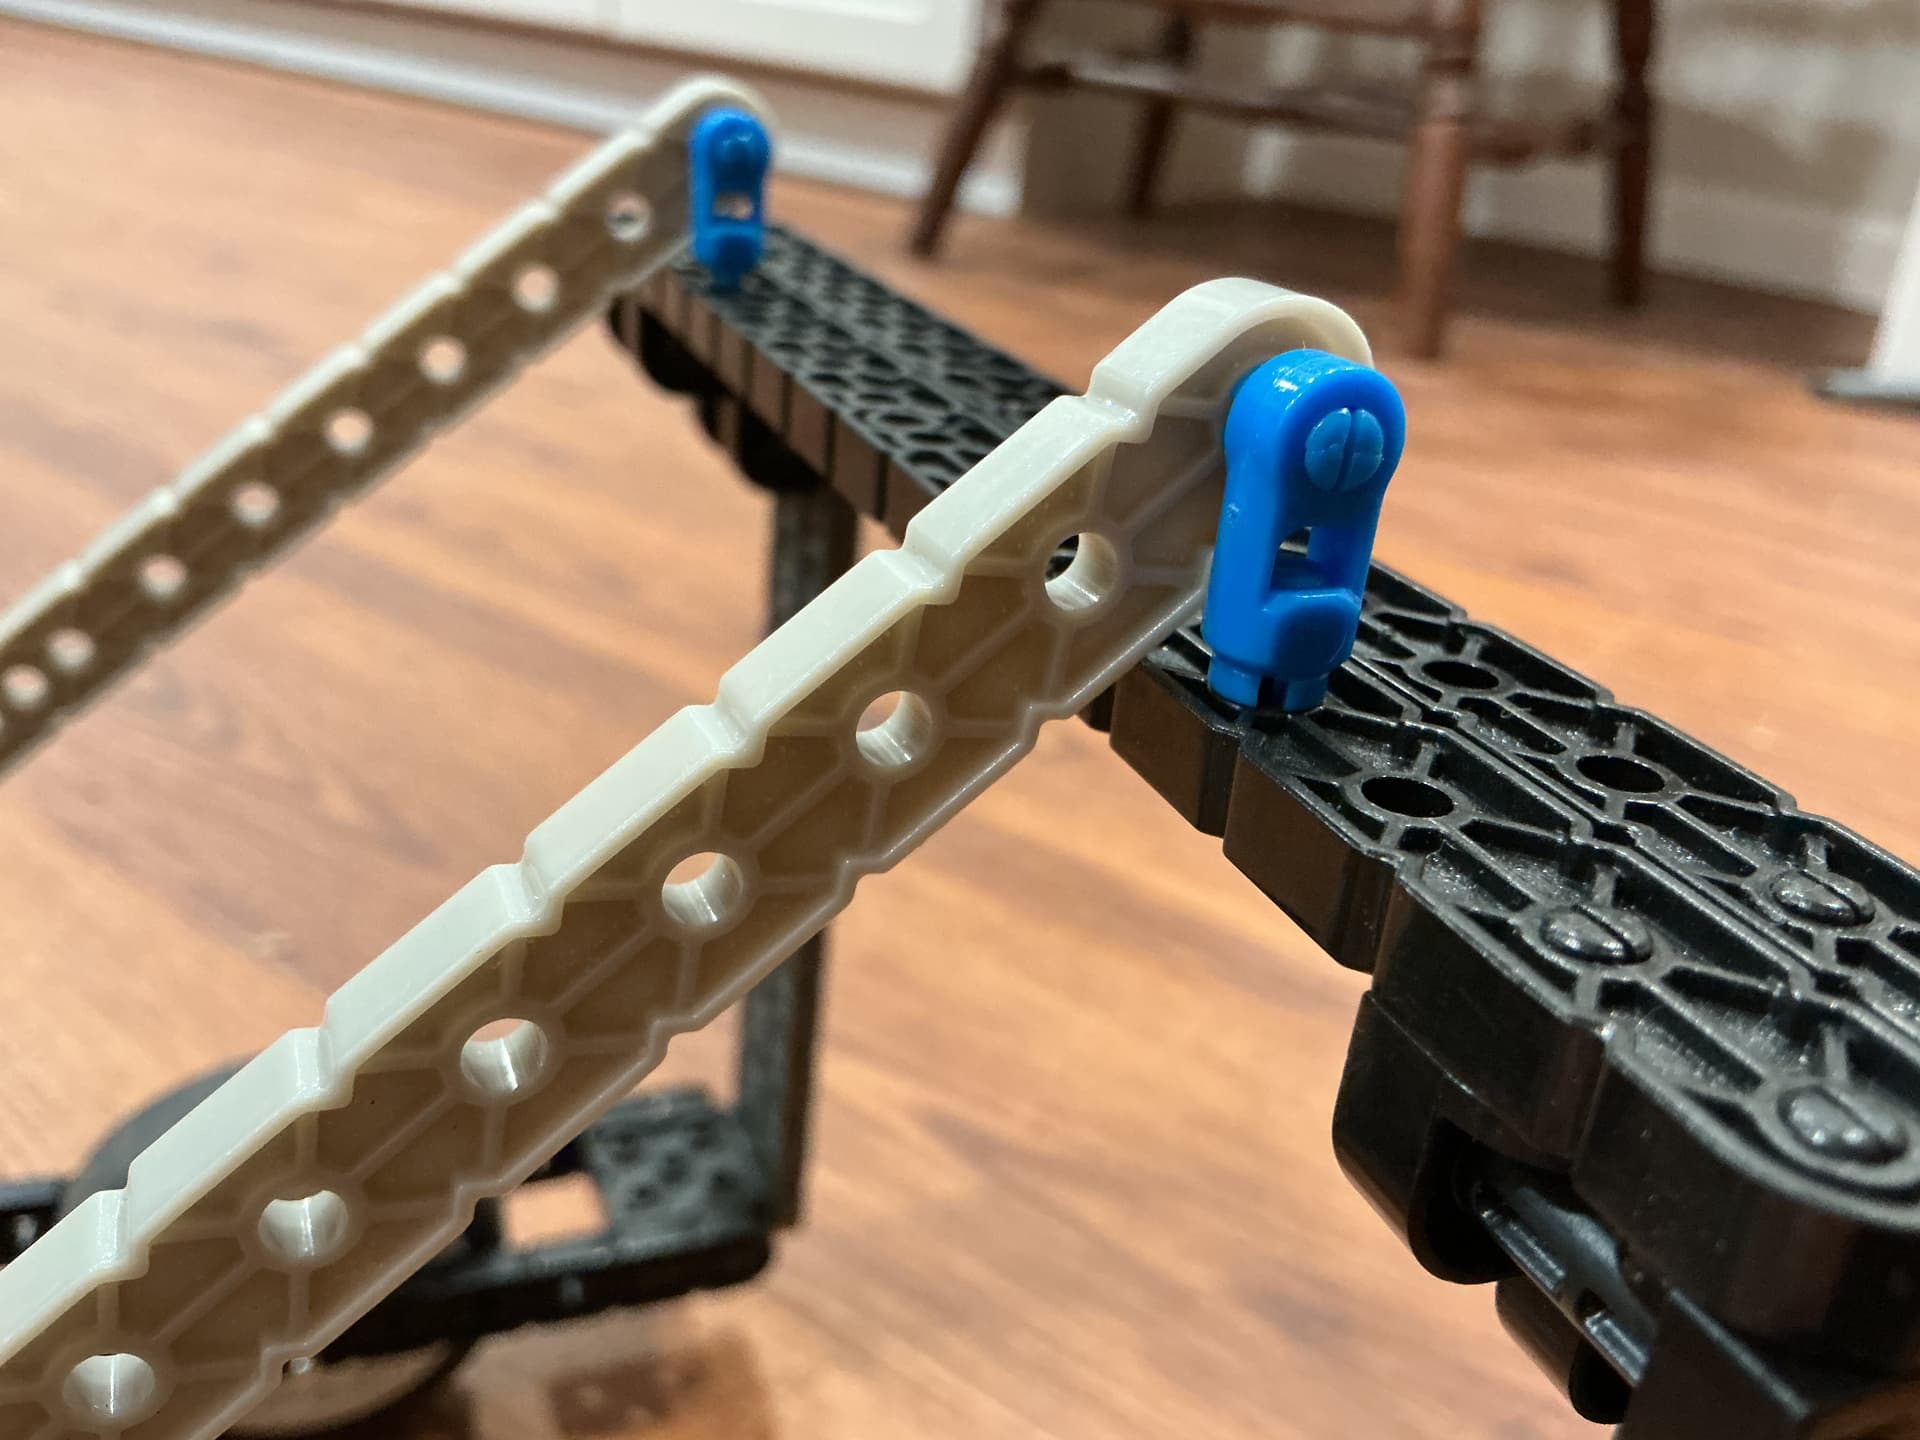
Additional pictures for the standoff bonus: (I don’t know what a standoff end is, so I hope what you mean are the blue standoff connectors :sweat_smile:).

standoff


And just some extra pictures and GIFs:
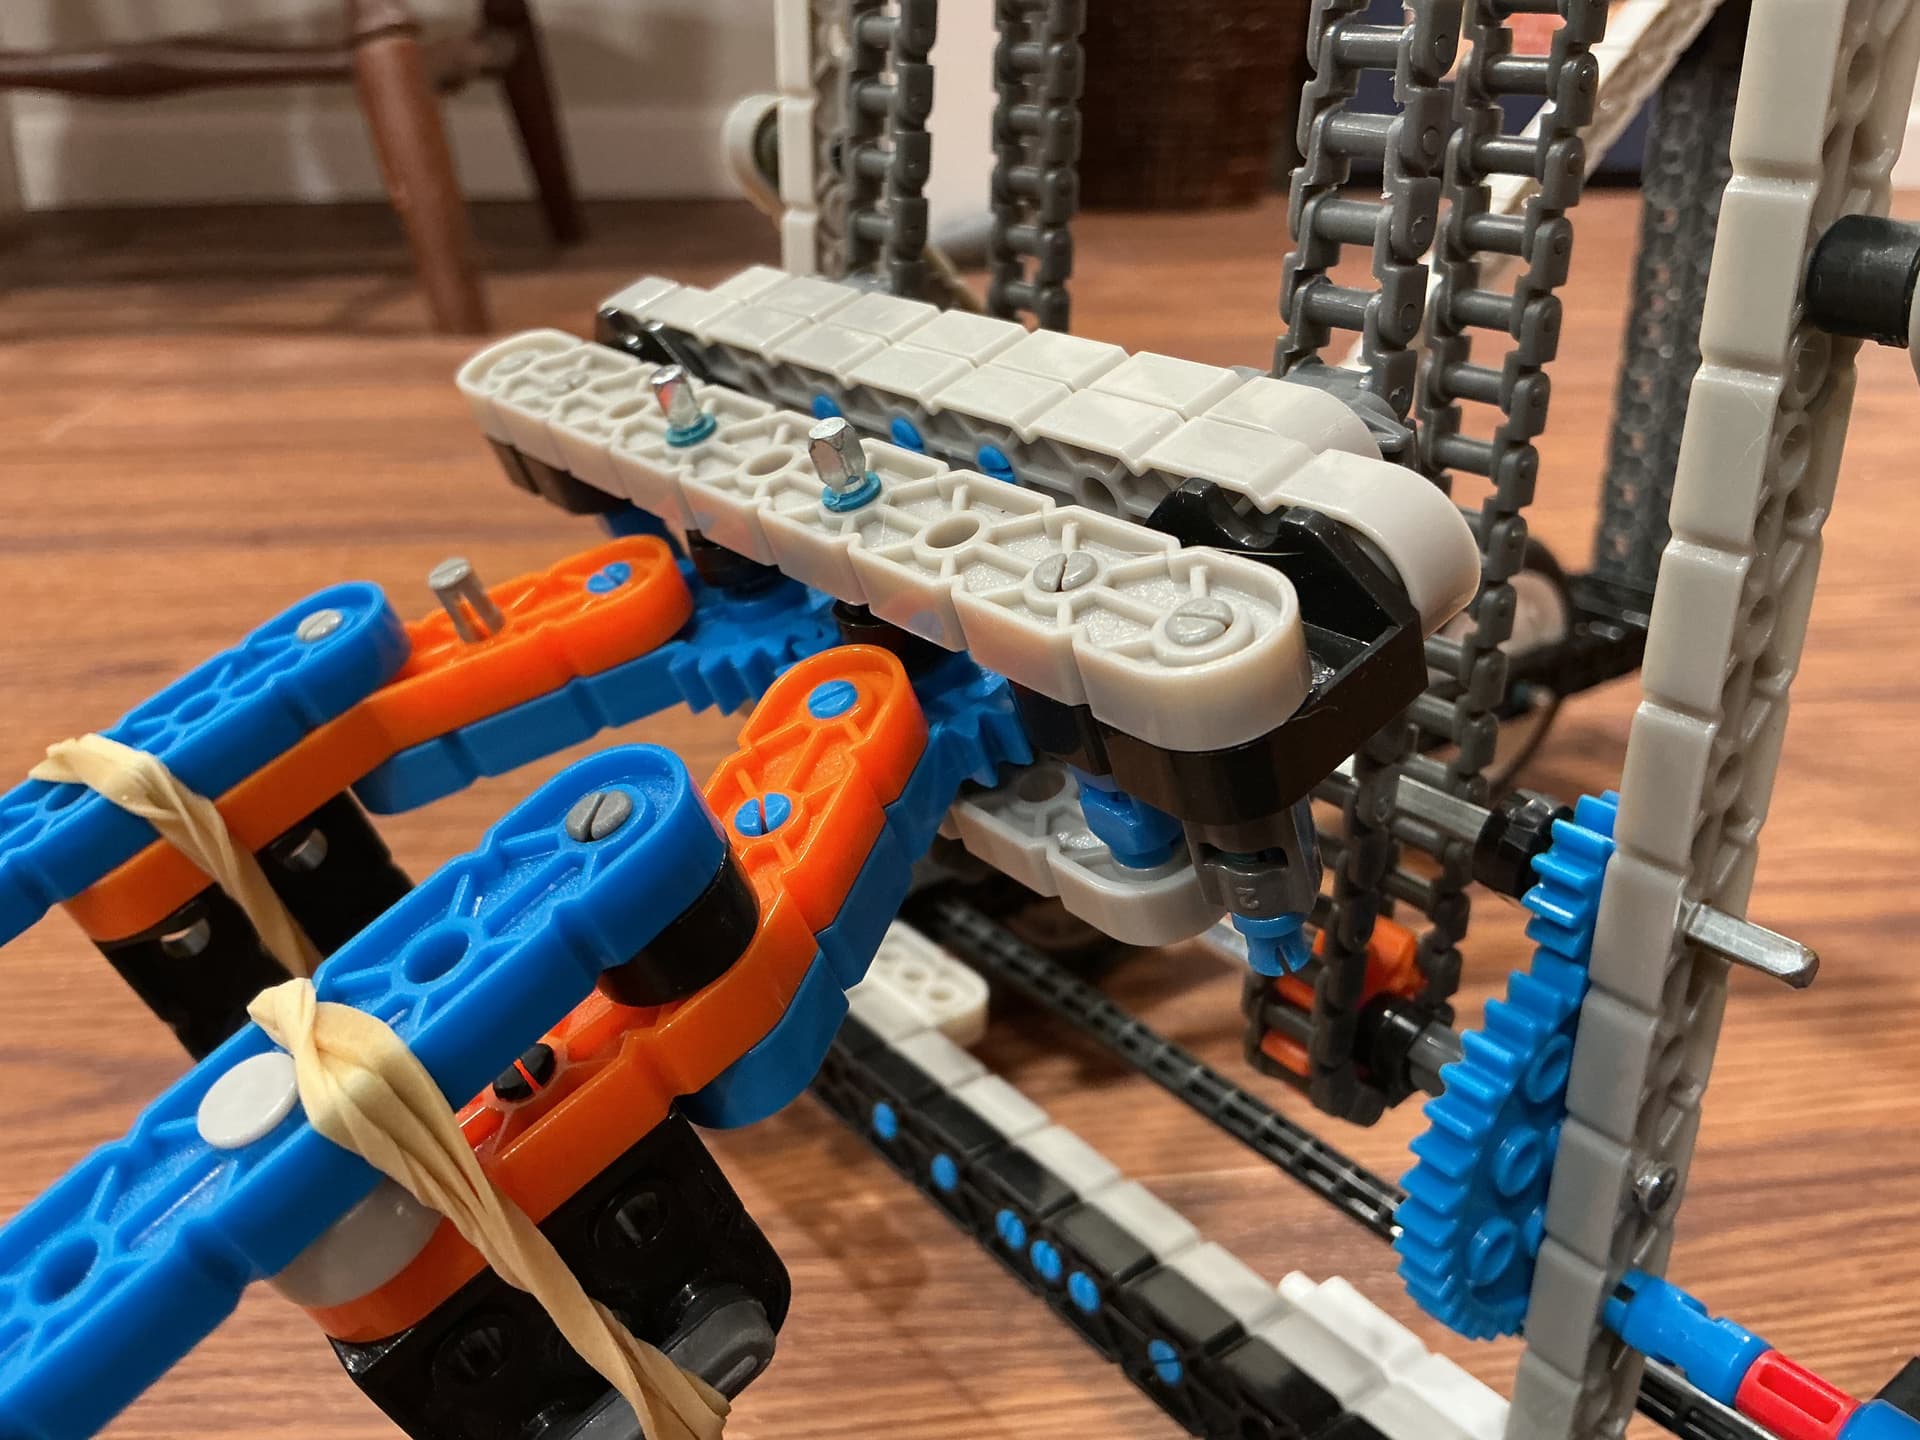
extra


1DriveIntoBeam
Untitled design 5
Untitled design 4


Robot stats:

Build time: about 2 hours; 30 minutes of actually building, 1h 30 mins of annoying tuning.

if we had motors, it would be:

2 motor 1:1 drivetrain
2 motor 1:3 claw lift
1 motor 1:1 claw

This robot uses 2 gears, 4 sprockets, and a whole lotta chain.


I am not planning on using this in comp, even though I like the design. I hope this inspires another team, though :grin:.

This is the end of my entry, I hope you liked it! Thank you!

P.S.: I apologize for the (sort of) late entry. In case this doesn’t get approved in time, I’ll state that I am making this post at 10:PM EST on 1/4/2026.

P.P.S.: also sorry for the long post lol. It was fun making it tho. :smiley:

@Foster, what does this mean?

(Sorry all, I was at Sugar Rush in Hershey PA)

I really want to love this and give you prize points for this. But it’s a 3/4 baked robot. I do love the internal 1x2 bar game element, that is out of the box thinking. But missing what the next step in moving it will be. It’s like it’s on the cusp of greatness and I’m lacking the imagination to make the next leap. Help me?

If you look at a standard, there are 5 different ends:

  • Standard extension (M-F)
  • 45 degree
  • 90 degree
  • adjustable in 15 degree increments
  • standard connector (F-F) 2 sizes

I’d did forget about the U shaped one that comes with VEX V2 kits. I have it hanging on my build desk, but I’ve not found a use for it yet.

So maybe the correct count is 7?

I can add some of those on the robot, but I don’t think they give enough rigidity for my current robot. Maybe on the claw… I’ll get back to you.

Sorry for the late response. I have been busy with my V5 team, and I haven’t had time to finish the claw until recently. This is when I discovered that my robot was partially dissembled…

I do know that I could have replaced some of the 1x2 single corner conectors with the long standoff connectors.

Sorry.

Hey, I want to close this out and pass out prizes.

You have an interesting design, but I need some more details about what you are doing with the gray beam inside the robot. Is there a way that the beam is manipulated and can be scored? I think there is something cool happening there, but just not smart enough to figure it out.

Can you help me out on what the plan was and how it would work?

Thanks!

So, what I was planning on doing was going at the beam from both sides and scoring 2-stacks in each outer hole. Once I did this, the robot would create a third 2 stack to put the beam on top of. Because we had traction links on the outside of our claw, the claw would close, enter the center hole of the beam, and then open to put pressure on the inside walls of the middle hole. The grip would allow the claw to lift up and place it on top of the 3rd 2-stack, forming a 91 point stack. (As seen in the fourth GIF). Of course, this design wouldn’t be the fastest of any other design at making a 91, but it definitely could make a single one in a 1 minute match. Unfortunately, I had to partially take apart the claw for pieces, but I’m sure I could rebuild it.

Here are some pictures too:


I forgot about the standoff goal scoring of the robot!

Robot-ezgif.com-video-to-gif-converter

Well, its been a few months since the last reply. @foster, do we have any results, or are you going to announce it at Worlds?

Sorry, the winter got away from me. I’m wrapping up my last event and being sick. I’ll post the results by Thursday. Thanks for the ping…

Sorry about the wait, I’ve relearned the “never bite off more than you can chew” or maybe “don’t try to eat anything bigger than your head.”

@BananaPi I was impressed with the standoff goal stack. Not sure if there was a DQ action by the loader in the last video. :thinking: The V / spread Y guide at the front is elegant in the simplicity. It was something that other robots could have grabbed and added.

This is a very clean build, while it does shake like a Model T with the spark advanced too much, it’s pretty solid. I have most of one on my workbench and the mounting of two of the flywheels on the rear help with the balance issues. I’ll make a note for next year to possibly allow for them.

The use of 0x pins and some of the other build techniques is a master class in how to build sturdy but light. While the up and over linkage wants to be the star of the show, the claw with the extensions is where this design gets the real attention. Two Pin grips are hard, two pin Upside Down grips would make any Demogorgon proud.

Lots of teams wish they had that alliance partner.

Which brings me to the @76782AHighVoltage submission. Growing up on Thunderbirds stop animations makes me appreciate your attempt.

The out of the box thinking of “hey let’s capture the beam inside the robot” was pretty interesting. I was wondering how the drive motors would come into play, but the chain lift convinced me you would mount the motors and chain drive the base. Another nice up and over design. I would liked to have seen the beam hole friction claw work since the those are tricky to make work.

Also great builds with the standoffs and the end standoff connectors that rattle around in build bins. The use of the short standoff connectors as a spacer is a well known technique, sadly not often seen in the wild, thanks for bringing it back to the forefront.

I’m awarding First place to @BananaPi and second place to @76782AHighVoltage. I’m going to award the third place prize money to @BananaPi since they had a fully working robot.

The two of you need to send me a list of parts that you want to myname at STEMRobotics.org. @BananaPi your total should not exceed $150 and @76782AHighVoltage yours should be under $75. I’m good with any parts from the VEX site.

Thanks for participating and again I’m sorry for the delay in getting awards out.

Could we wait until the 2026-2027 game is unveiled to order parts? I’d like to see if I need any specialty parts, like 2" mecanum wheels for intaking that I don’t currently have.

Sure, Im happy to wait.

Okay, sorry for the (really) long delay. I have a lists of parts I’d like to order. How can I contact you?

Who 'dis? New Phone. :thinking:

Emails go to my first name at Stemrobotics dot org

Ordered, shipped and delivered!