Preserve your amazing autonomous and driver control programming forever !
As I do every year, I would like any teams that think their programing may help future generations to send me the code or (preferably) a link to a git repo I can fork, I will add to a github organization as I have done in previous years. The code can be programmed using any development system, not just VEXcode, as long as I can create a git repo for it (so blocks programs may be difficult to archive). FYI, the names of these old archives actually have nothing to do with what we now call VEXcode, I started setting these up years before we even thought of that.
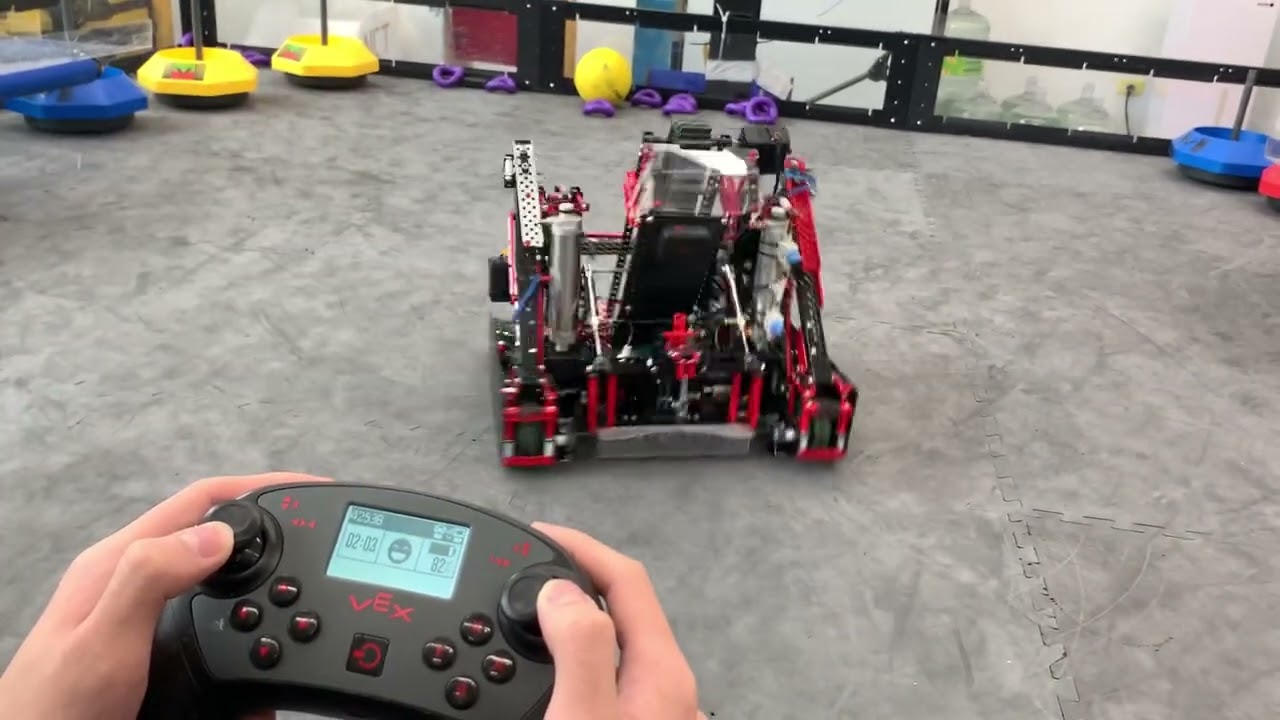
We are 4253B from Taipei Taiwan. The code is written by me and my teammate Jason. I worked mainly on the control algorithms, while he worked on pathing the autonomous on field. The repository below contains our code this year, which actually won us the Think Award at the Live Remote Worlds this year.
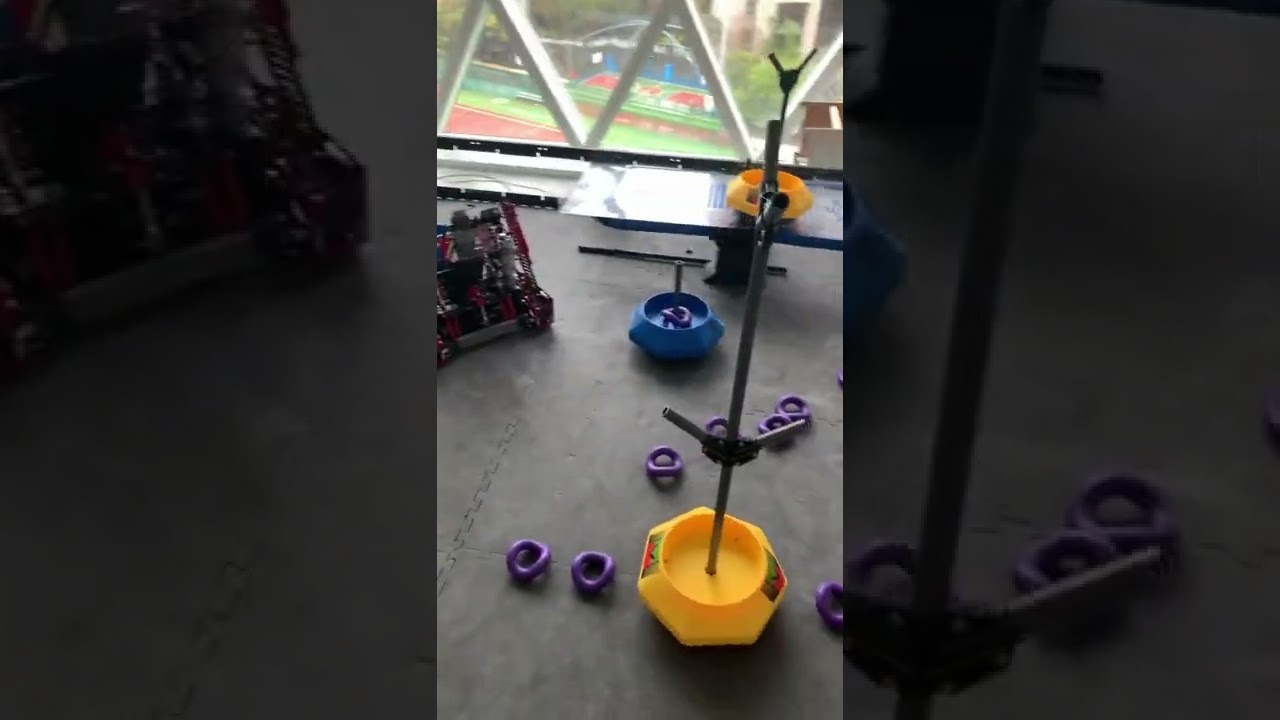
Here are some of the videos of our code:
Features (More information can be found on the readme.md file on github)
Rather than using traditional tank or arcade control, we used something called curvature drive instead. Essentially, the left stick controls the throttle and the right stick controls the curvature (inverse of radius) the robot drives in. You basically control how large of an arc your robot drives in, and increasing speed doesn’t affect the rate you’re curving. (The implementation can be found in src/ryanlib/ExpandedSkidSteerModel.cpp)
For autonomous, we controlled our chassis using what is called an S Curve Motion Profile. By inputting the desired distance to travel, as well as the robot’s max velocity, acceleration and jerk, it is able to generate a set of velocity that respects the robot’s kinematic constraints and travels the desired distance when followed perfectly. Since the kinematic constraints are obeyed, minimal slipping will occur, improving the overall accuracy and precision of the chassis.
Our code also allows curved motions by creating trajectories. Our trajectories are generated given a bezier curve and the robot’s kinematic constraints. Similar to the S Curve Motion Profile above, it also generates a set of velocity that when followed, will follow the bezier curve perfectly. Since the trajectories are generated from our computers, then pasted into this code, so you won’t see any trajectory generation code here.
Because the S Curve Motion Profiles output target velocity and acceleration, we needed some way to feed the output to the motor. We used a mainly feedforward based controller that takes into consideration the target velocity, acceleration, and position as well as the current motor state to accurately control the motor velocities. With motion profiles and our velocity controller, we were able to get our control to be within 0.1" of accuracy and basically 0 variance.
Another feature of our code is that all the subsystems are asynchronous. By using threads, the control functions are all non-blocking, meaning we are able to control multiple subsystems at once, improving the efficiency of our runs. The code is also thread safe through the use of mutexes.
We also made an auton selector that uses an SD Card.
The code is unit checked using the unit framework included in okapi to make sure that dimensional analysis matches up.
Very clean code, with everything documented and written in classes. Most of our motion control codes are contained within the ryanlib folder (which is built upon okapilib). By simply applying the library and giving new system constraints, we are able to use the same code again on different robots. For example, below are the code we use to create our S Curve Motion Profile controllers:
Our team is made up of 4 juniors and 1 sophomore. However, we are not sure if we will compete next year. I might just move on and mentor younger teams and continue developing my code. Most of the reusable code written this year will be incorporated into lib4253, another programming library I’ve been developing since around February last year. It includes powerful features such as pure pursuit, RAMSETE (and hopefully custom trajectory generation too), and I plan on finishing the code around summer / early Spin Up and releasing it to the public.
While our code has no major robotics innovation, I think it’s a nice basic PROS codebase. It’s also the first major robot codebase that I put together myself, so it will always be special to me.
Yes, with OkapiLib, adding a tile = 24 inches unit can be really useful for autonomous.
I’d recommend everyone copy the following into your Okapi projects. I’ll see if they want to upstream it
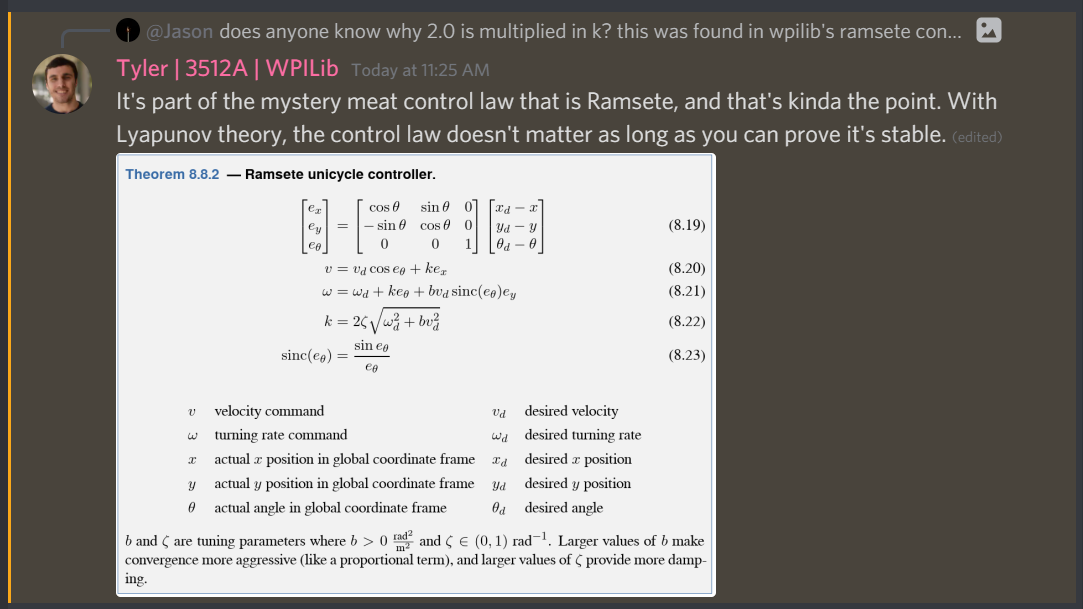
What exactly is a ramsete controller? I’ve heard it mentioned before in random papers I’ve read, but I’ve never found anything that actually explains how it works
Given a current Pose (x, y, heading) and a desired Pose (x1, y1, h1) and a desired velocity and curvature, return left and right wheel speeds that correct for the error between current and desired poses. Generally, the desired poses will be generated via motion profiling and include at least Pose, Velocity, Curvature (e.g. how much the robot is turning)
“If it works it works”, but essentially when given a trajectory and your robot’s current position, it can modify the trajectory’s output to help better follow the path. It has gained popularity in the past few years in FRC as it is extremely robust and effective.
To add on to Ryan, RAMSETE is just a cleaner way of following paths while also adjusting to error.
Just to make sure y’all are on the same page, here is how path following usually works.
Generate the trajectory - basically, a long array of the desired velocity of each side of the drive train per 10 milliseconds.
Follow the trajectory step by step and change the velocity per time stamp (in this example it would be 10 ms)
An issue with this approach is that it doesn’t adjust for positional error. Let’s say at one point on the path, the robot gets pushed a little. As a result, the chassis will be slightly off for the rest of the path. Thus, many teams in vex implement Pure Pursuit.
Pure pursuit works well enough, but it’s difficult to have a very precise ending. What I mean by this is, pure pursuit will consistently get the chassis near the target, but it’s difficult for it to get to the exact position. But with RAMSETE, you are able to be quite precise and adapt for error.
Here’s the code from MS Team 23900B.
This is the first time ever using C++ for me.
I have a custom command library for each of my motors, and a thread that prints temperatures to the robot brain every ten seconds.
I thought I recognized this code, It’s cool to see my code shared here so long after writing it!
RAMSETE is a quality control algorithm, I’m glad that it’s being used more in VEX. Shameless plug - I just wrote an article on RAMSETE for the BLRS wiki to help provide some more information on how to set up a RAMSETE controller: