Better way to fill up pneumatic reservoirs

With air pressure becoming a much more important resource to teams using pneumatic systems as they add more cylinders, I’ve decided to share my strategy to save as much pressure as possible.
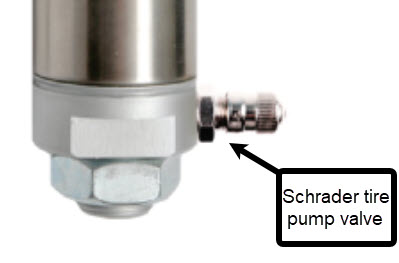
Schrader

Normally you fill up your reservoir(s) using the Schrader valve (bike pump fitting pictured above) with a combination of an air compressor or bike pump. The issue with this technique though is as you remove your compressor from the Schrader valve, you still push in the core, leaking extra pressure out of your reservoir(s).

Instead of using this technique for my own robot, I instead use this system pictured here.
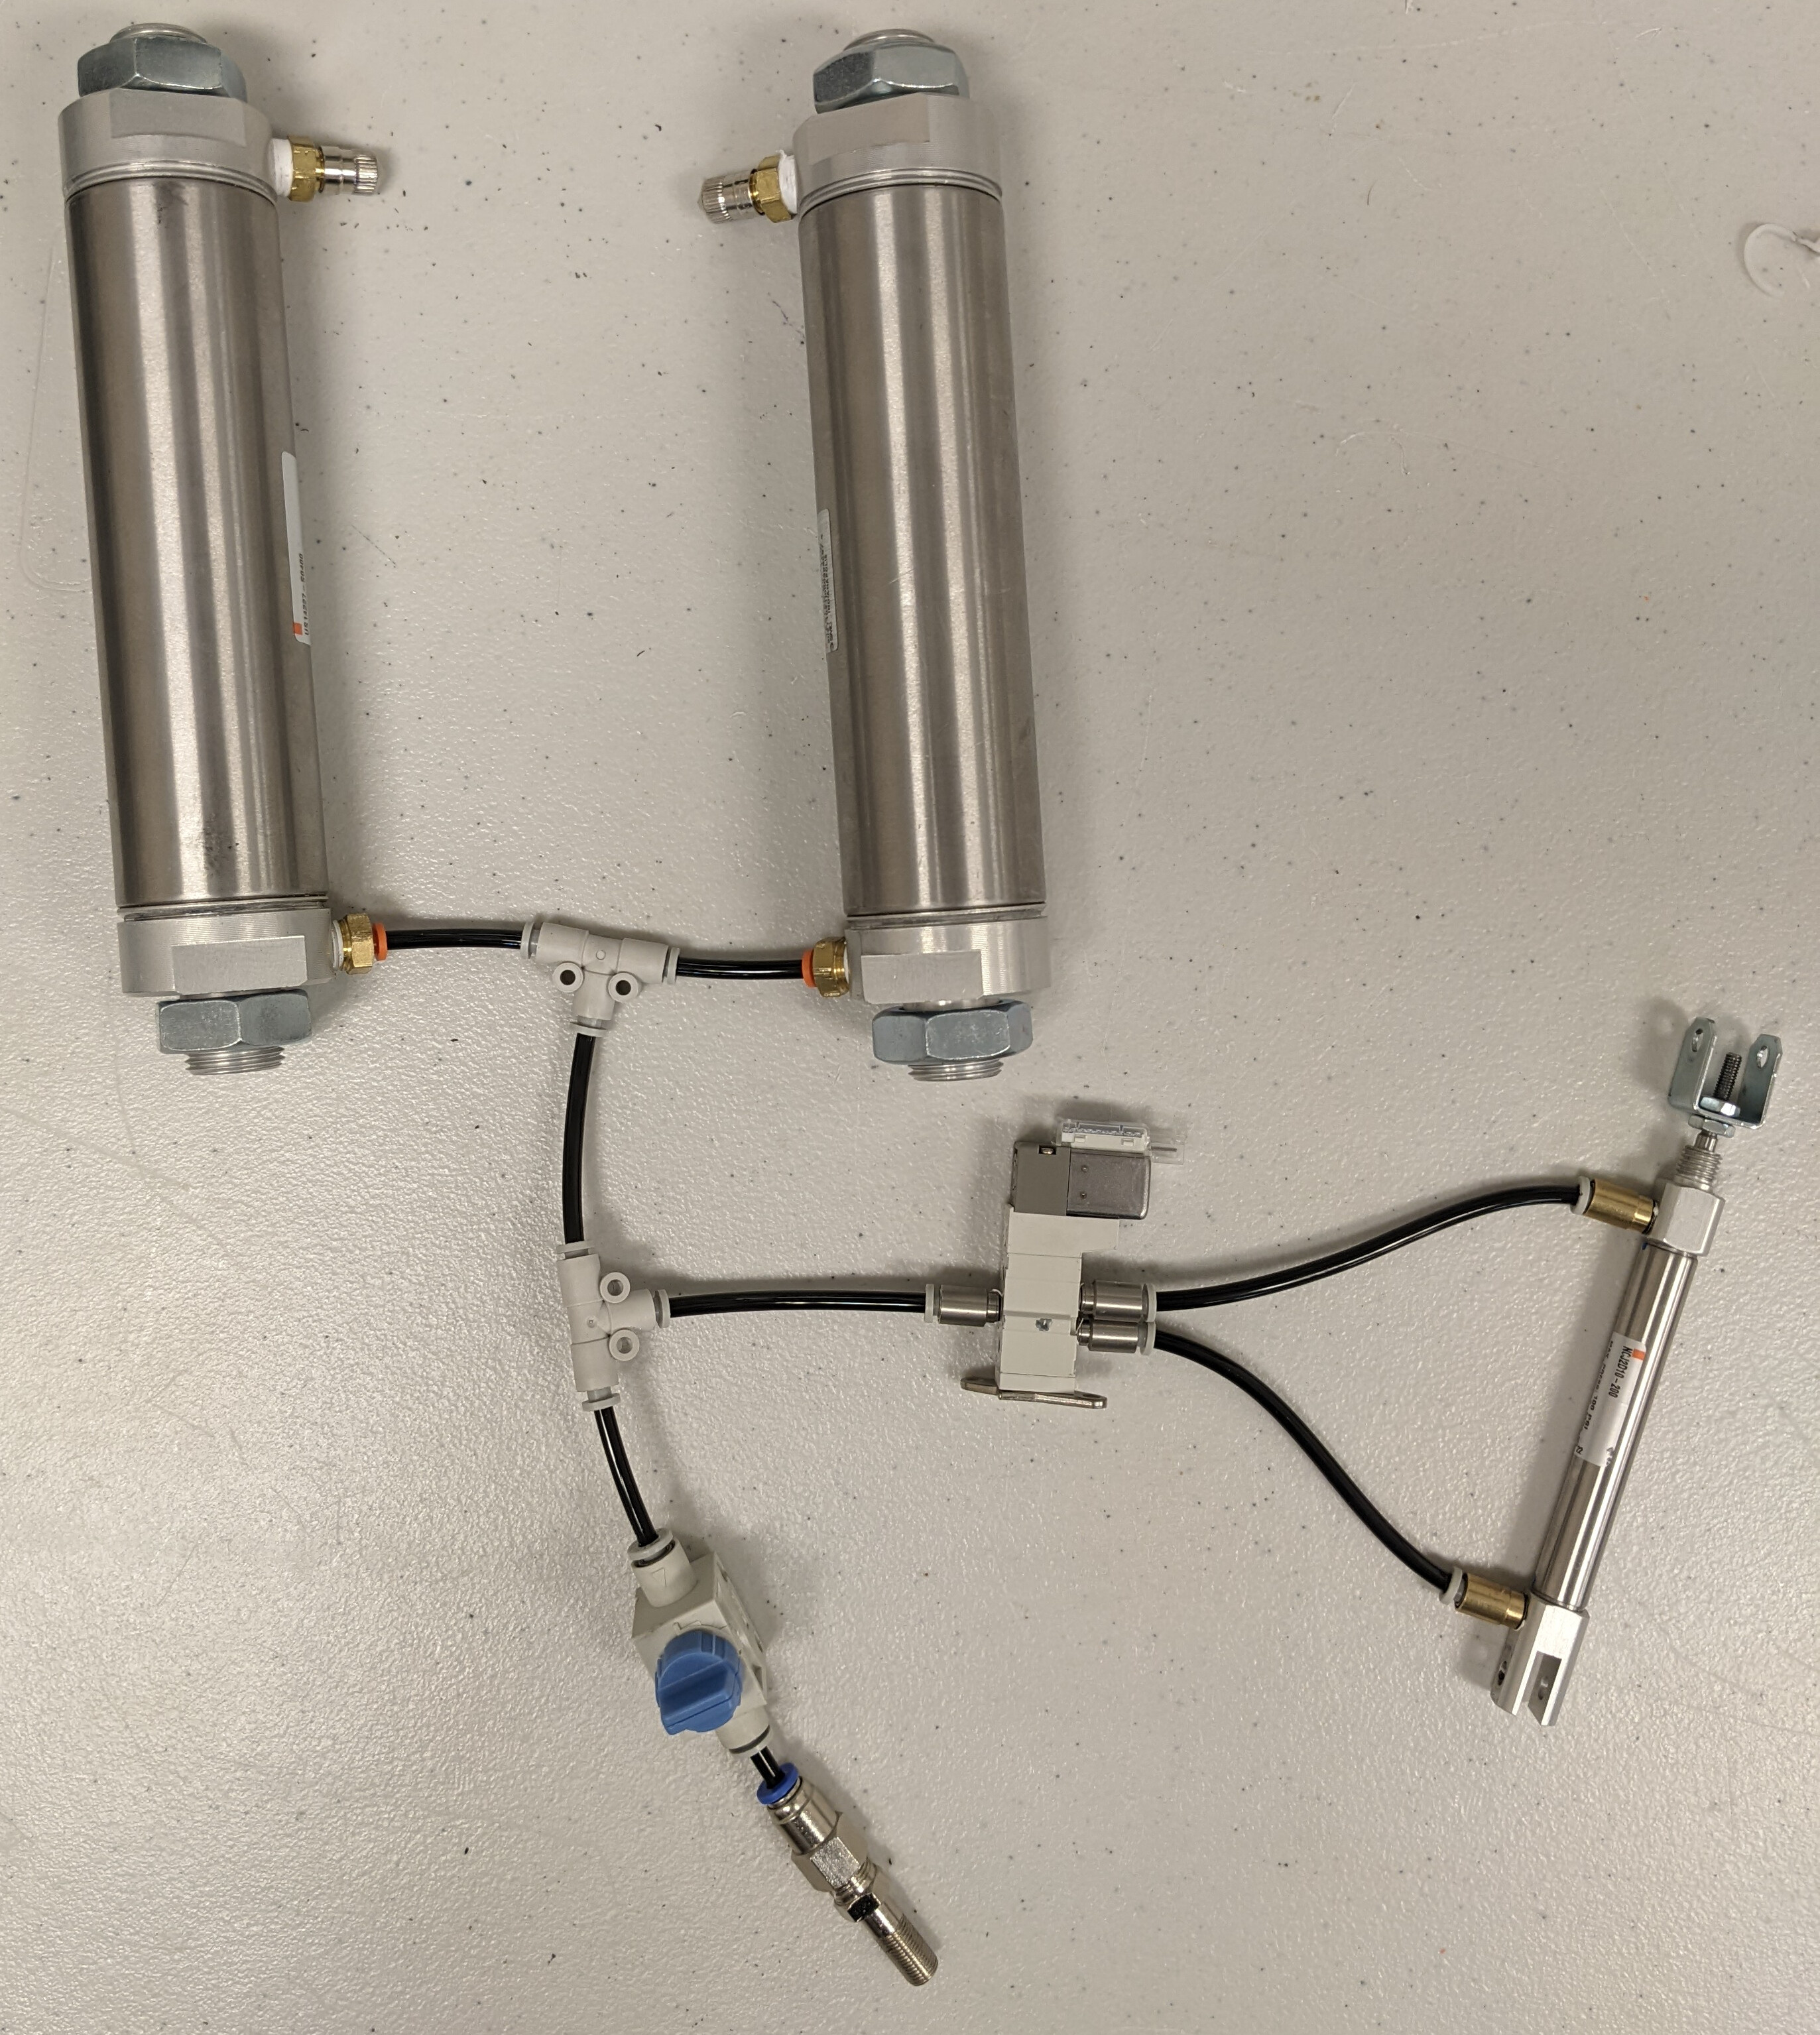
How this system works is by first connecting your two reservoirs together to have equal pressure, and have a main line, with multiple T fittings connected on the main line to accommodate the amount of cylinders you have on you robot. In this example there is only one extra T fitting to accommodate 1 double acting cylinder but in theory you could connect an infinite number of T fittings for how ever many cylinder you use.
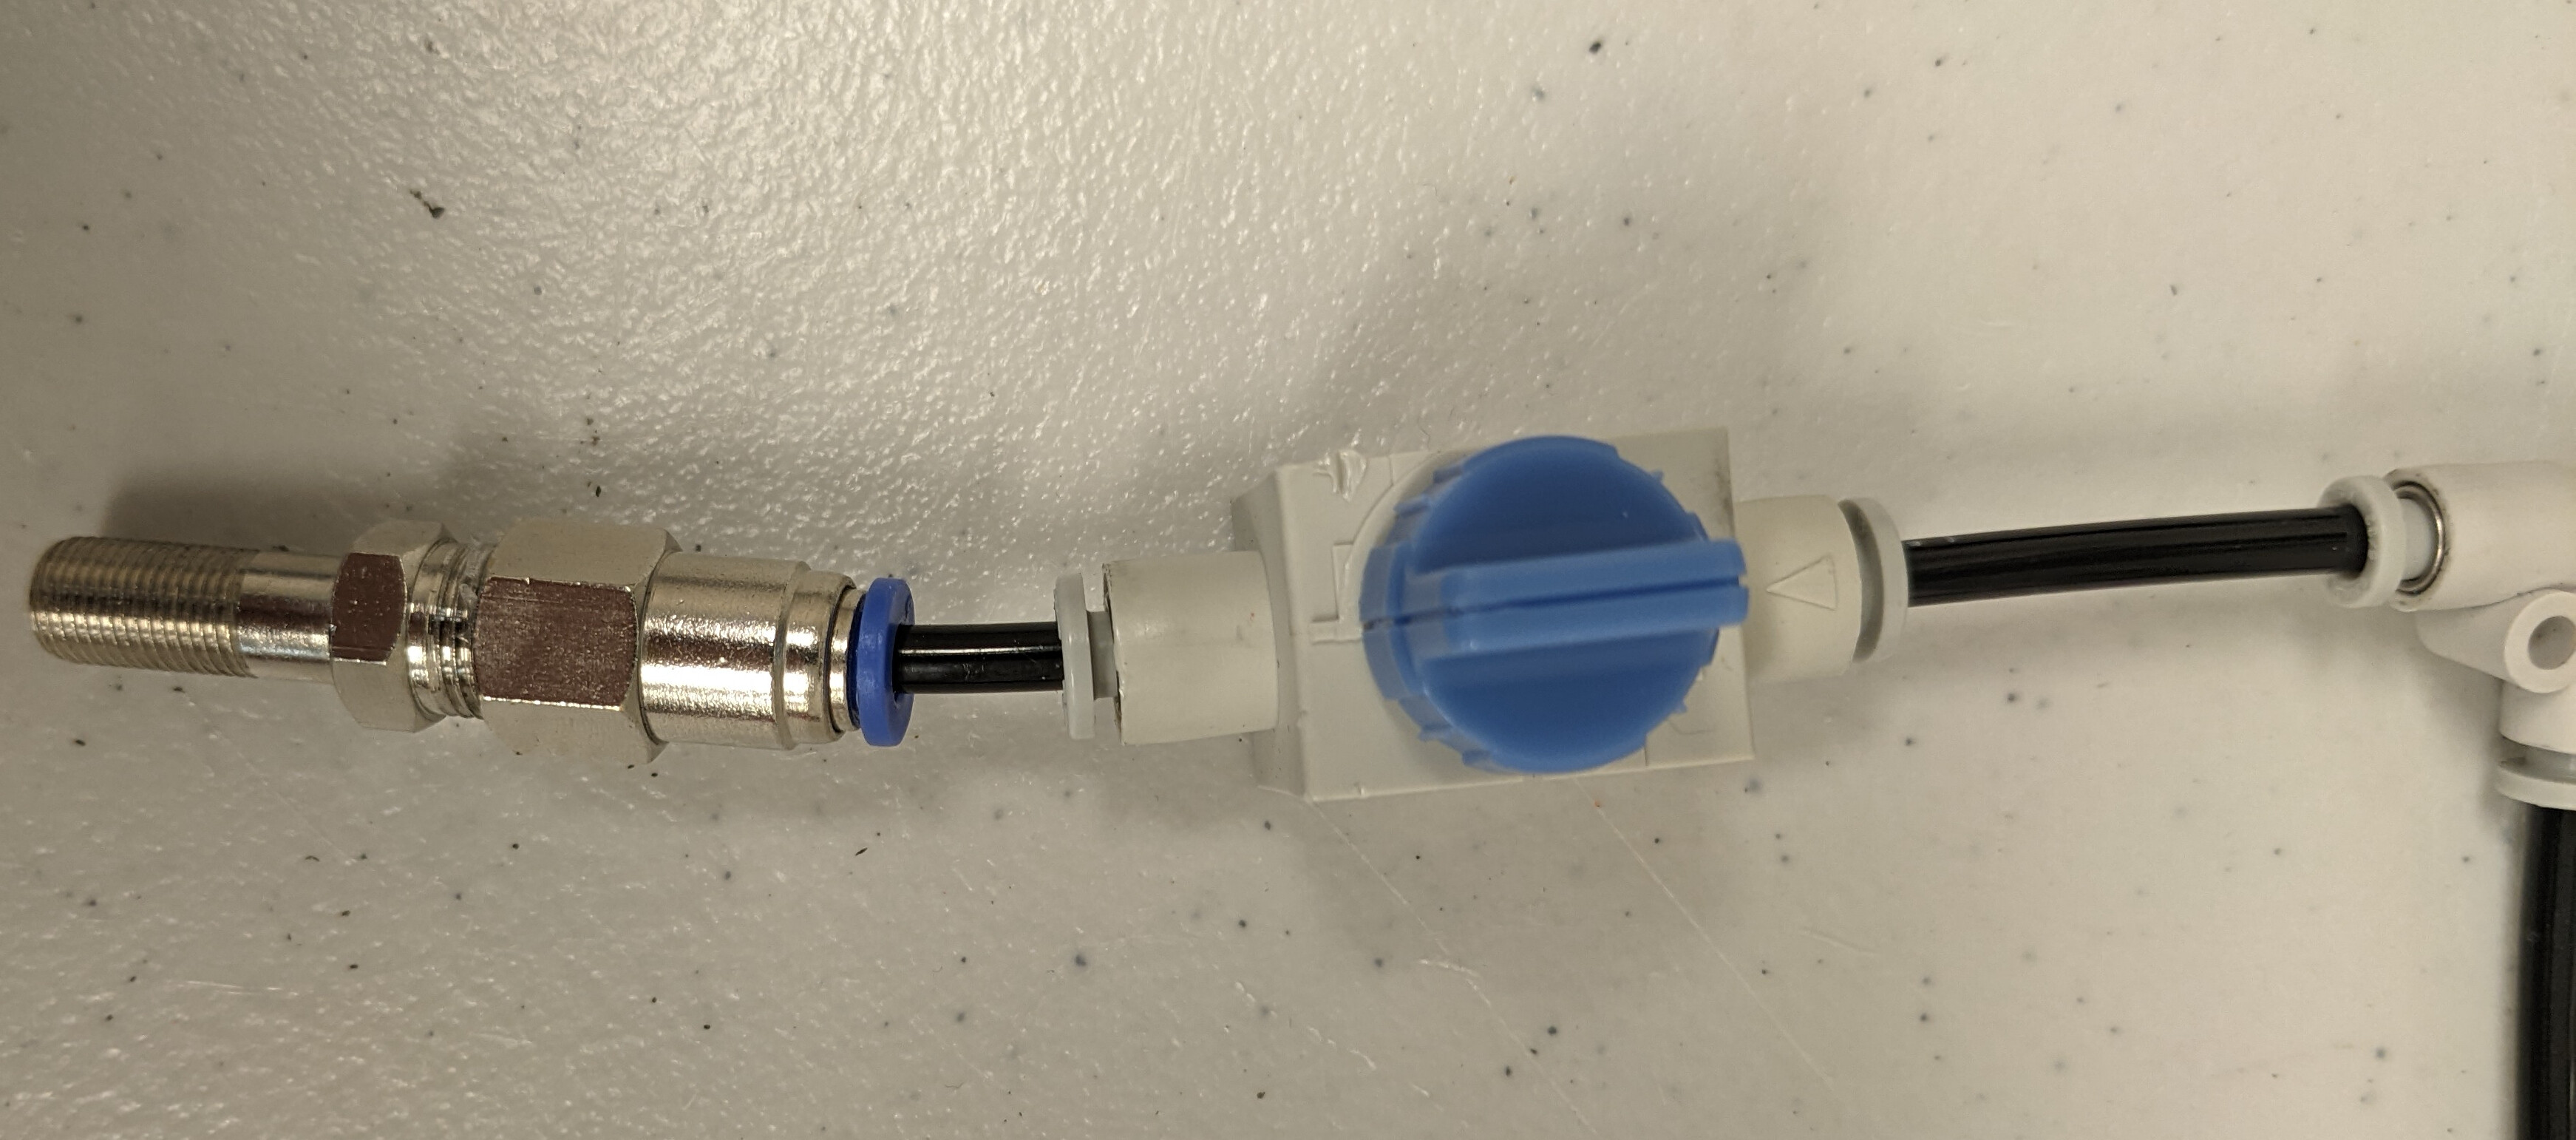
The next part of the system is the pneumatic switch on the end of the main line. By switching the direction of the switch, you allow the pressure to stay in the system without it venting out of the switch.
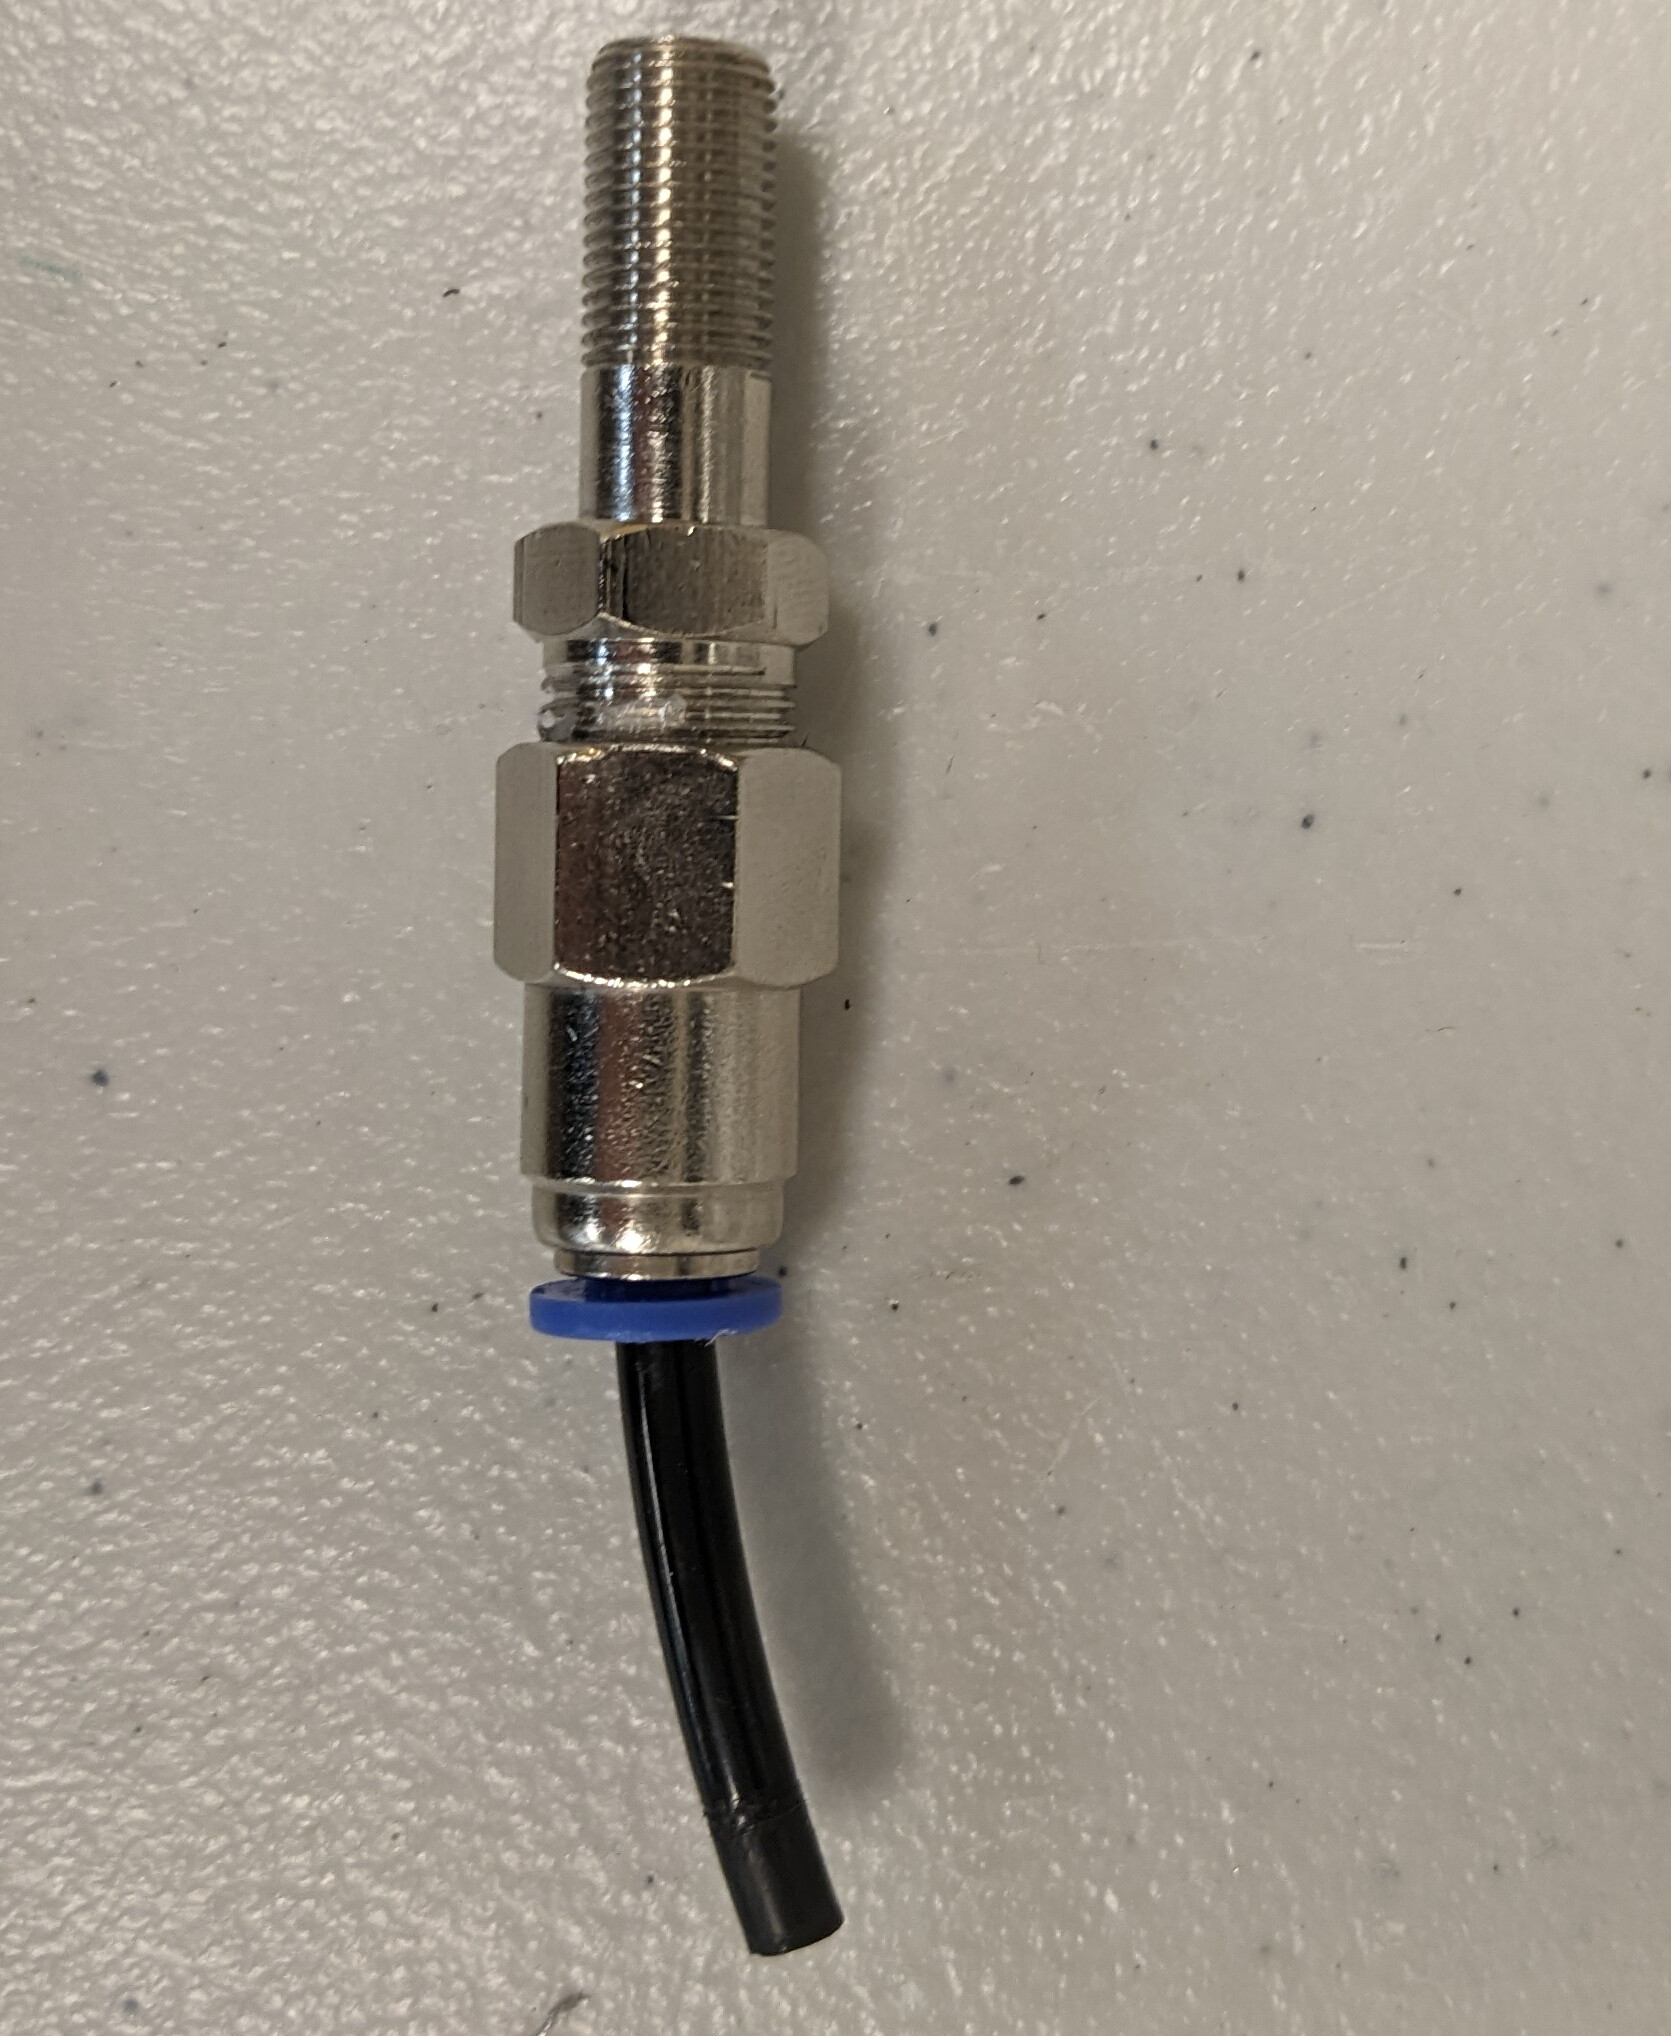
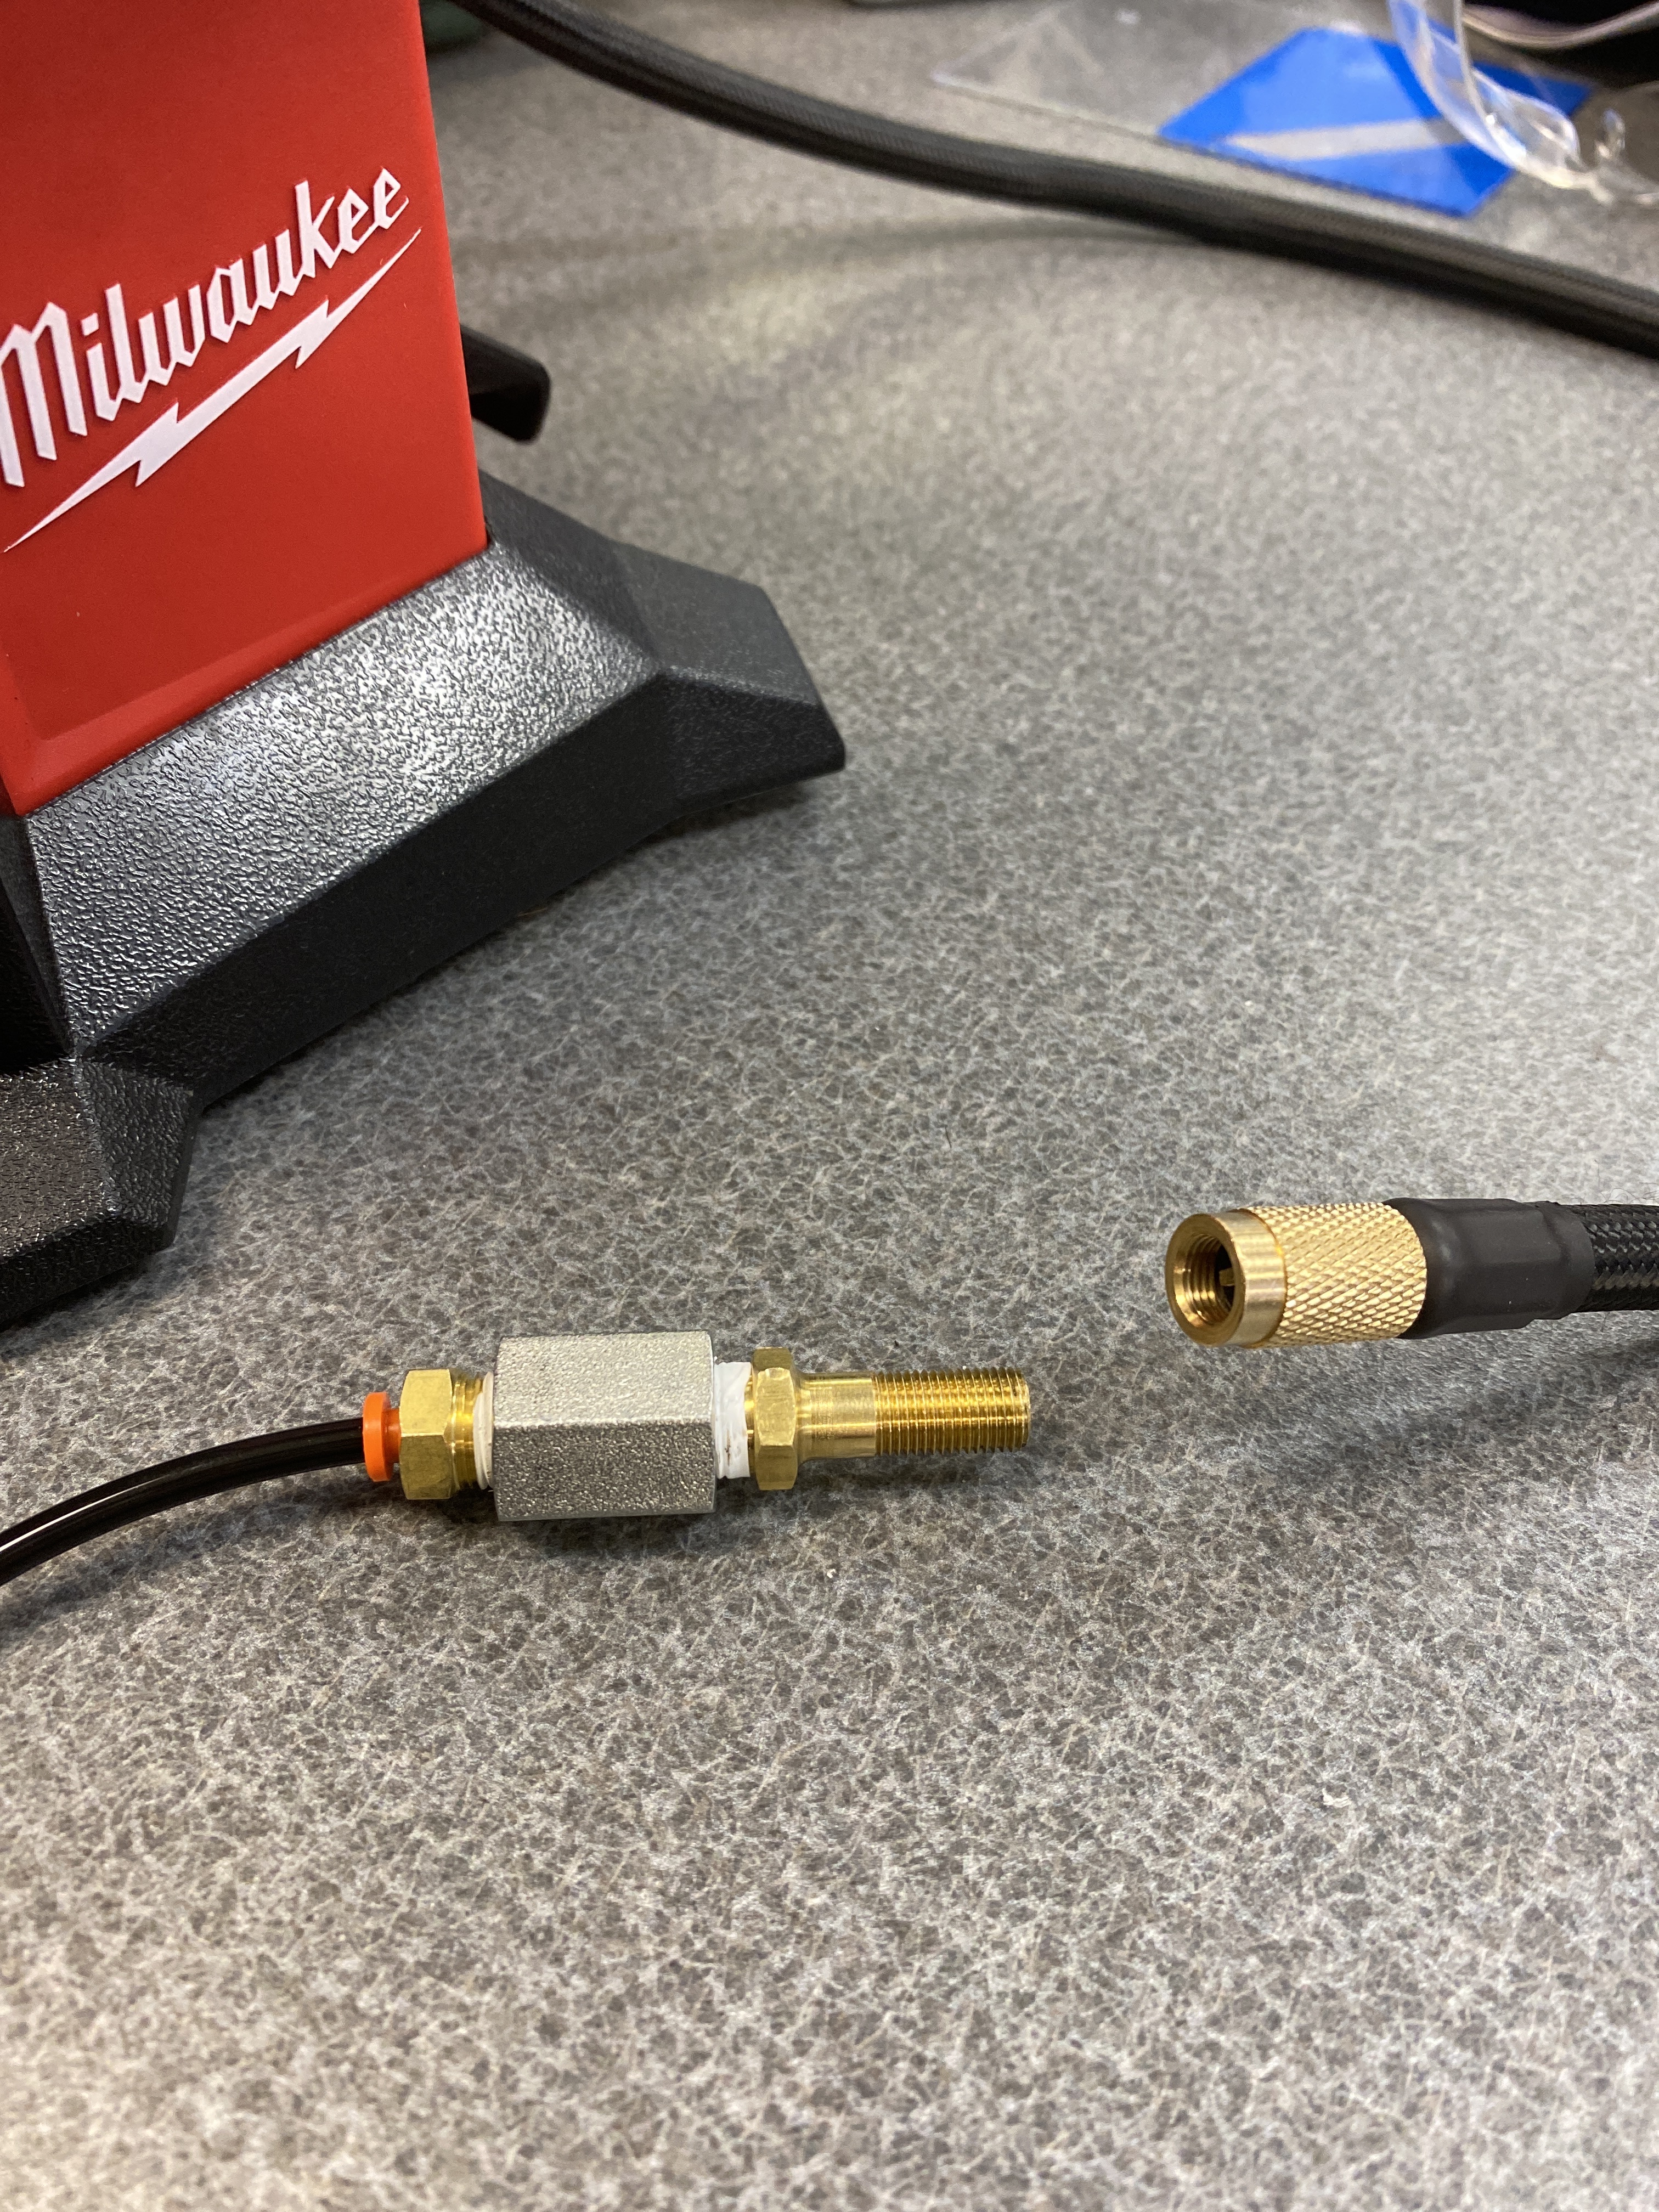
The last and most important part of the system is the fitting pictured above. For a pneumatic system to be legal, you have to use only the parts VEX sells or identical SMC parts. The fitting used here is not listed on VEX website or rule book and IS NOT LEGAL WHEN ON YOUR ROBOT. However, you can still use it to fill up your reservoirs. The fitting, which is a Schrader valve connected to a 4mm tube fitting, has a little bit of tubing connected to the end. You put that into the pneumatic switch, open the valve, and pressurize to 100 psi like normal. You then close the valve with the switch and only lose the air between the fitting and the compressor.

The two biggest advantages to this technique is the ability to place your reservoirs anywhere on your robot and losing the smallest amount of pressure possible. For example, right now on my robot, to aid balancing, I need all of my weight to be at the bottom of my drive base. With the technique I explained above, I am able to place my reservoirs in a really tight space all the way on the bottom like shown in the picture bellow.
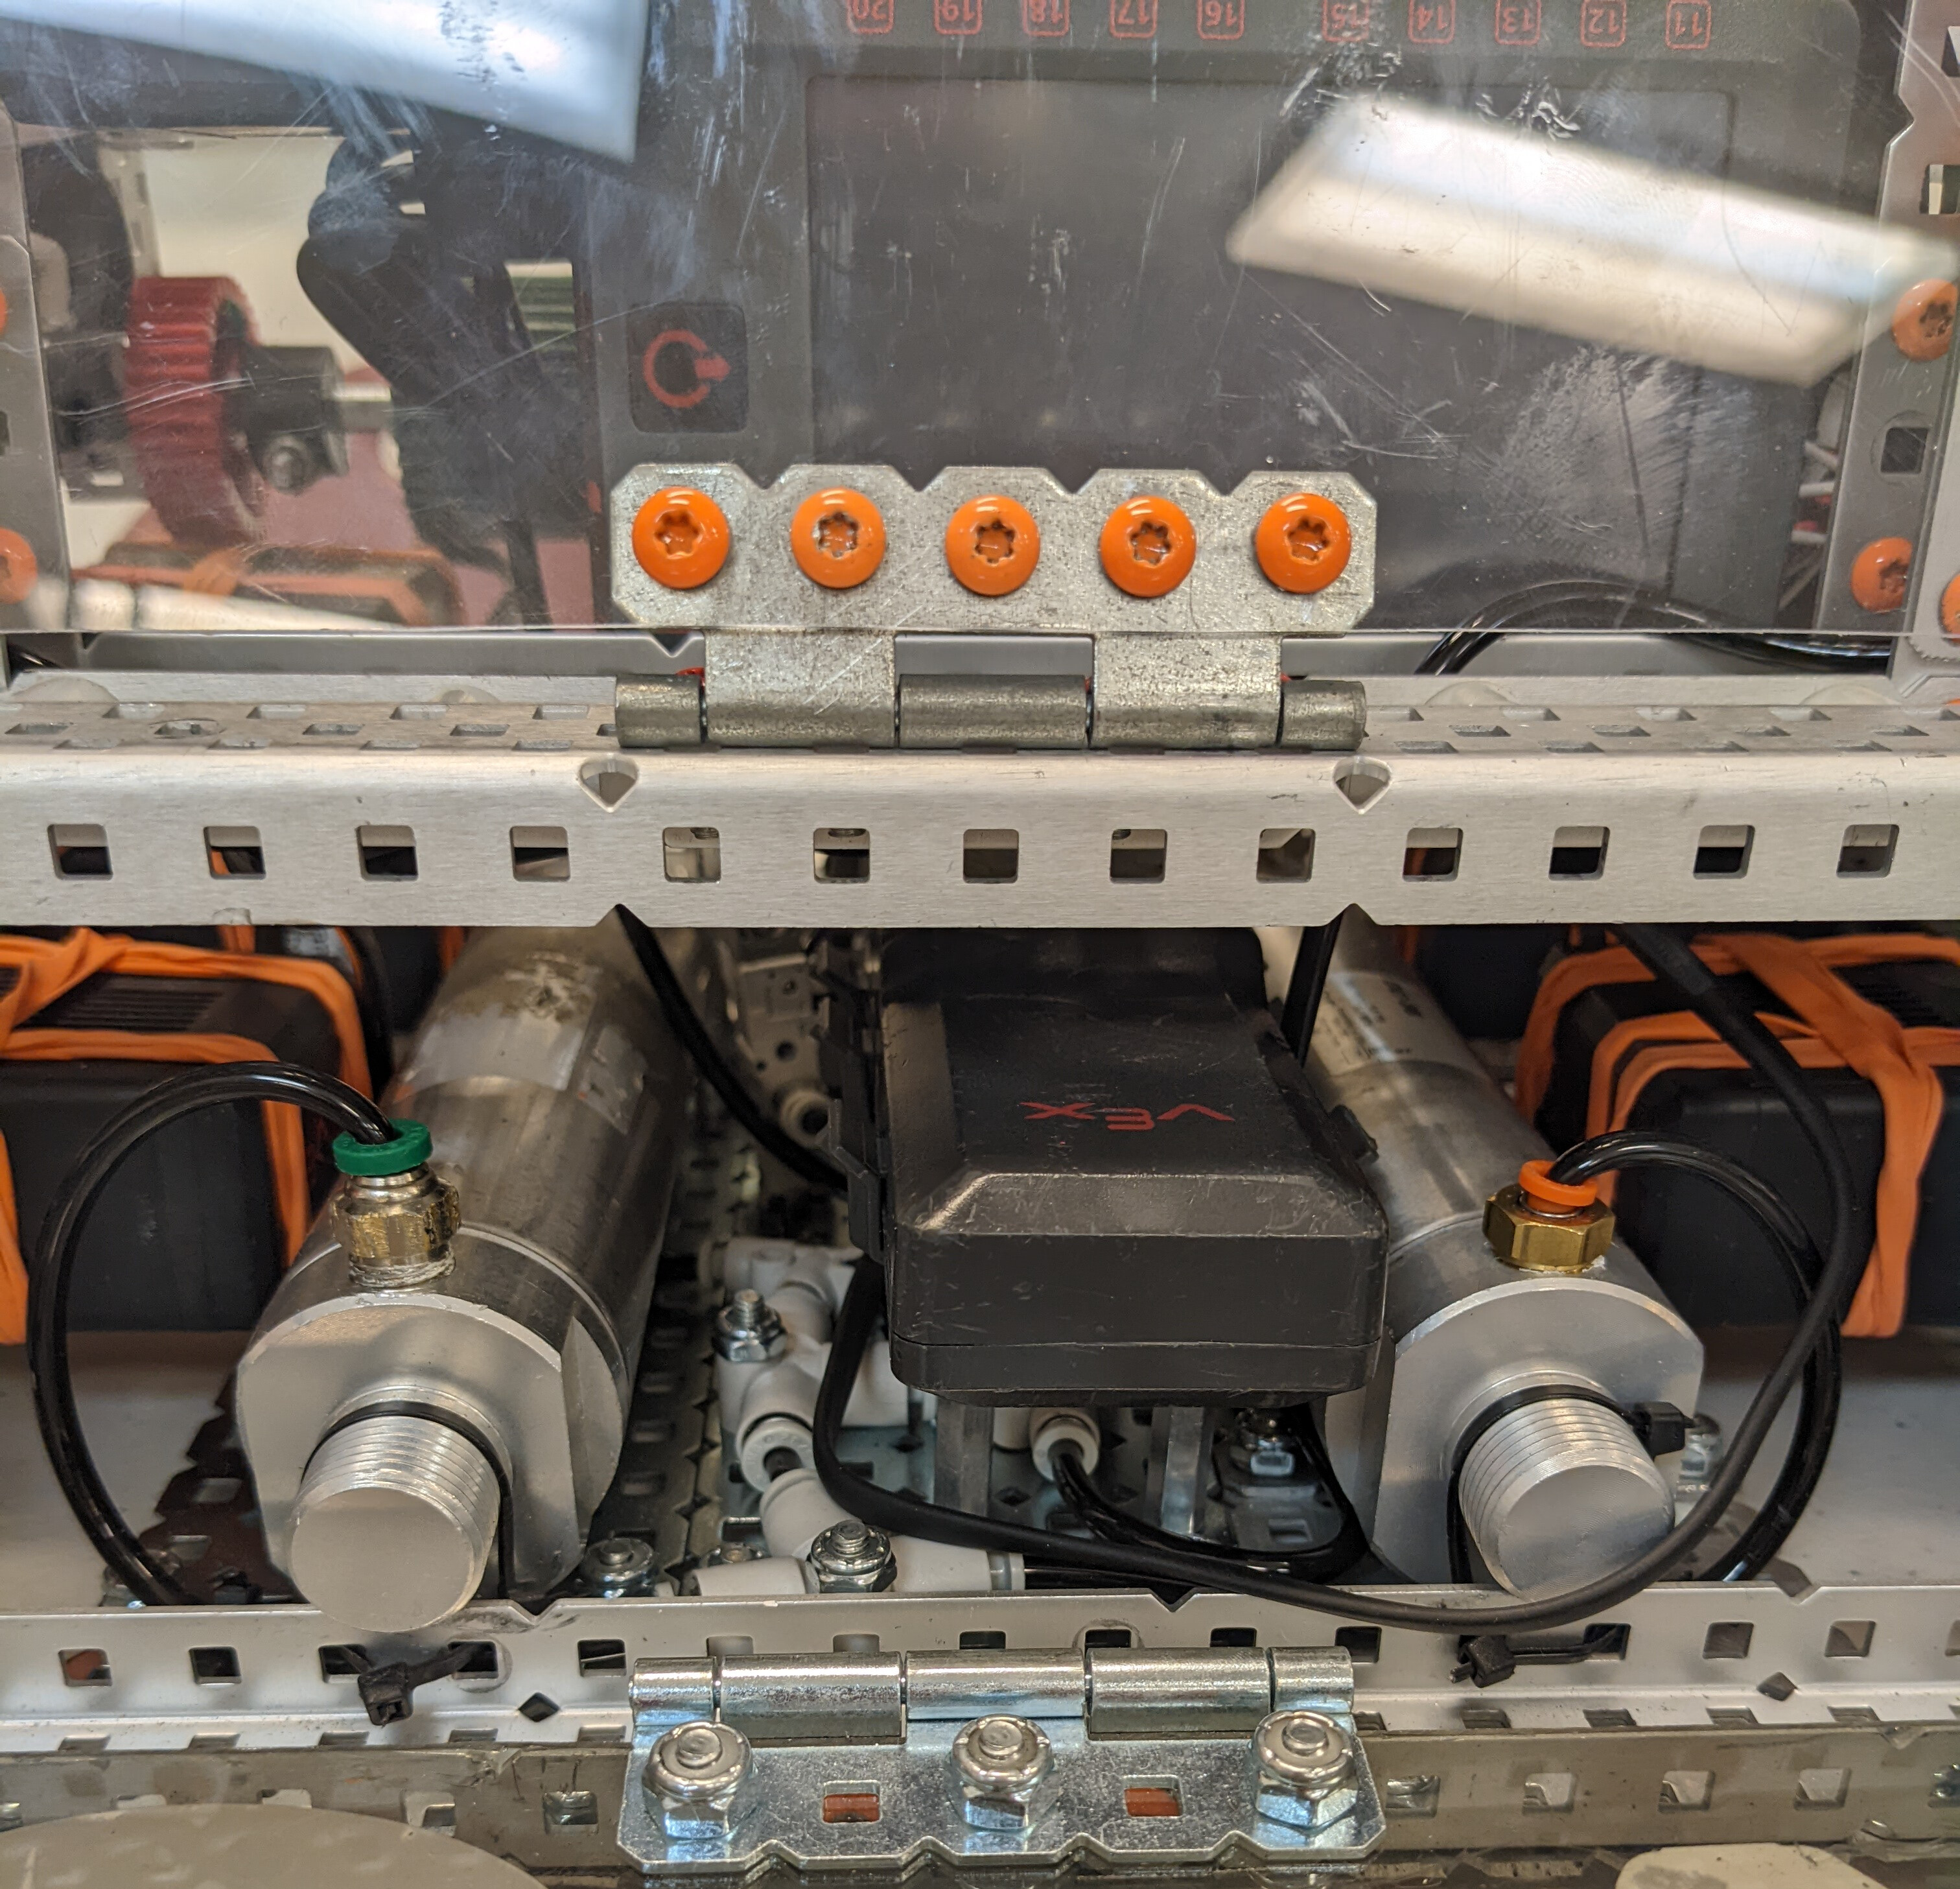
Also, by filling my reservoirs with the normal valve, I would lose 10-15 psi. With the technique described above, I only drop to 1-3 psi. The link to where we got the Schrader valve to 4mm tube fitting is here. Let me know if you have any questions about the system and how to use it or if you have your own technique to hold more pressure.
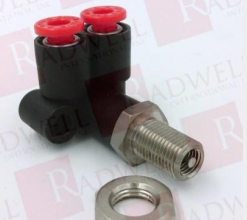
A good idea, and fully legal if you just pop off the fitting after you fill your air tanks. Years ago, the vex pneumatic kit contained this fitting: image which was legal until this year. The clause in the game manual about discontinued parts being legal is no longer in the current game manual.
Wait, that fitting is no longer legal?

TIL
Thank you for this awesome knowledge!
I am going to see if I can give this a shot, provided i have enough spare fittings

I am not sure of this.
Screen Shot 2022-01-13 at 6.02.50 PM
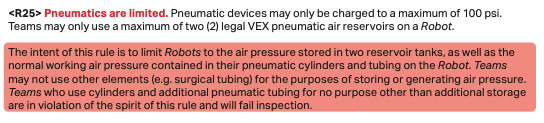
R25’s note says that you can’t use other elements to store air pressure. BUT it says if the only purpose of this is to is to store air then it is illegal. A large pneumatic system could store plenty of air at pressure in the tubes with this system.

I want this to be legal but it treads quite closely to possibly violating this rule?

But this would be for filling up the air and not extra storage per se. It does save on losing air but I don’t think it’s illegal

This is the best solution for pump release leakage.

To make sure that there is absolutely no shortage of air (anything below 100 psi), I would also advise using a pump with a pressure gauge and pump up to ~105, so that when the tiny release leakage comes, you will still be at the highest possible legal psi.

Of course, if you are worried about the legality of this, you can always ask your head ref.

I think that this is very clever solution and it is perfectly legal to leave on the robot during competition.

Because, once you seal the pressurized side of your system with the turn of the blue pneumatic switch, everything on the other end of the switch, including fitting and valve, becomes non-functional decoration.

I think, it’s common sense.

It’s probably safer to just remove the fitting from your robot because, yes it is at that point it is non functional but it’s never worth being DQ’ed for something like this.

So glad someone went through the work to post something in this topic. I had this same problem about a month ago and I needed the fitting asap. Our main issue was the threaded screw on fitting in the portable Milwaukee compressor was loosing too much air when disconnecting the fitting, so I went online and assembled my own fitting. It’s the same thing adapting the bike tire valve to 4mm tubing but I bought the parts individually off of Granger (links below) because of the fast shipping compared to SMC, also it was relatively cheap for around $8.90 before shipping and tax.

4mm fitting
Connector
Tire valve (can only put 2 links so part number is: 1X361)

We are unable to purchase any of the listed parts, is there an alternative method towards saving air when disengaging the pump with the Schrader valve? We tend to lose quite a bit of air in that process, and we are limited to one reservoir.

Lots of practice! Try a different pump, some brands/types release easier than others. Most of our teams use a battery-powered Ryobi inflater, which seems to disconnect pretty easily.

https://www.amazon.com/dp/B01LX6ONDC

A great solution to a pesky problem. Thanks for posting this.

Park tools makes an air chuck for bike tire inflation (schraeder/presta). The loss is practically zero.

That said… what’s your method for determining your tank pressure after filling? From what I’ve seen at competitions, people are using the inflator to check pressures. This method has to pressurize the entire inflator tube/hose assembly… and is inaccurate.

Edit:

  1. fill tank
  2. check pressure using your preferred method, note the value
  3. check pressure again, note the value
    4. compare reading 1 & 2, add the difference back to reading 1… this was fairly close to your ORIGINAL pressure.
  4. repeat entire procedure a few times for accuracy

The link is broken. Would you mind tell us another way to find it? THANKS.

Thanks for the quick reply! How would this system work - if at all -for 4 actuators? I’m asking this because my teams that use the pneumatics generally use the 2 cylinders to specifically power different parts of the robot (as do most others that use 2. I know that was a “duh” statement, lol) I hope that’s not a dumb question!

Let’s be sure not to confuse terms. I think you mean 2 air tanks…because an “air cylinder” is the actuator (or what many vex students will call a “piston”).

When a team uses 2 air tanks, generally they are connected together to simply hold more air…thus you fill the whole system at once. I’ve seen recently (just the past couple years) that some teams are making independent pneumatic systems with the two air tanks independently powering two different sets of air cylinders.

Sorry, yes. The air tanks. Cylinders is just what I’ve always called them so it was just force of habit. Using them independently to power to two different sets of cylinders is how we’ve been using them. So I’m guessing the alternative way of filling the tanks from the original response wouldn’t work for this. If that’s the case, then it brings me back to my original complaint/question about VEX bundles and possible alternative ways to get the Schrader Valve (or other singular VEX parts that they annoyingly bundle).