Heat treated polycarb is a good way to bend it but you can just screw it or even zip tie it in place along the curve and it should maintain its shape.
Thanks, Lettucejr, but I have one more question, can I swap the rubber bands for flex wheels? thanks again!
Yes, however you might have to adjust the spacing of the axles the rubber band rollers are on depending on which diameter flex wheel you are using.
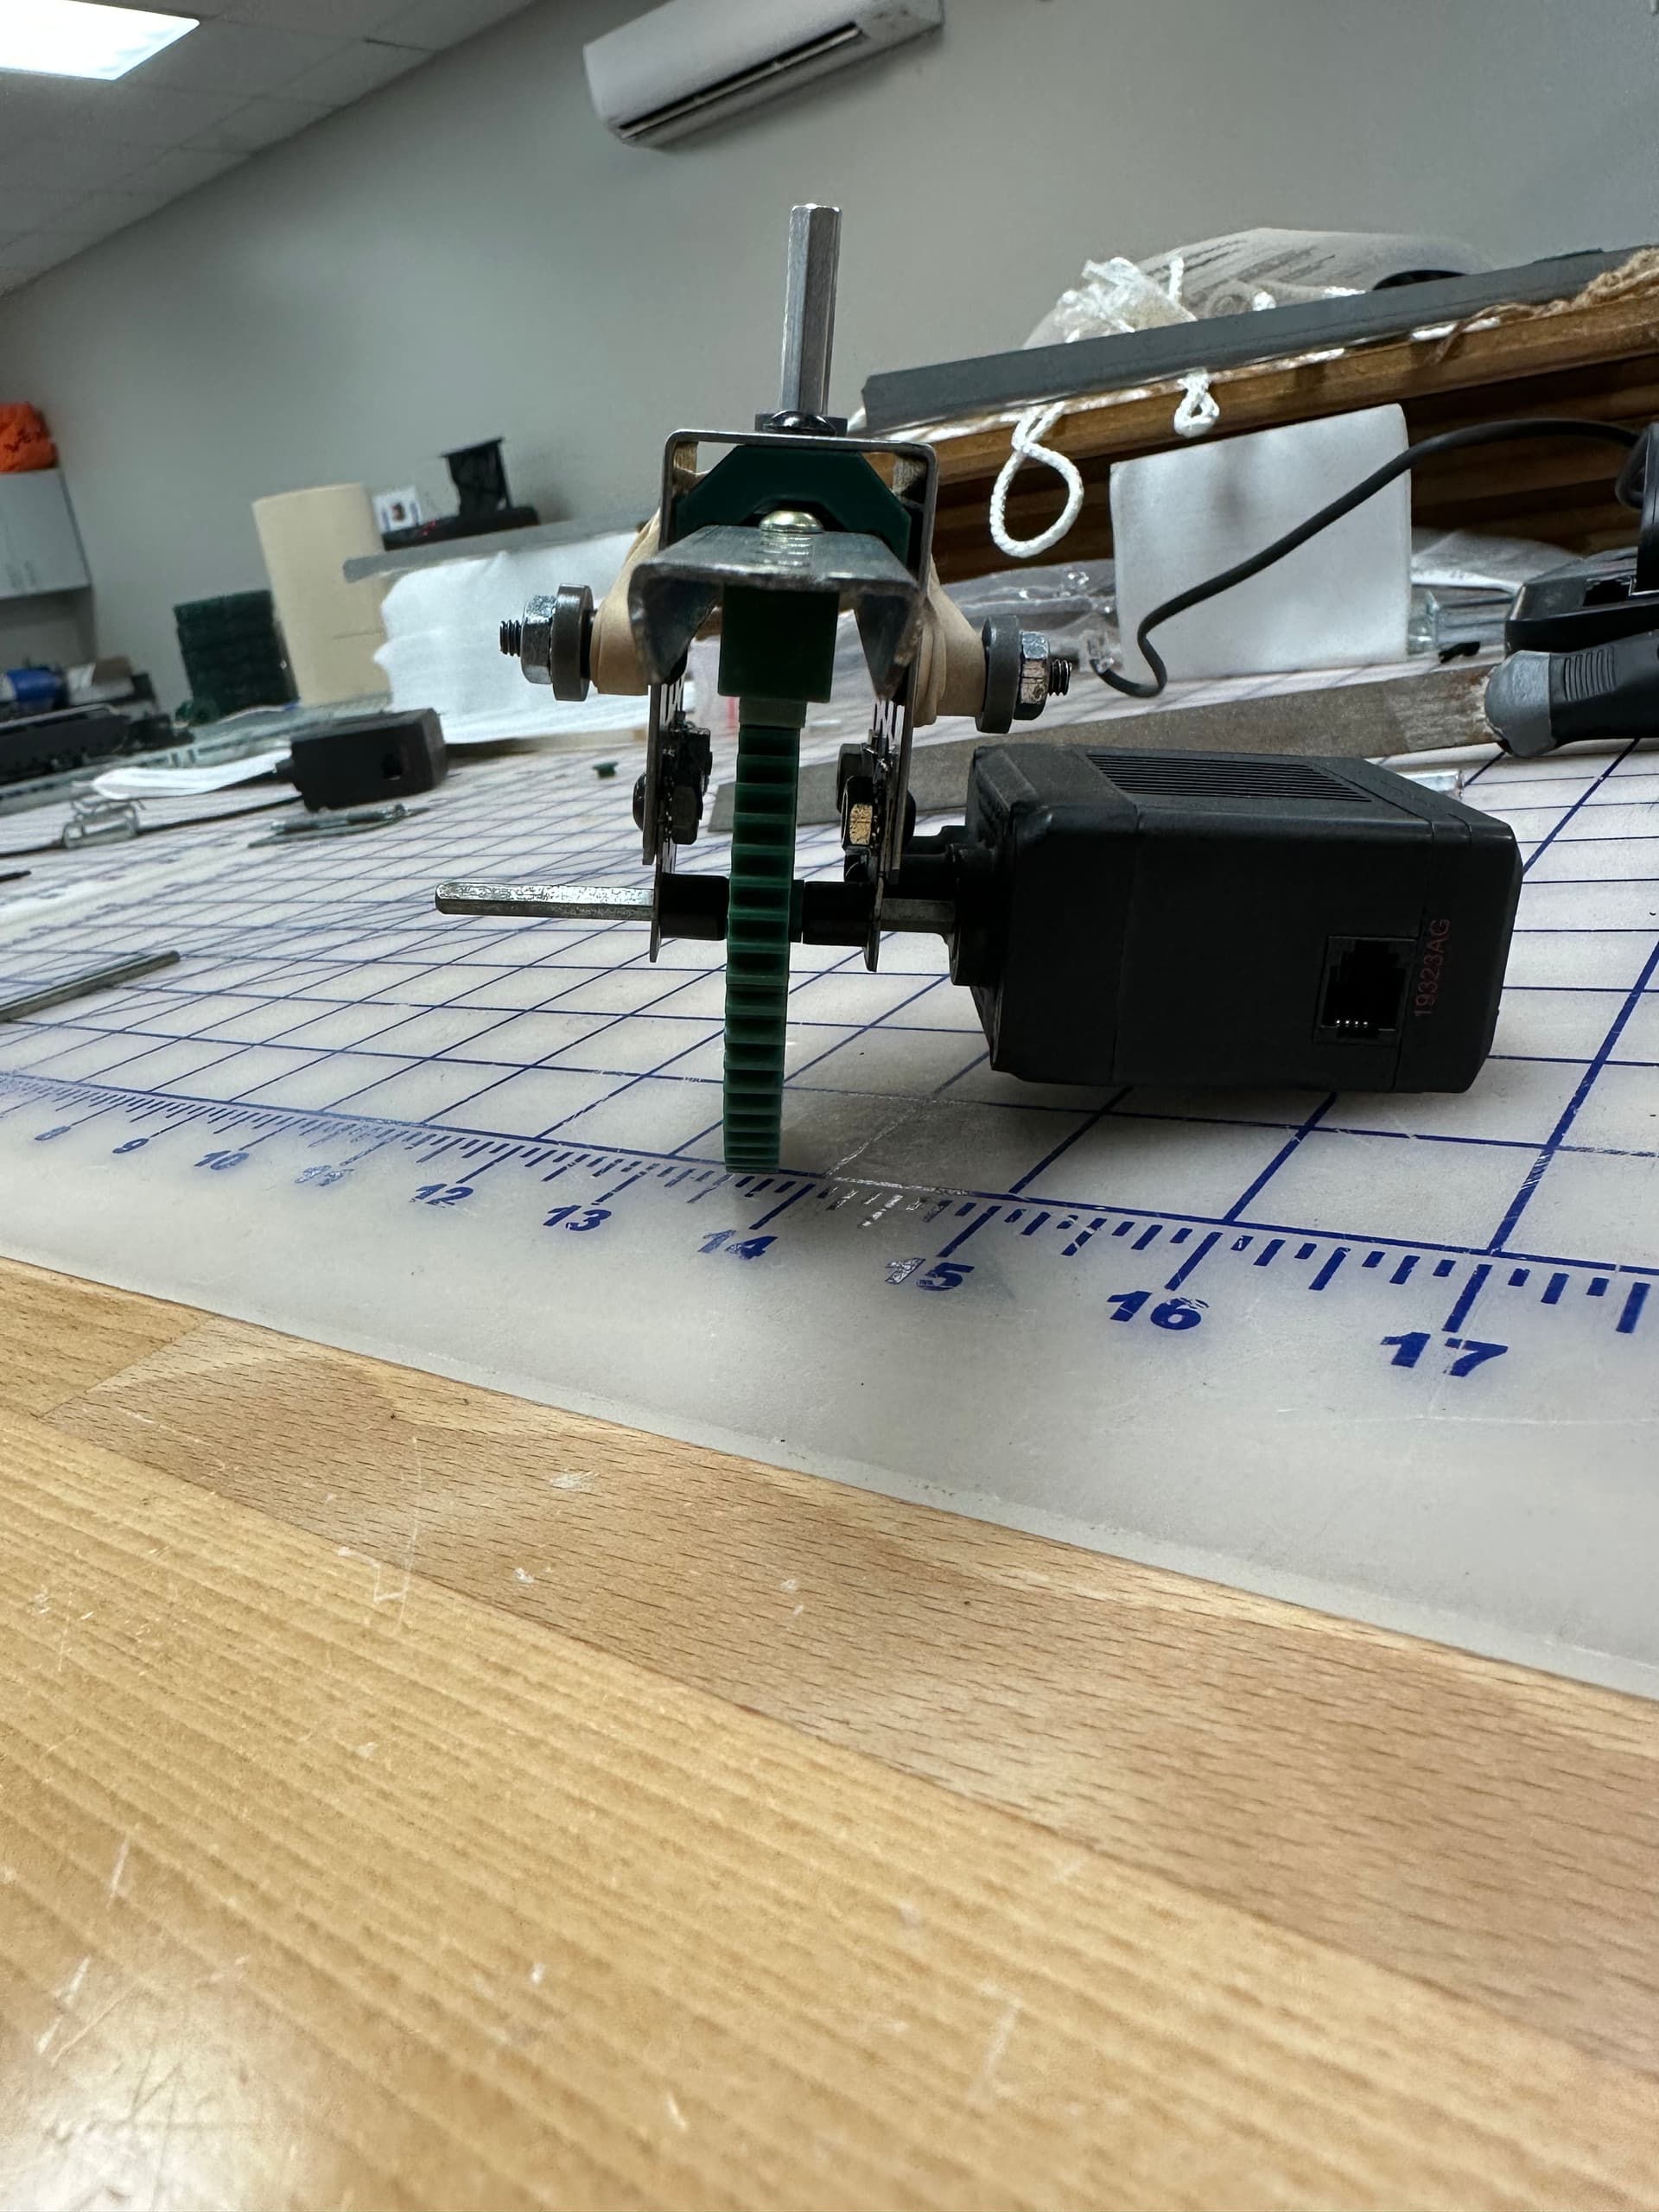
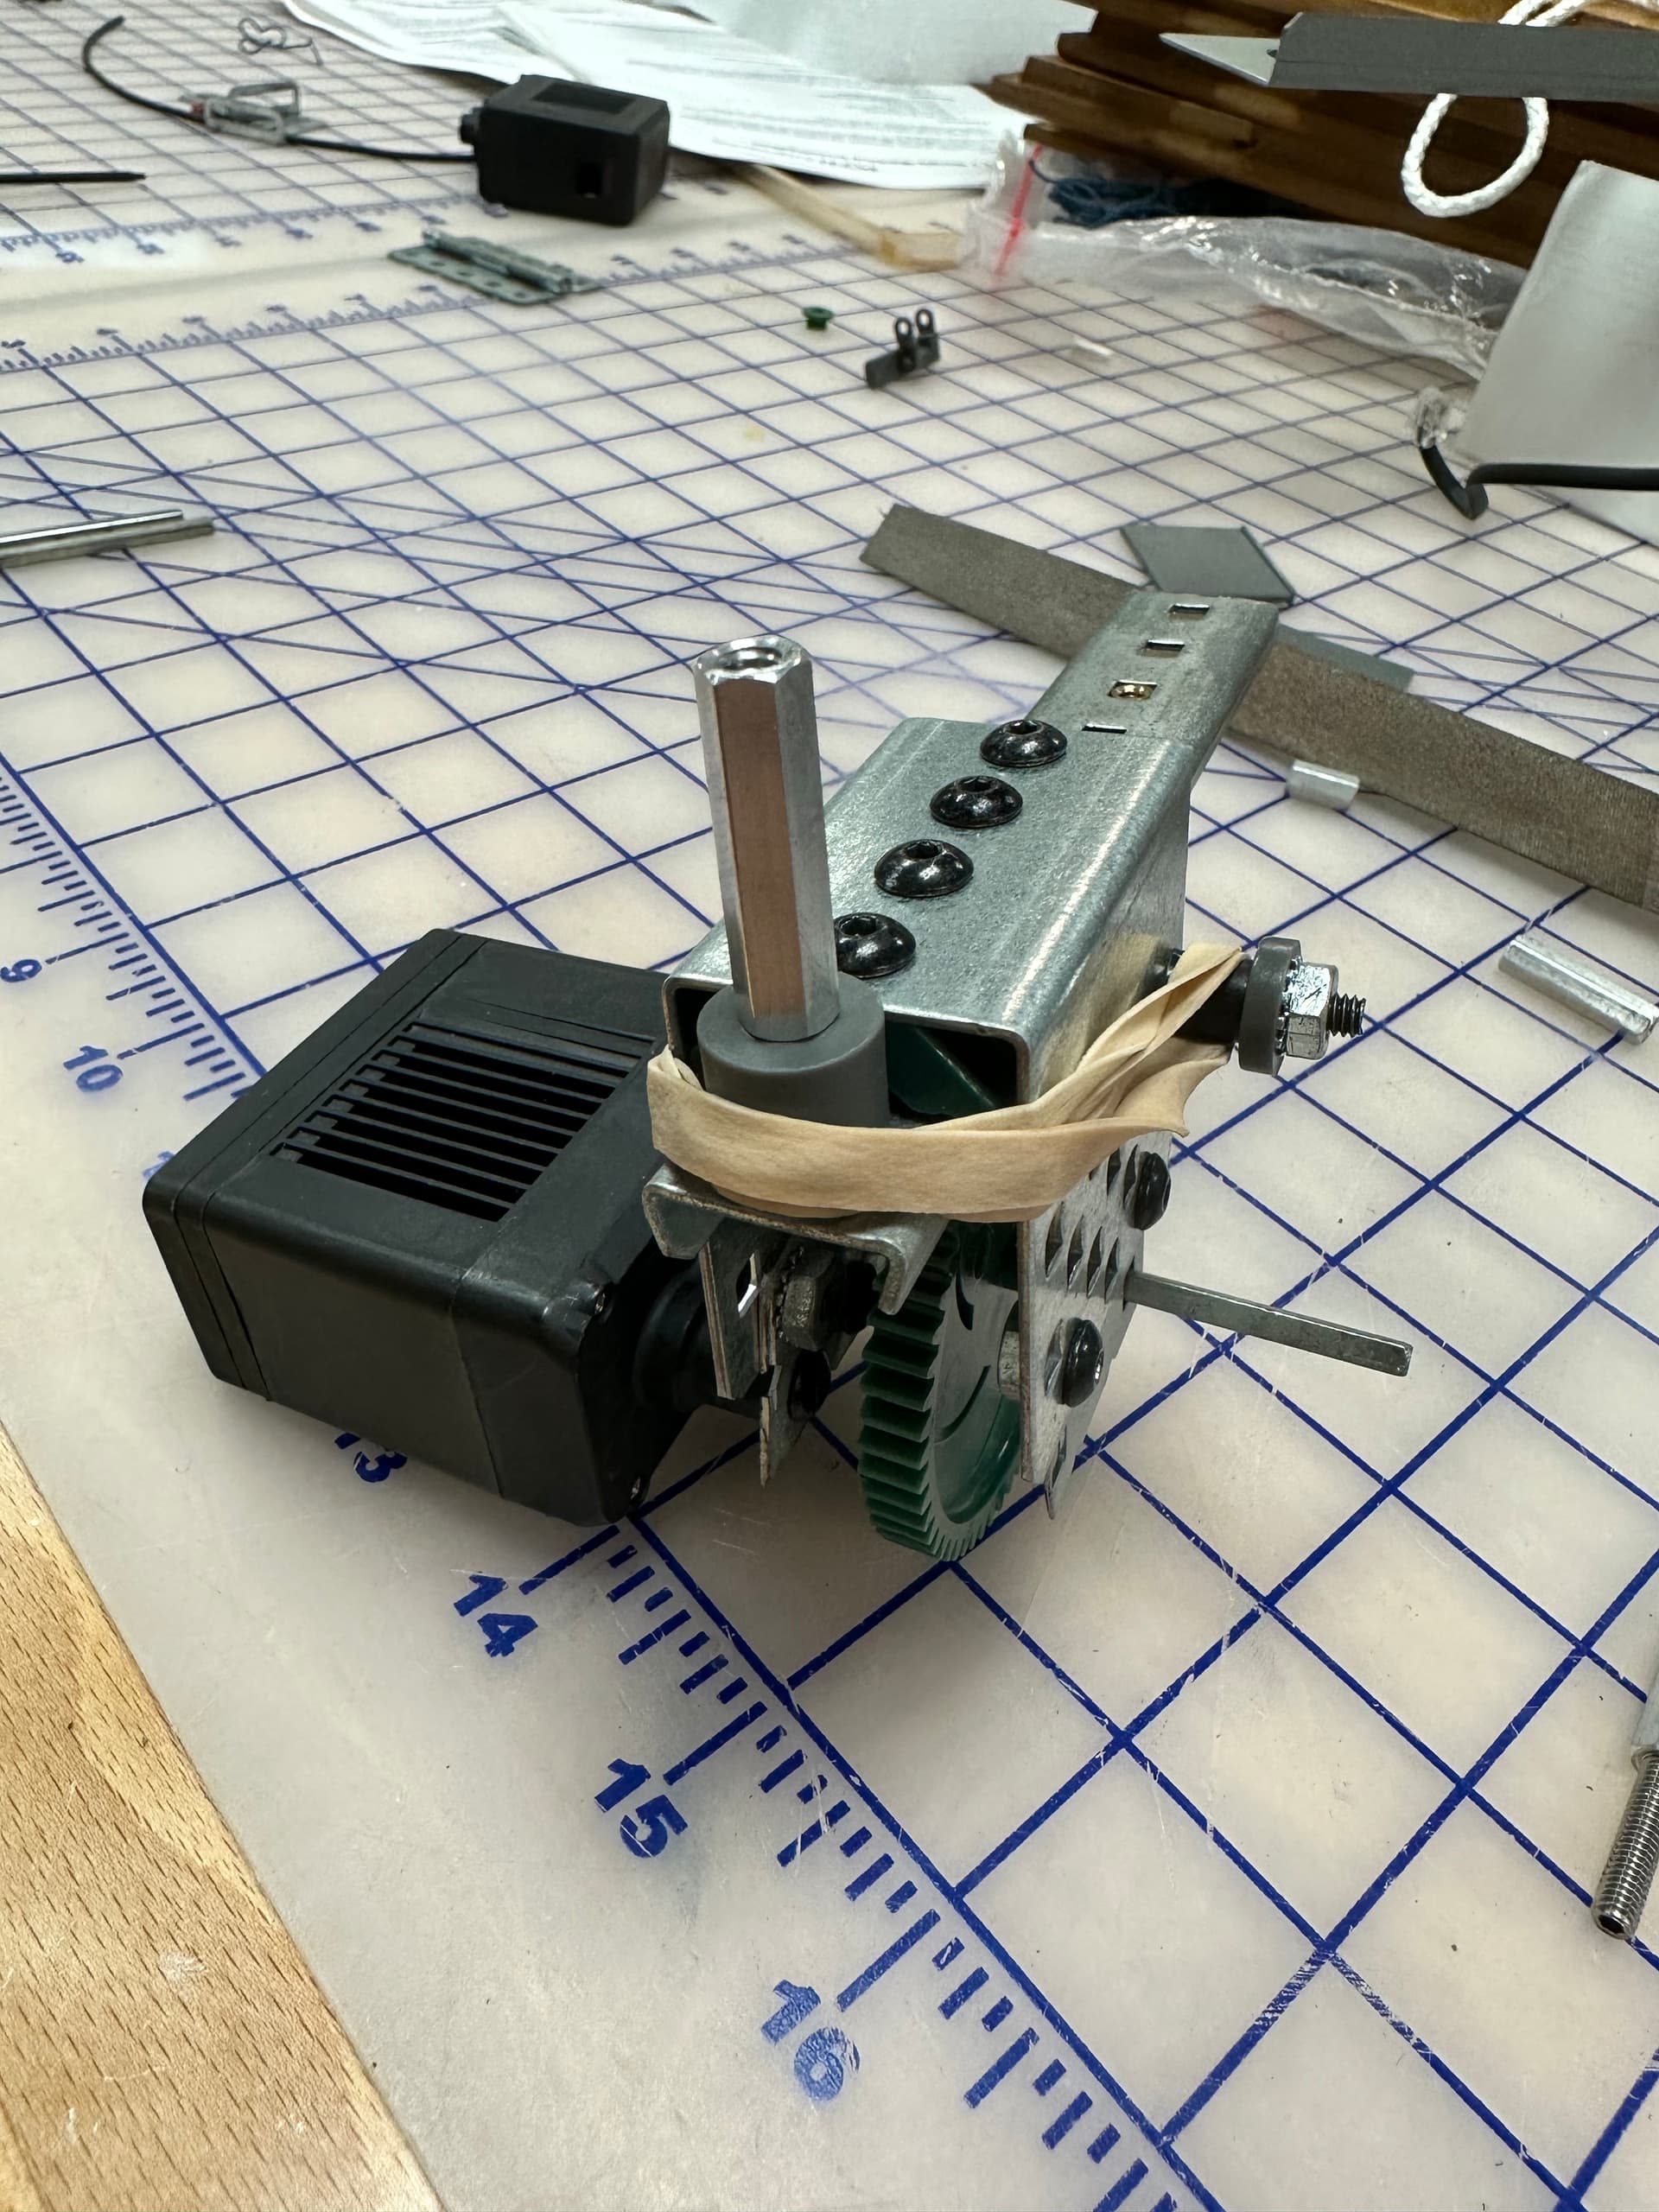
Sure! For starters that is none as a linear slide, not a piston. That should work perfectly as a motor indexer, but make sure you have sanded the gear to make it a slip gear. (I can’t tell if you have from the photos sorry). For the limit switch, have something on the moving part of your slide activate the switch right before it is about to slip. Then tell the motor to spin until the switch is pressed.
The original sprocket is 2.5" in diameter while flex wheels only come in sizes of 2" and 3" diameter, so basically you have a +/-0.25" radius difference to chose from. To visualize this you can imagine the flex wheel either being a quarter inch closer to the ground than original or a quarter inch higher.
Basically we found that the 2" flex wheels with the lowest durometer work the best for this design, though we noticed that the rubber band sprockets work really well on the middle and top row as they bend to the discs and don’t create too much pressure while still maintaining good coverage with a large diameter, something flex wheels can’t replicate.
We tried heating it with a blow-dryer for a while and it didn’t seem to do much, then we tried a gas stove before quickly realizing that might not be a good idea. Plus it would be a pain to keep doing this to the multiple polycarb intakes we’ve had for prototyping.
I would recommend sticking with 2 zipties, one on each side, and maybe adding 3 quarter inch standoffs at the bottom sticking out. We’ve had to also add extra back support to the intake plastic using and aluminum plate and a few 1 inch standoffs to keep a stable curve in order for it to intake consistently.
Do you have a image of that? thank you! but one thing i noticed about are blue motors is that they are not going 600rpm they are going 200rpm???
If you are using a blue cartridge and running the motor from the brain, it will be going at 600 (without accounting for friction losses). The gear ratio tab in the top left of the motor screen is probably set to a blue motor which is probably why you are seeing 200 rpm as the max. Set that ratio so that it is 1:6 and shows a blue semi circle, indicating the blue cartridge being used.
I noted! thanks a lot! will try it tommorow!
Ok so i mangaged to change it, But when i would do a drive it would revert back to 18:1 so idk how to change it to make it permanent, it does think it is on automotive mode but idk how to change sorry?!`
The gear ratio it displays doesn’t really matter for the output of your motor. If it is showing 18:1 that just means that 100% of the motor’s rpm will be displayed as 200 instead of 600. The motor will spin at 600 regardless, unless your drive code sets it to something else.
Well idk but it isnt going 600 rpm, only going to 100 and capping it off there. but when i did a motor test i changed it to blue and it was way faster so idk
Are you running the motor directly from the brain, using the drive function on the brain, or using code for driving?
Yes, I am. is there something wrong when you do that?
Sorry, I don’t have much experience using the drive function. I’d recommend using code (either in blocks or text) to control your drivetrain.
I was wondering if you have a model for the polycarbonate pieces so its easier to create? Looking at it through fusion 360 and its a bit difficult to see the dimensions etc. Would greatly help thx.
You should be able to make a sketch in Fusion 360 on the same plane or a parallel plane as the plastic parts and use the project geometry feature to project all of the features of the plastic (sides and holes). Then you can dimension the sketch, allowing you to easily see dimensions etc.
Most of the regional championships have ended. If you used the MENTORBUILT robot as your design base, how did you do? What changes did you make to improve the design?