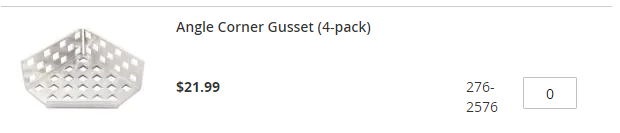
scroll to the bottom… part 276-2576 - Angle Corner Gusset.
Cad is included on the “CAD Files” tab
scroll to the bottom… part 276-2576 - Angle Corner Gusset.
Cad is included on the “CAD Files” tab
does anyone know what piece this is and tell me the peice’s name and number
Are you asking about the piece that was highlighted in you previous pic? If so, then I linked to it in my post above.
Well… dang it… I just realized I must have 2 accounts logged in on different computers… and that I misspelled my own username on the one and haven’t noticed it for the past 10 years 
No I’m talking about the sensor near the puncher I want to know what is the name of it for some reason it didn’t post the picture
OK… so now I think you mean the old limit switch. It is the only sensor I can see in the CAD and it would be above and behind the highlighted piece in your screenshot. (I double checked the code and the only sensors are a limit switch and an inertial sensor… but there is no inertial sensor in the cad.
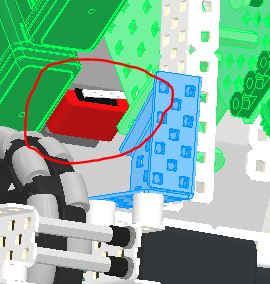
To avoid using an an air cylinder, they are using a linear slider with a rack and pinion slip gear to tension the “puncher” (rubber bands not shown in the cad). The limit switch lets the code automatically stop the motor when the puncher is tensioned in the firing position.
thank you for the sensor but can i please get the exact angles and other measurements for the polycarbonate pieces so i can go and buy it today my team really needs that so we can finish the robot
Again, like I said earlier, you need to either check in the cad, or you can do several other methods like test fitting with cardboard, or just guess and check with plastic till it works. All of the plastic fits in 1 12x24 sheet, but you should buy more in case you mess up.
I don’t think anyone is gonna rip apart their bot to measure the lexan sizes, and mentorbuilt is currently 2 hours away from me right now.
I have a question about the plastic and the c channel with 5 notches. how did you get that? did you cut a 6-notch one or buy it? also, can we use metal sheets instead of plastic or no?
there are 5 notch c channels we have use them and we did not have to cut anything for it
On our robot the chain that connects to the chain tensioner is constantly pulling the intake up and down , does anyone know the reasoning? Can I also get some more information about how the tensioner works or at least how tight I should make the screw and how tight I should make the rubber band? Thanks, this would really help us a lot!
for the porgram why are the drivetrain motors not in a 4 motor drivetrain can that be changed or does it need to stay like that
Hi, I would like to start off by saying this is a great build and that me and my team are very greatful for the resources you provide. However, I was wondering if you had an idea on how much it would cost to buy all non-electronic parts used to build this bot.
I’m a bit confused by your indexer design, could you explain it more for me? I don’t have a computer that can handle any CAD software atm.
It looks like a linear puncher. Linear punchers use a slip gear to release the force of rubber bands that are pulling the slide forward. The gear then turns to move the slide back, stretching the rubber bands, then when the gear gets to the part with no teeth, it slips and with the force of the rubber bands launches forward.
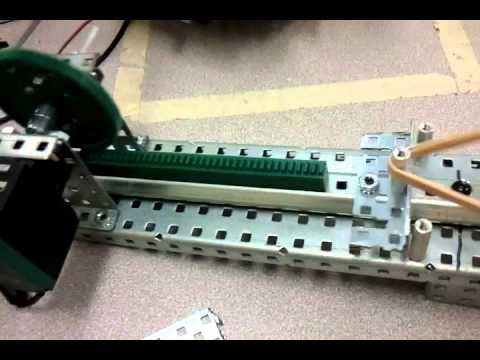
This is a design from a game in years past but its the same concept
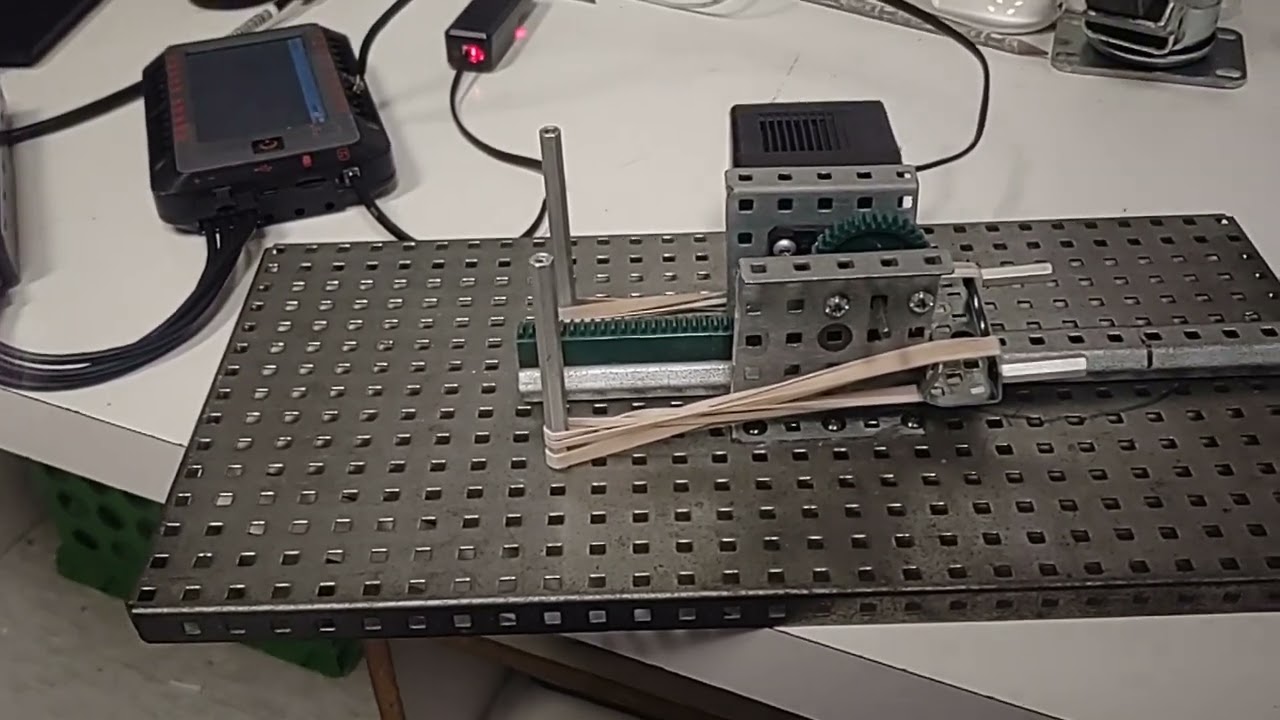
Heres a more recent prototype of a linear puncher from this year’s game
If I am not mistaken, there is a distinction between linear puncher and slipgear indexer— the intent of a linear puncher is to launch the disc using the tension in the rubber bands, the intent of a slipgear indexer is to push the discs into a flywheel.
Yes your correct. Although when using a linear puncher as an indexer it should have less rubber bands than when using it as a launcher, having the disc enter the flywheel with more initial velocity will reduce the rpm drop of the flywheel, increasing the rate of fire
This is insane! How did you do it so fast?
After the indexer (pusher) hits the limit switch, how do you make it go farther back and then launch forward? When we try it ours immediately launches forward after “A” is pressed. I was seeing this is a key feature in the video.
Another thing I noticed is that when we use the 600 RPM cartridge on our robot’s intake it can’t handle the pressure of a disc or actually rolling a roller no matter how we change the shape of the intake, but when we use a 200 RPM cartridge it works way better and actually succeeds in the tasks
I have a question on like one more thing, how did you make the polycarbonate sheets of plastic bend? did you use heat or just tried a bit off? please, answer because my team is very confused.